How to use Avita Service Connect, our IT service portal


Avita Service Connect (ASC) is a simple, convenient portal for submitting, tracking, and updating your IT tickets!
SOME OF ASC'S GREAT FEATURES
- A streamlined process of providing all of the relevant details for your IT issue or request
- A consolidated view of all of your IT tickets in one place, without having to sort through emails
- Easily see when there are issues impacting multiple users or locations across the company
- Pharmacy PTM’s, DM’s, and AVP’s: you can see all tickets that have been submitted for your areas without having to sort through emails. You will also be able to easily submit tickets for any of your sites from a single login.
HOW TO ACCESS ASC AND SUBMIT A TICKET
- Click "Create/View an IT Ticket" in the top navigation on the IT Workspace, go directly to asc.avitarx.com, or click the ASC icon on your desktop (as shown below).
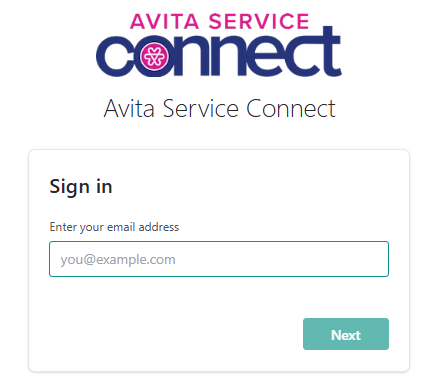
- Enter your login name in the screen below.
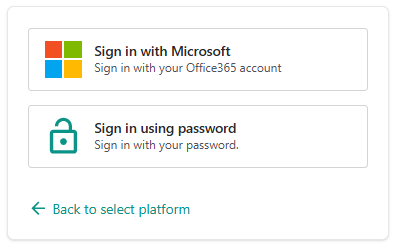
- You may see a window that looks like the one below. Please select the top option to sign in with Microsoft.
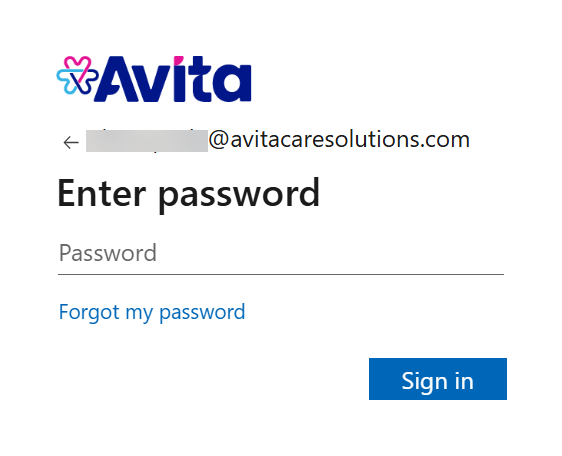
- You may be prompted to sign in. This would be your regular account and password (as if you were logging into Microsoft 365 on the Web). This will not happen every time you log in.
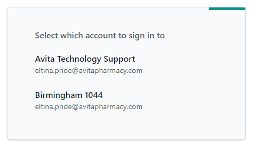
- You may then see a screen like the one below; it will depend on your permissions within the new portal. If you are presented with multiple options, please select the location you want to access.
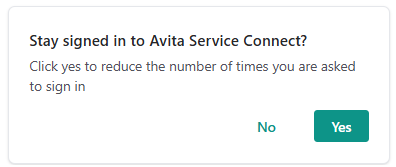
- You may also see this screen. Please select yes.
- You are now in the ASC portal! At the top right, you will see the company/location you selected previously. This will also be where you can switch between each location you have access to. When you click on your profile icon in the upper right corner, you will see a few different items. If you click Settings, you will see a form with your individual contact information.
- Please complete as many of the fields as you can. If any information is incorrect, please update it, and it will update our system.
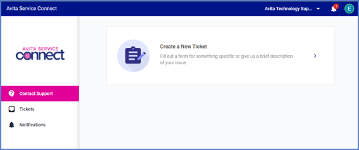
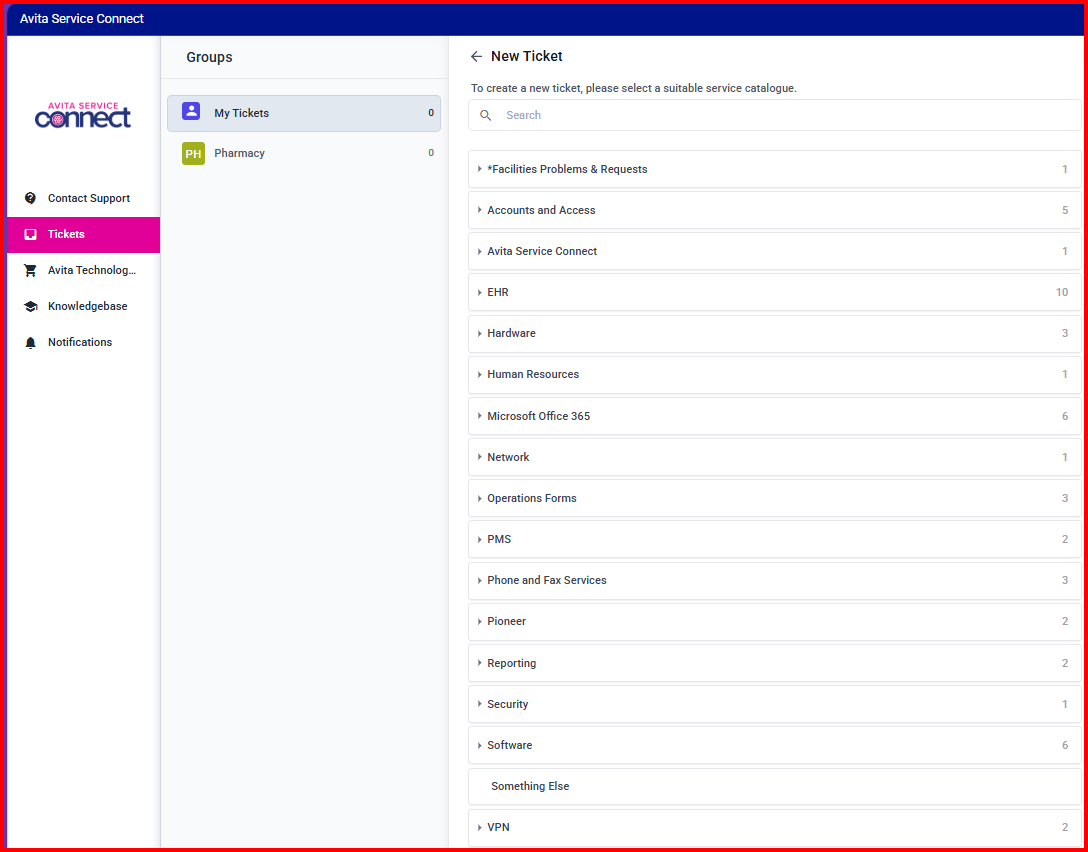
- To create a new ticket, click Contact Support in the left margin or click on New Ticket.
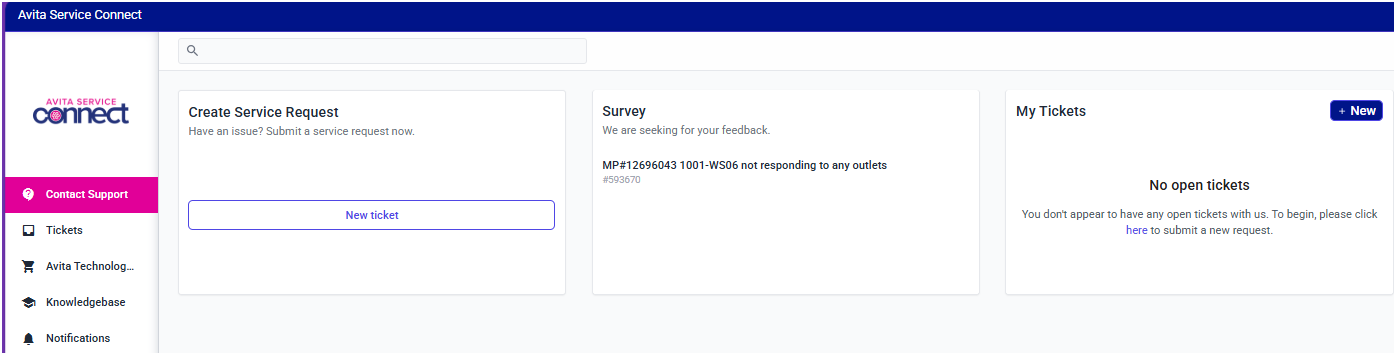
- When you create a new ticket, you can select from one of the items listed or you may click in the search field and start typing the subject of your request. Ex: Pioneer, QuickBooks, etc. The list displayed may be slightly different based on your job.
The New Ticket options will vary depending on your job type. The screen below is for a Pharmacy Technician.
- Complete the ticket fields as requested. The questions will vary depending on the ticket type.
Please review any notes at the top of the forms to verify you are submitting the correct one. We routinely update the forms to assist with quicker responses and clarifications of how to proceed, depending on your situation.
- If you click on Tickets in the left margin, you will get a list of your open and closed tickets. Open will show by default. You can click Closed to see your most current closed tickets.

- You can now update any open ticket, see the status of your ticket, and see who is assigned.
For DM’s, AVPs, and select Managers Only
In the upper right portion of the screen is your location. If you click the drop-down, you will see a list of all locations that are under your responsibility. When you select a location, the tickets listed will be for that location only. You can manually switch from location to location. If you need to create a ticket for a particular location, you will select the location in that drop-down first and then create a new ticket.
You will also see an expanded list of ticket/form options compared to a general user.