Accessing Avita apps using Windows App

Accessing Avita apps using Windows App
This guide will walk you through the Windows App process for connecting to Virtual Desktop Instances for Remote Desktop access.
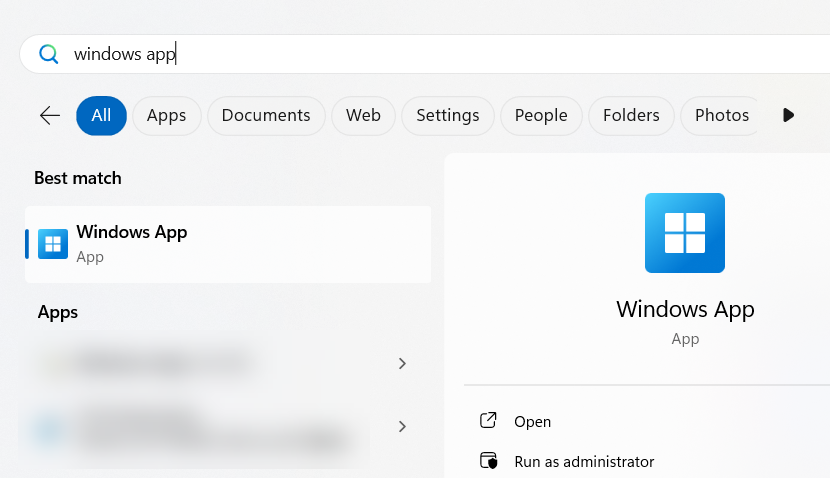
Launch Windows App
Select the Windows App from the Start Menu or Desktop:
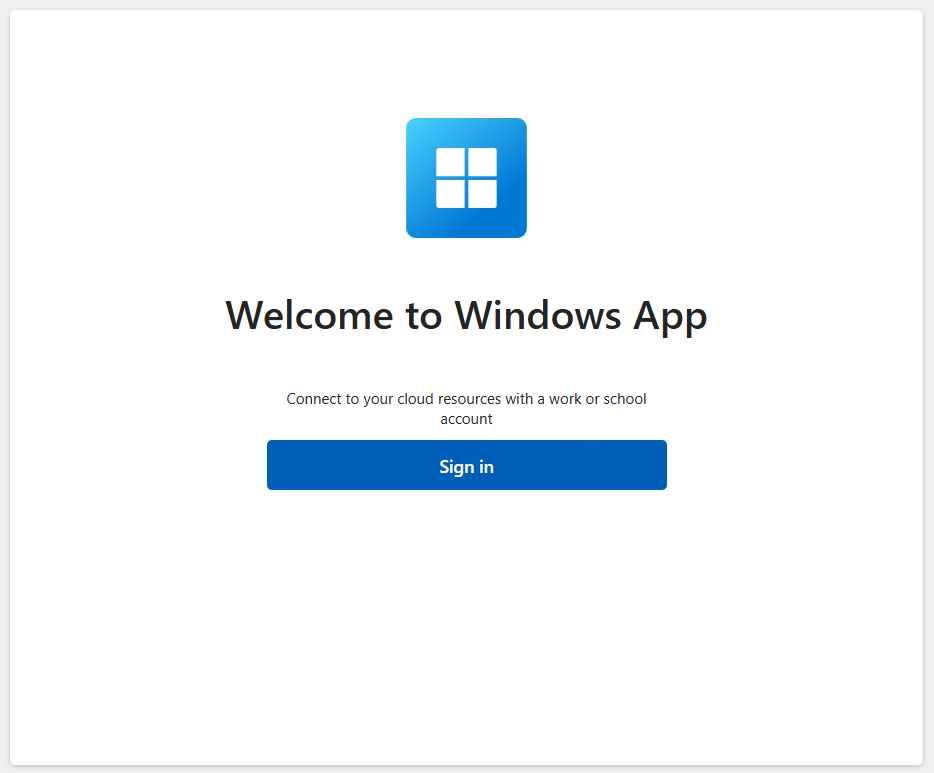
Sign in to the Windows App
Select Sign In to proceed:
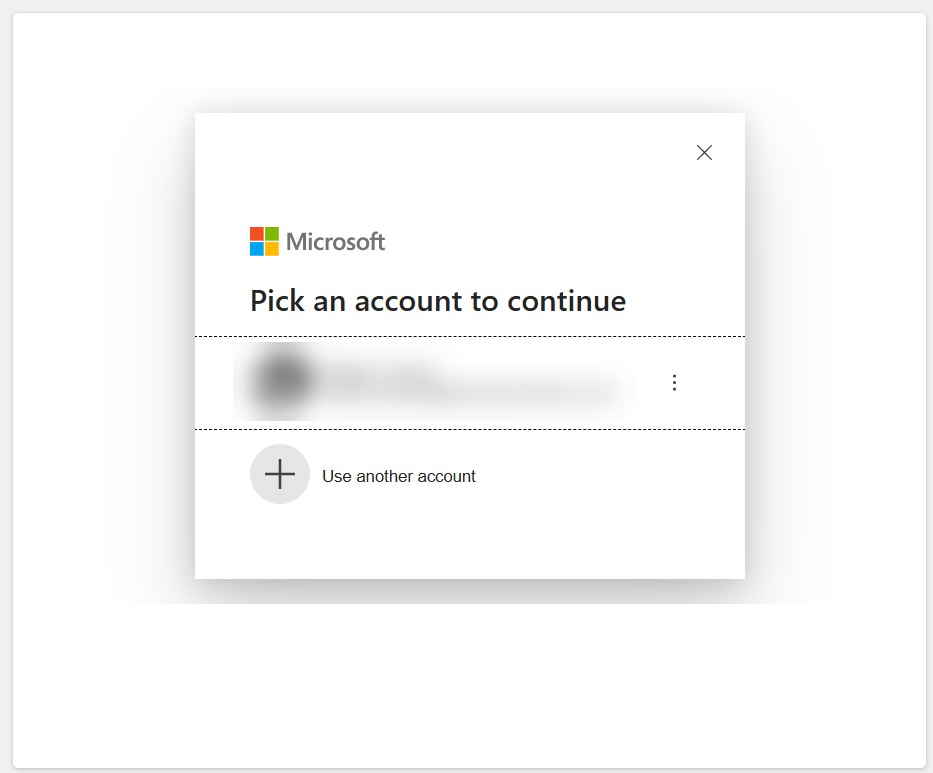
Sign in with your Company Email
If prompted, select your account from the list; otherwise, enter your email and password to continue.
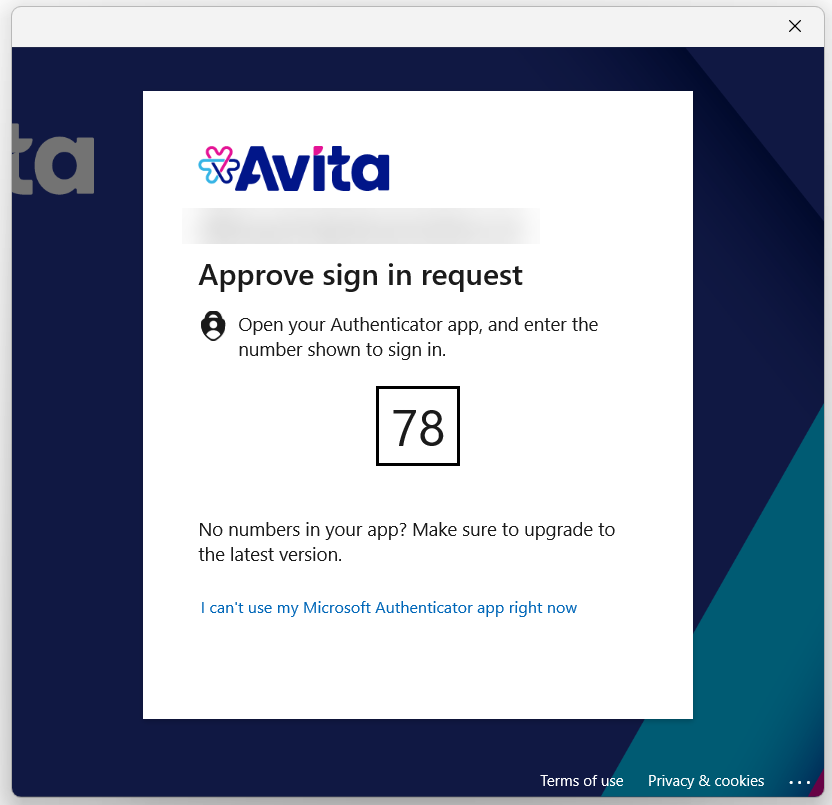
Approve via MFA
Enter the number shown into the Microsoft Authenticator app on your mobile device:
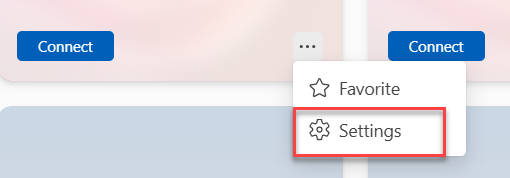
Changing Display Settings
Select the 3 dots below the Virtual Desktop Instance to change settings like display options.
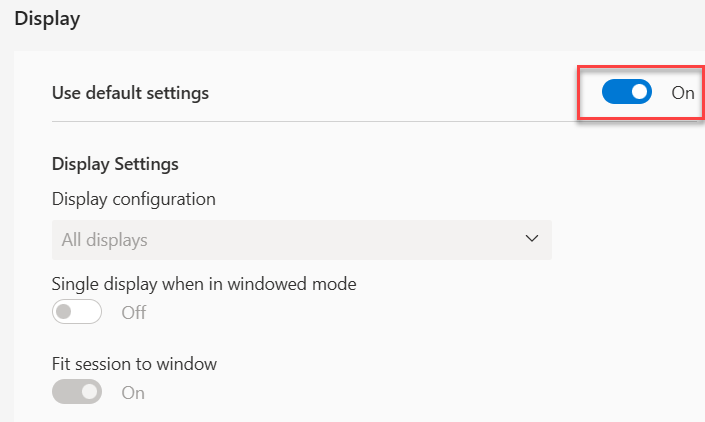
Default Settings are set to use All Displays
Unselect Use Default Settings for the Display Settings to be changeable. If you leave this then all displays will be used upon connecting to the Virtual Desktop.
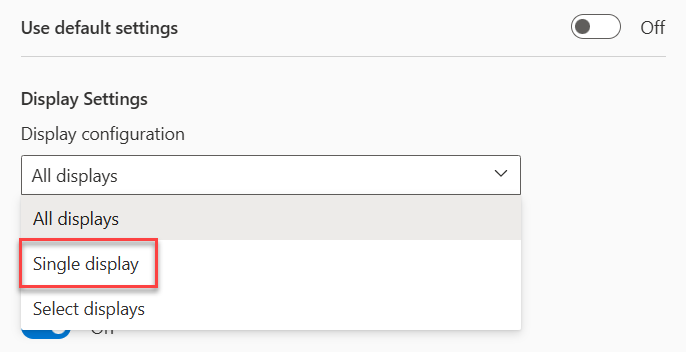
OPTIONAL: Set Display Settings to Single Display
Select Single Display from the dropdown as seen below if you don't want all screens to be used when connecting.
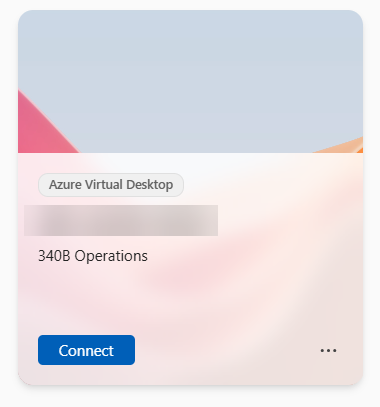
Connect to your VDI machine
Select Connect below the Virtual Desktop Instance to be connected to that VDI machine.
(The name may be different depending on which applications you have access to)
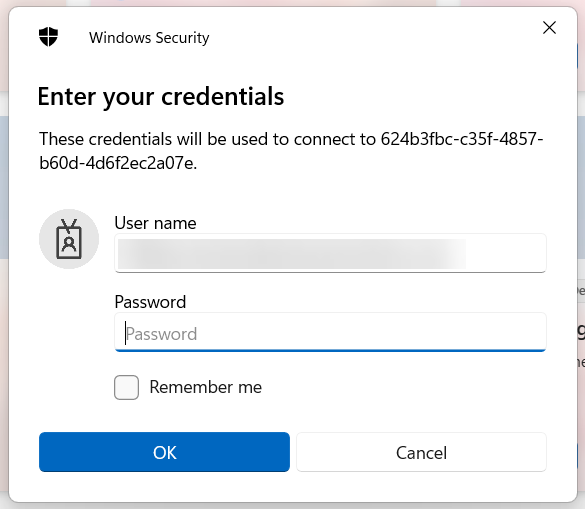
Enter the Password to Proceed
You will be asked to verify your password again upon connection:
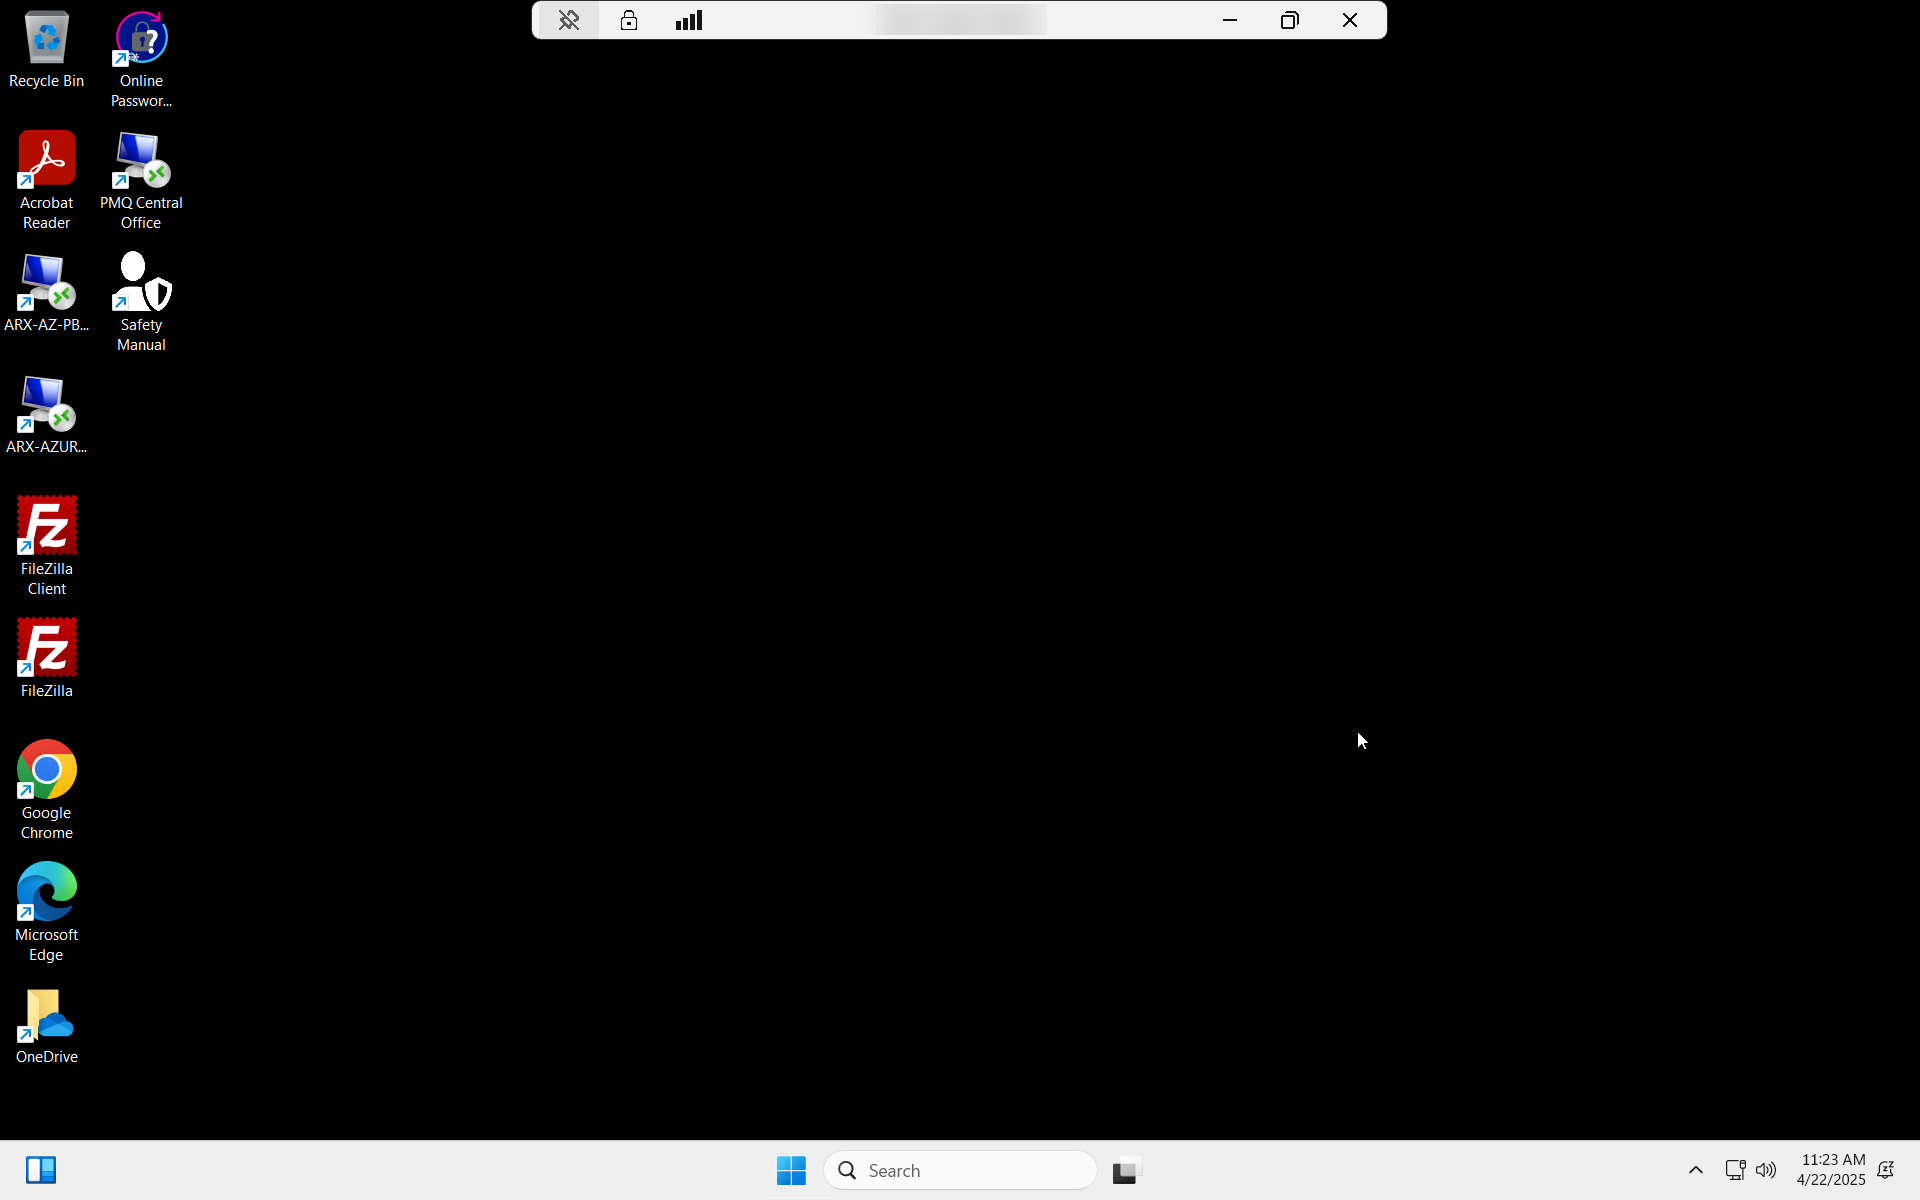
Connect to Remote Desktop Session
You will now be connected to the Remote Desktop session you are subscribed to:
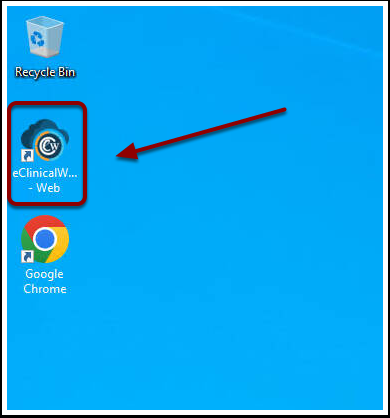
Launch the selected app using the Desktop shortcuts
You can now launch any shortcuts on the desktop by double-clicking the desired shortcut. (See the example below; your apps will differ depending on your department and job title.)
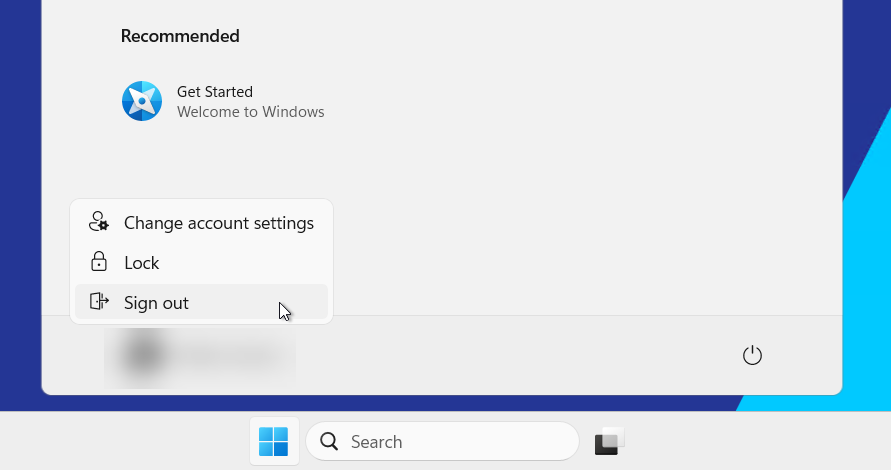
Signing out of VDI (Virtual Desktop Instance)
Once you are finished with your work. Simply click on your name in the Start menu and select Sign out to be signed out of the VDI machine.