New Phish Alert Button for reporting phishing or spam emails

New Phish Alert Button for reporting phishing or spam emails
This guide shows you where to find the new Phish Alert Button (PAB) in both Classic and New Outlook, and how to use it to report an email as either Phishing or Spam. The purpose of the PAB is to give you a fast, one-click way to flag suspicious or unwanted messages directly from your inbox, which automatically routes them to the right place for review and helps IT protect the organization. When deciding which option to choose, it helps to know the difference between the two. Phishing emails are messages that look suspicious or malicious — they try to trick you into clicking harmful links, giving up passwords, or sharing sensitive information. Spam, on the other hand, is simply unwanted email, like a newsletter, promotion, or marketing feed you may have signed up for but no longer want. The guide also walks you through how to tell the two apart and what happens after you submit your report, so you know your action was received and handled appropriately.
Step 1 — Select the email you want to report
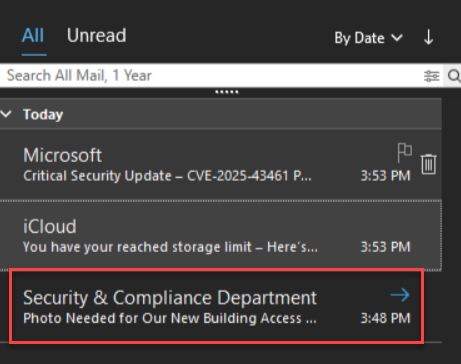
- In your inbox, click once to highlight the email you want to flag as Phishing or Spam.
Step 2 — Find the Phish Alert button: Classic (Old) Outlook
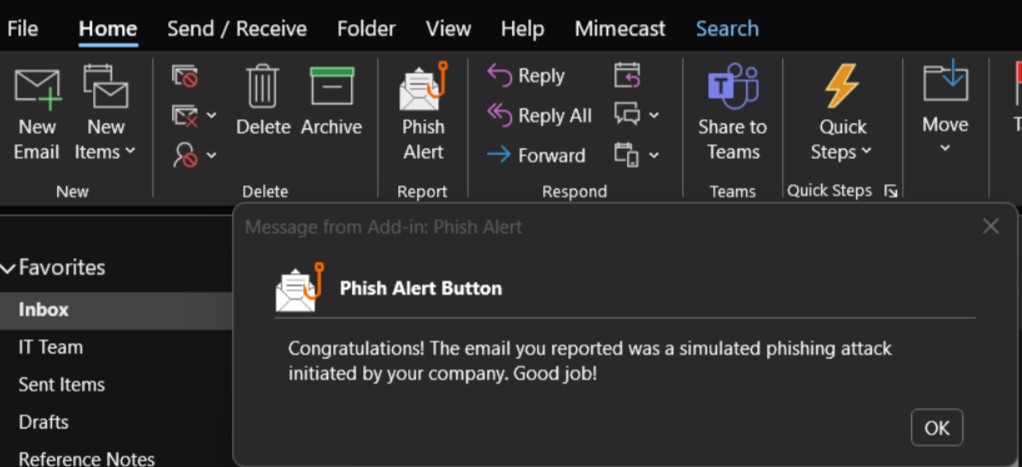
- In Classic/Old Outlook, the Phish Alert button now sits on the left side of the Home ribbon. (Previously it lived on the right — it's moved to the left.)


Step 3 — Find the Phish Alert button: New Outlook (new)
- In New Outlook, the Phish Alert button appears in the same location — the left of the Home action bar — so it's consistent regardless of which version you use.


Step 4 — Open the Phish Alert report window
- With your email selected, click Phish Alert to open the report screen.

Step 5 — Choose Phishing or Spam
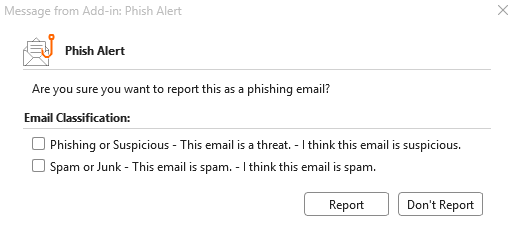
- In the Phish Alert report window, pick the option that fits:
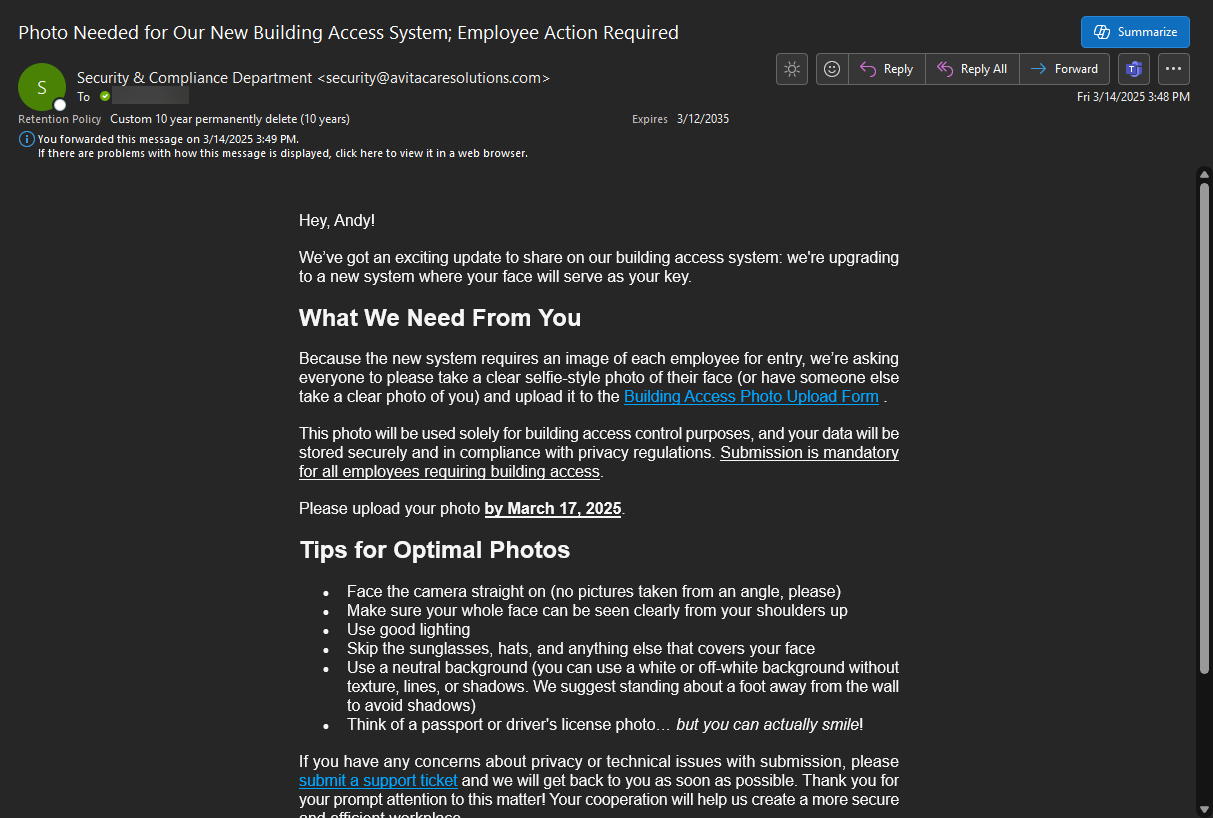
- Phishing — emails that look suspicious or malicious.
- Spam — emails that are simply unwanted, like a newsletter or marketing feed you signed up for (e.g., Amazon).
Step 6 — Review the confirmation
- If the email was a simulated phishing test and you correctly chose Phishing, you'll see a congratulations message.
If it wasn't a test, the report is submitted as a ticket for review.
Step 7 — Summary
- After you have reported the email as Phishing, that email will now be moved to your Deleted Items folder.
At this point you have identified the New PAB and used it to submit your email for review as phishing.