Table of Contents
Reconnect MFA Authenticator App with Number Matching

Reconnect the Microsoft Authenticator App with Number Matching
“This guide will walk you through reconnecting your Microsoft Authenticator app on your mobile device.”
The video below will demonstrate the process.
Open the MFA Setup Page
On your workstation, open a browser.
Go to: https://aka.ms/mfasetup

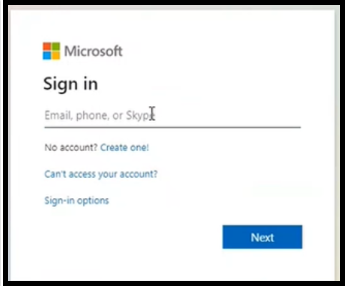
Sign in (If prompted)
If you see a sign-in screen, enter your work email and select Next.
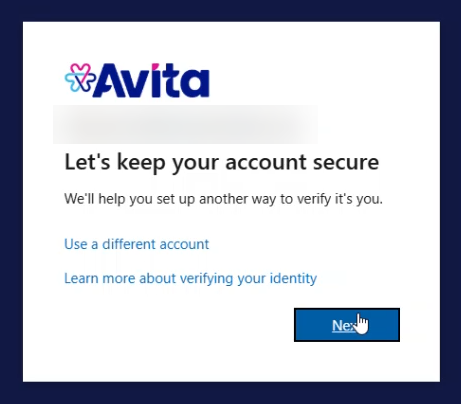
Provide More Information (If prompted)
If asked to "keep your account secure", select Next.
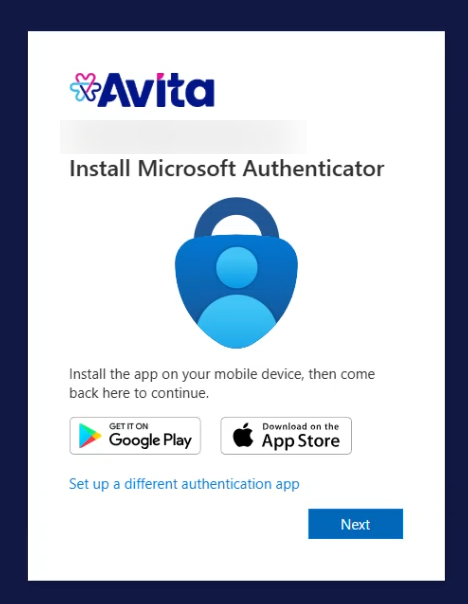
Start Microsoft Authenticator Setup
Select Next when asked to install Microsoft Authenticator.
Select Next again to proceed to setup.
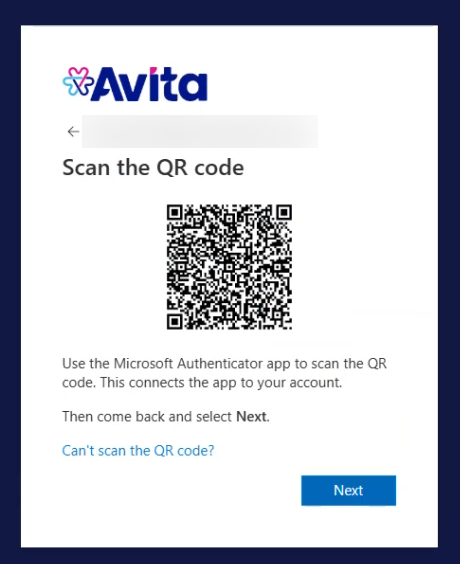
Prepare to Scane QR Code
A screen will appear showing a QR code (don't click Next yet).
Leave the QR code visible on your workstation.
Reset Your Authenticator App
On your Mobile device:
- Open the Microsoft Authenticator app.
- Select your work account from the list (If multiple options are present)
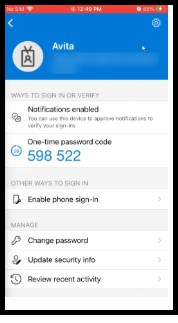
- Tap the gear icon (top-right).
- Select Remove Account for your work account.
- Select the option to Continue (If prompted)
Add Account on Mobile Device
On your Mobile device:
- Tap Add account (Android) or Scan a QR code (iPhone)
- Select Work or school account.
- Select Scan QR code
- Use your phone to scan the QR code displayed on your workstation
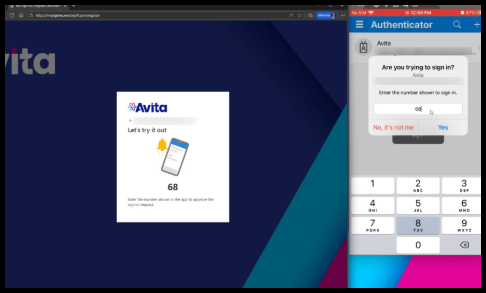
Complete Number Matching
You workstation will show a number
On your phone, enter that number and select Yes
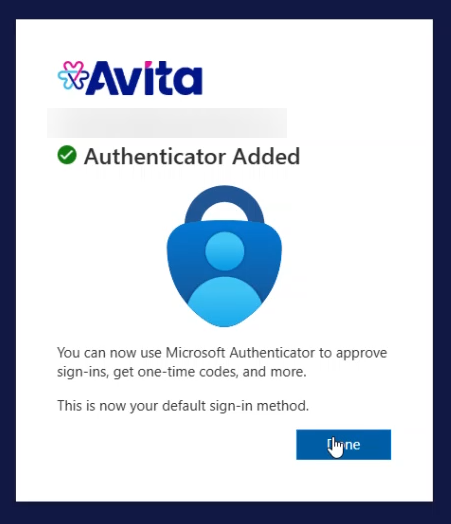
Confirmation
Once complete, the Authenticator will show Approved