PioneerRx POS Setup

PioneerRx POS Setup
Step 1: Launch PioneerRx with Admin Permissions
- Log into PioneerRx using Pharmacist or IT-level credentials to ensure you have the required permissions for register configuration.
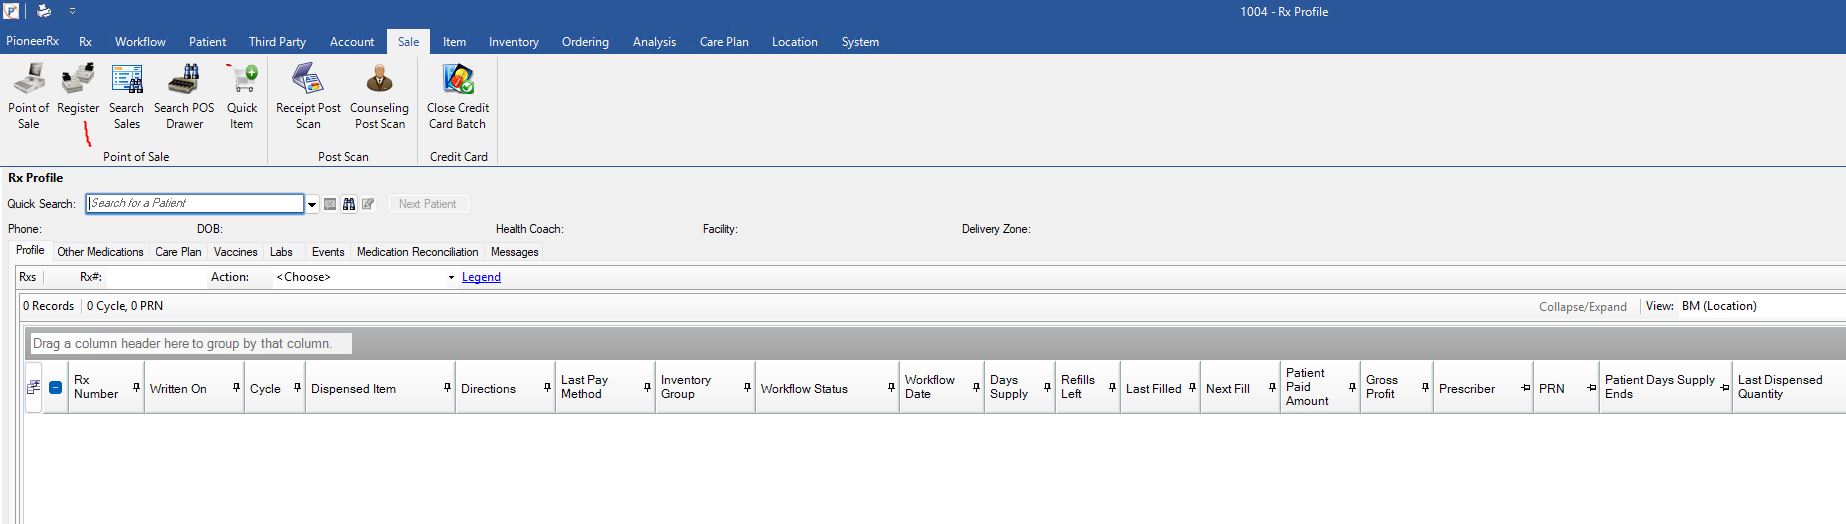
Step 2: Open the Register Settings
- Click the Register icon located in the top-left corner of the PioneerRx window.
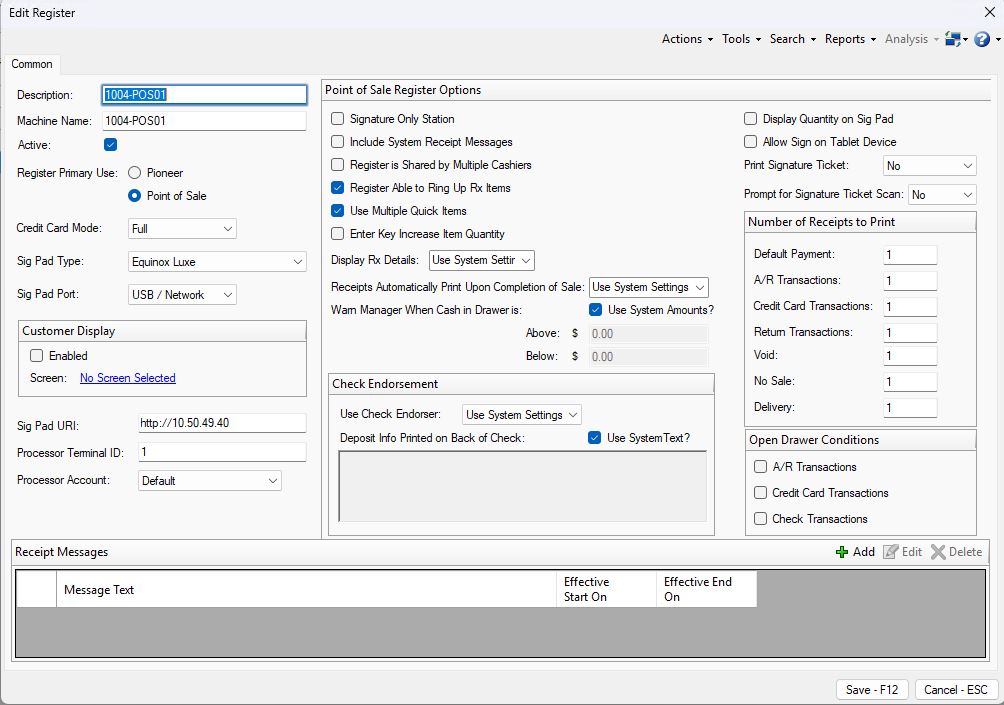
Step 3: Configure Register Settings
- In the Manage Register screen:
- If replacing an existing POS station, copy the settings from the previous register.
- If this is a new station, leave settings as default except:
- Set Sig Pad Type to:
Equinox Luxe - Set Sig Pad URL/IP Address to the IP of the signature pad.
- Set Terminal ID to the POS station number (e.g., POS01 can be set to ID 1).
- For shipping computers, choose a number not used in the normal POS naming scheme.
- Set Sig Pad Type to:
- Click Save to apply changes.
Step 4: Verify Signature Pad Connection
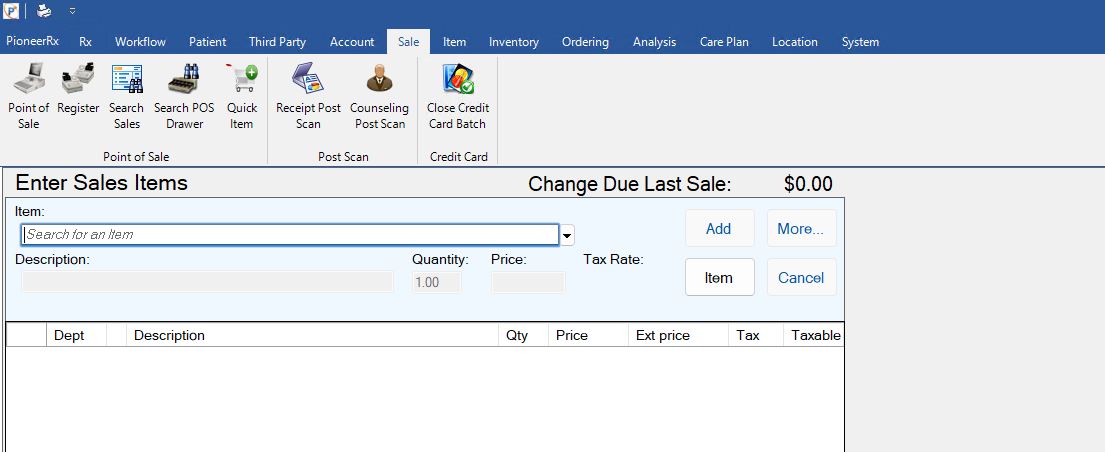
- Navigate to point of sale and enter the cash amount the pharmacy wants to use and open register (will need pharmacist Pin)
- Select open register.
- ⚠️ If a cash drawer is attached, inform the pharmacy it will open when the register opens.
- ⚠️ If a cash drawer is attached, inform the pharmacy it will open when the register opens.
- PioneerRx will now attempt to send configuration data to the signature pad.
- You should see “Welcome to Avita” on the sig pad screen when opening Point of Sale.
- ❗ If the welcome screen doesn’t appear, proceed to the next step for a manual connection.
- Here is the HelpDoc for setting up Equinox Luxe Sigpad if needed
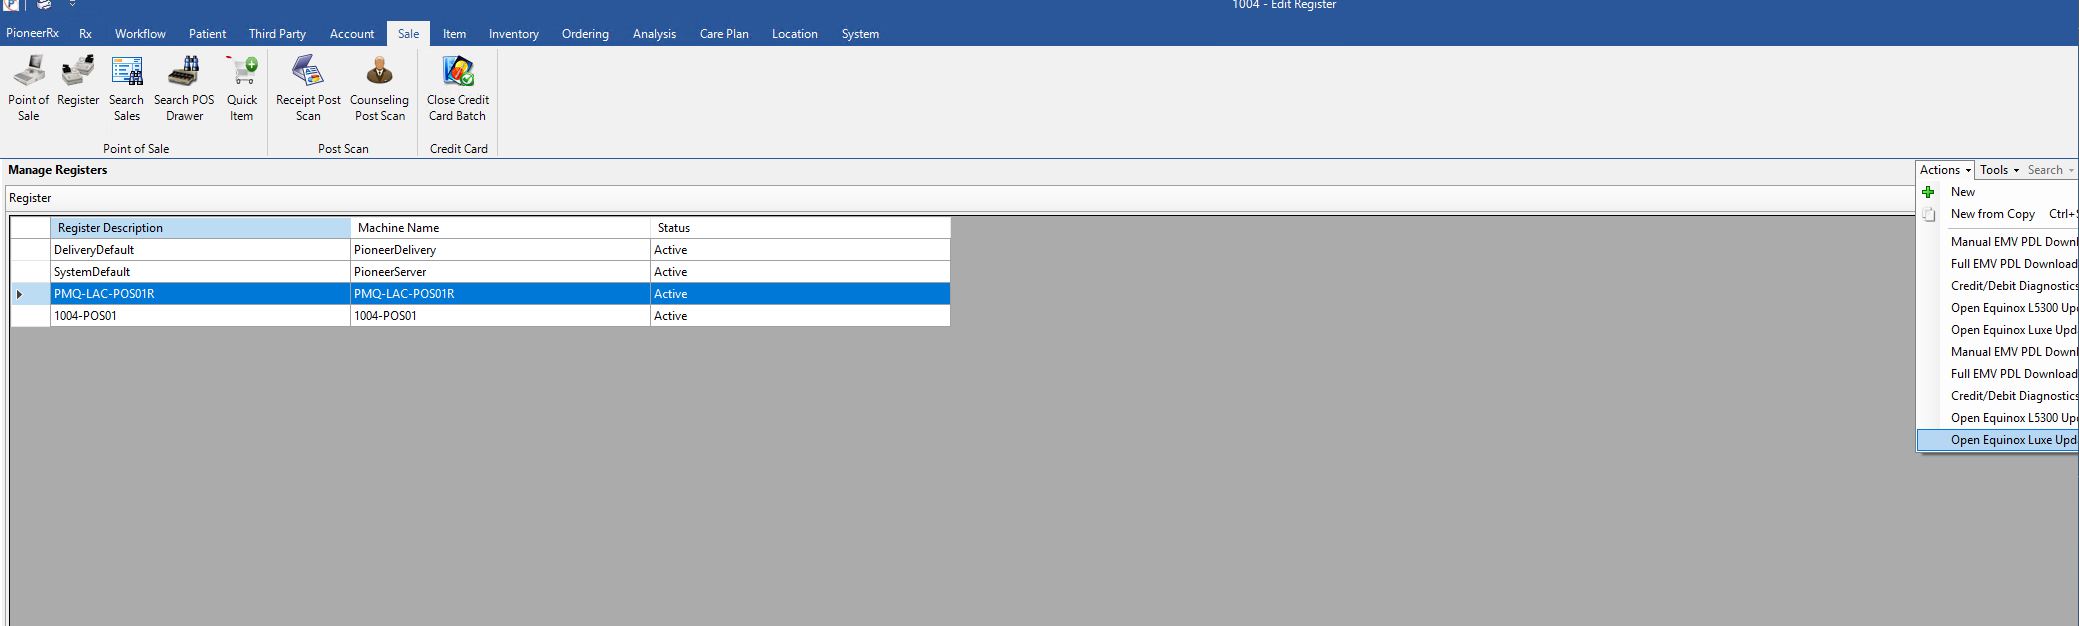
Step 5: Manually Connect the Sig Pad (If Needed)
- Go back to Manage Register, open the Actions drop-down.
- Click Open Equinox Luxe Updater — this will close PioneerRx and launch the Luxe updater tool.
Step 6: Connect the Device via Luxe Updater
- In the Luxe Updater tool:
- Click Find Pad, then choose Deep Scan to search the LAN for all Equinox Luxe devices.
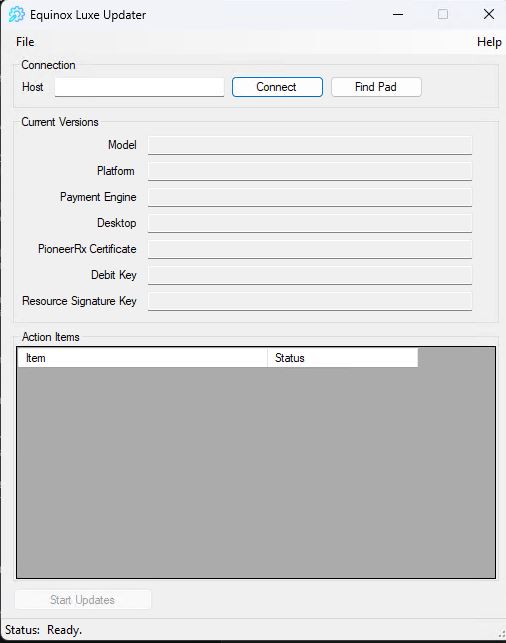
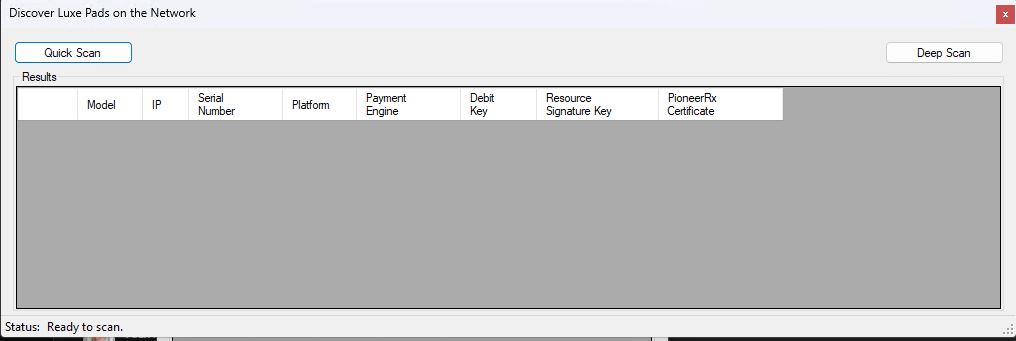
- Click Connect on the desired device.
- Click Find Pad, then choose Deep Scan to search the LAN for all Equinox Luxe devices.
- Ensure the IP address in Manage Register matches the connected device.
- Relaunch PioneerRx and go to Point of Sale.
- The system will prompt you to open a new register.
- ⚠️ If a cash drawer is attached, inform the pharmacy it will open when the register opens.
Step 7: Set Up the Receipt Printer
- Open the Printer Management screen in PioneerRx.
- Assign the appropriate receipt printer for this POS station.
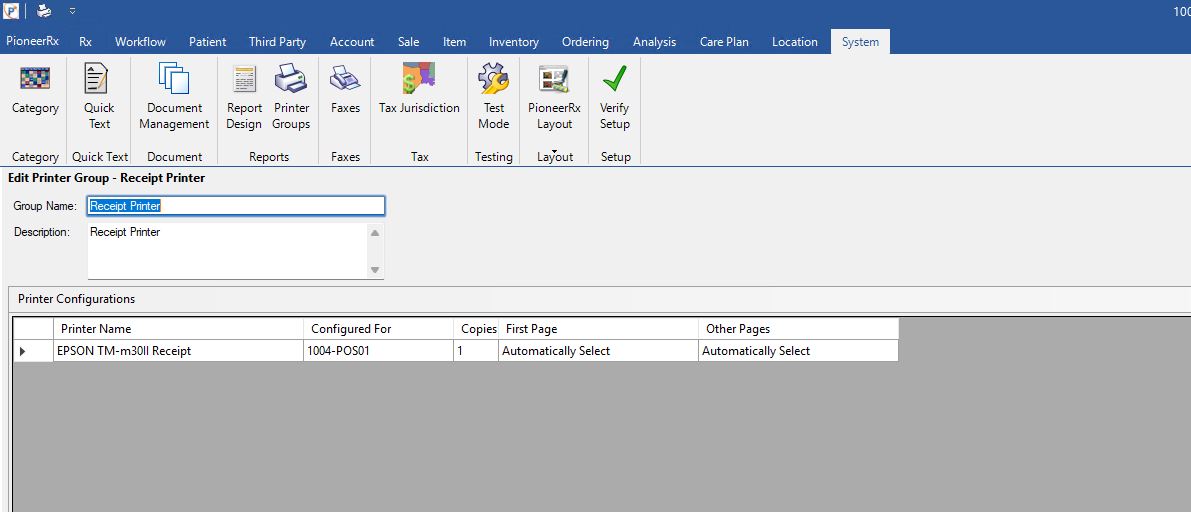
- If you don't see the printer in the drop down you will need to install the Receipt printer and driver before proceeding
Step 8: Final Testing
- Have the pharmacy run a test transaction to ensure:
- Signature prompts appear correctly.
- Receipts print properly
- Transactions complete without issues.