Connect to eCW Remote Desktop
Connect to eClinicalWorks (eCW) Remote Desktop
This guide will walk you through the Remote Desktop Subscription process as well as
Multi-Factor Authentication to connect to the eCW Session.
Launch Remote Desktop
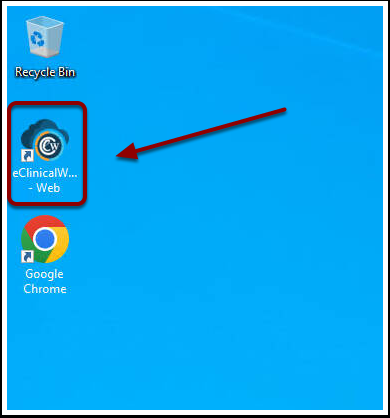
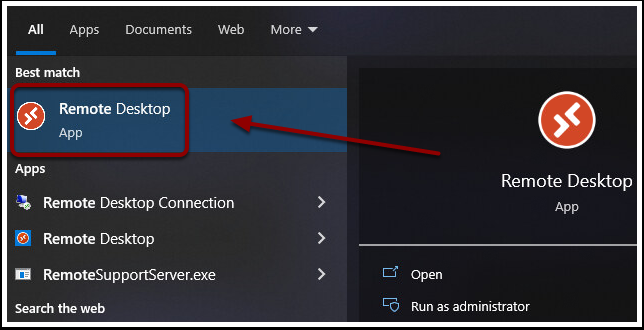
Select the Remote Desktop app from the Start Menu or Desktop
Install Remote Desktop
If you do not have Remote Desktop to launch as seen in the previous step.
Click here to download the latest copy from Microsoft and then double click RemoteDesktop_XXXX as seen below.

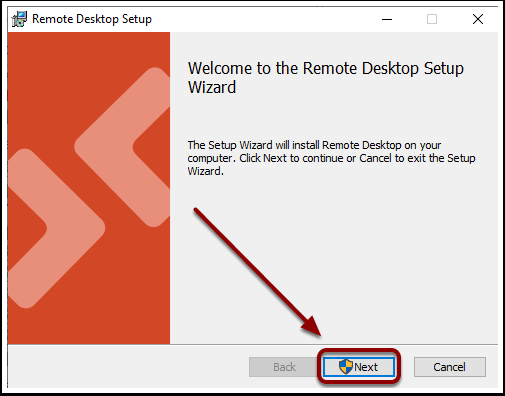
Select Next to begin the Install Process
Select Next to proceed and wait for the Finish button to appear.
Select Finish once prompted, and the Remote Desktop app will launch automatically.
Open Additional Options
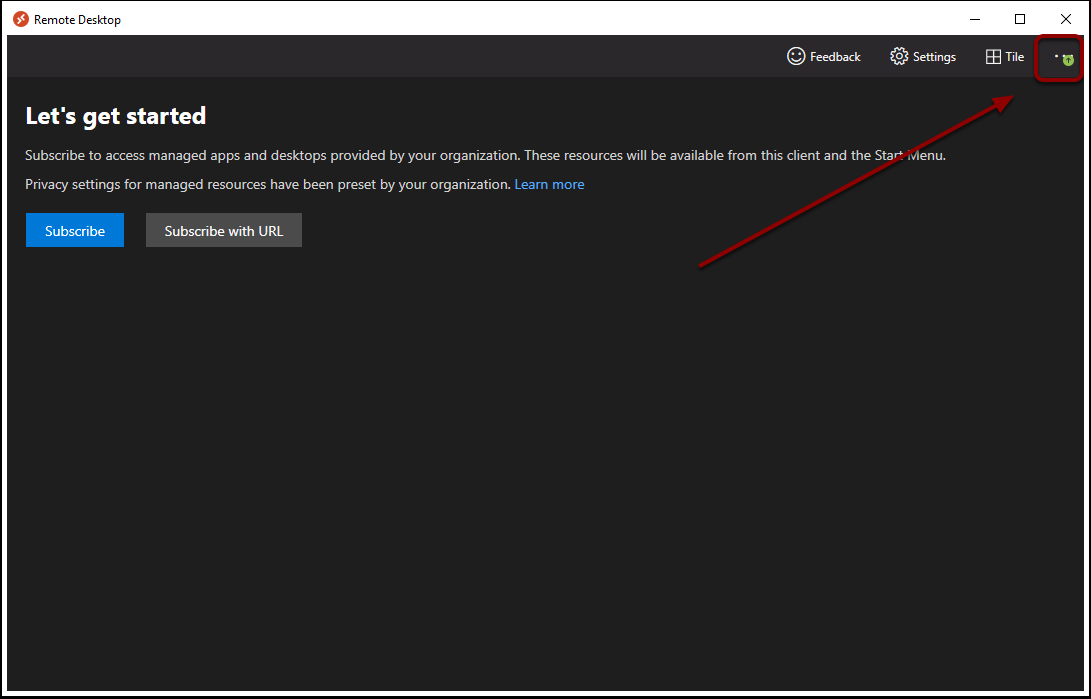
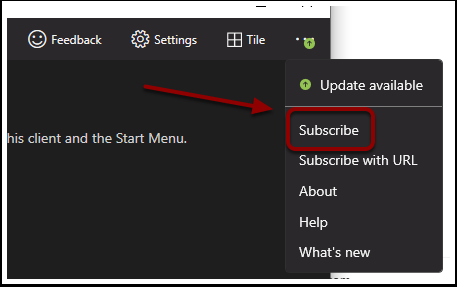
Select the 3 dots as seen below to open additional options
Select Subscribe
Select Subscribe from the Additional Options
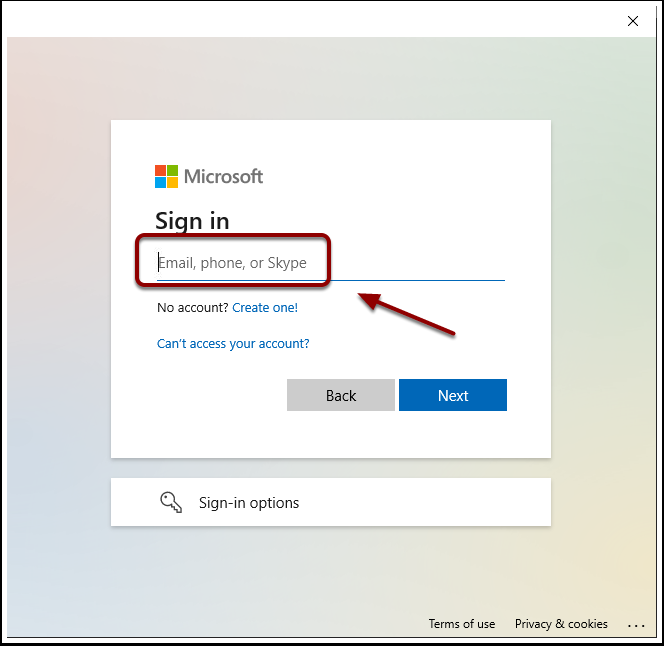
Enter your Email
Enter your email to begin the subscription process
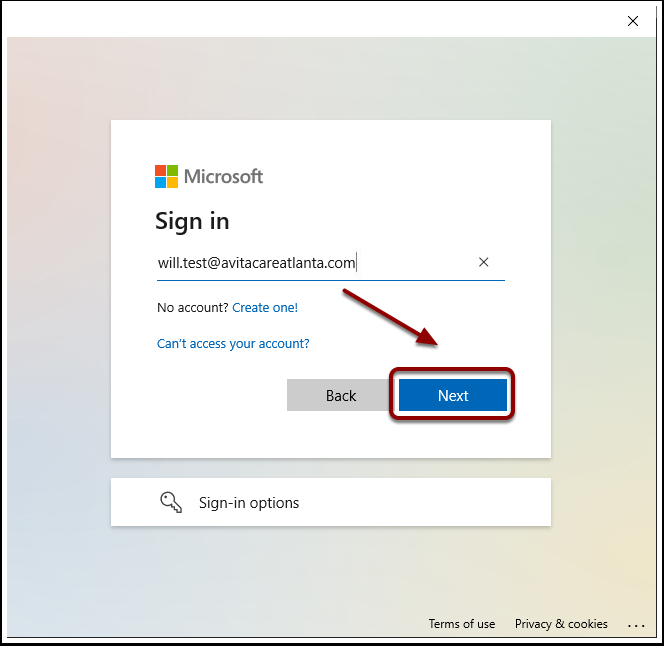
Select Next to Proceed
Select Next to continue the subscription process
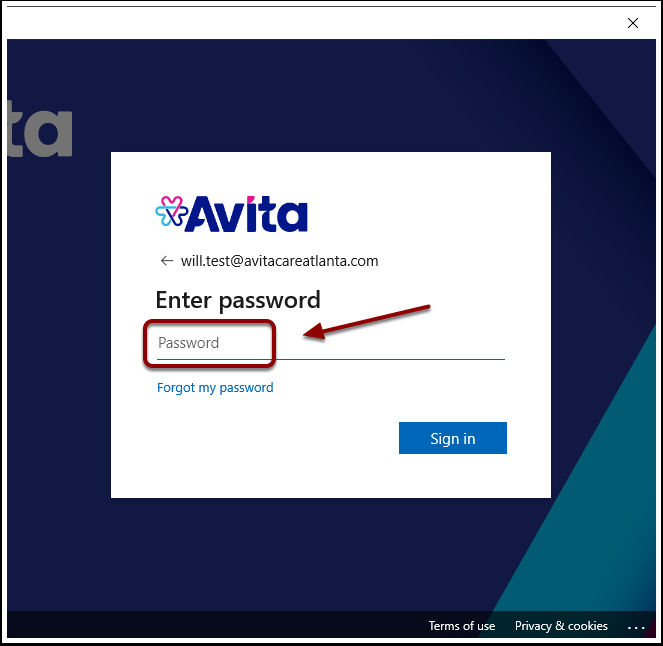
Enter Password to Proceed
Enter your password to verify access to the subscription
More information required for MFA
If you have not setup Multi-Factor Authentication then you will be prompted for additional
information as seen below.
Select Next to proceed
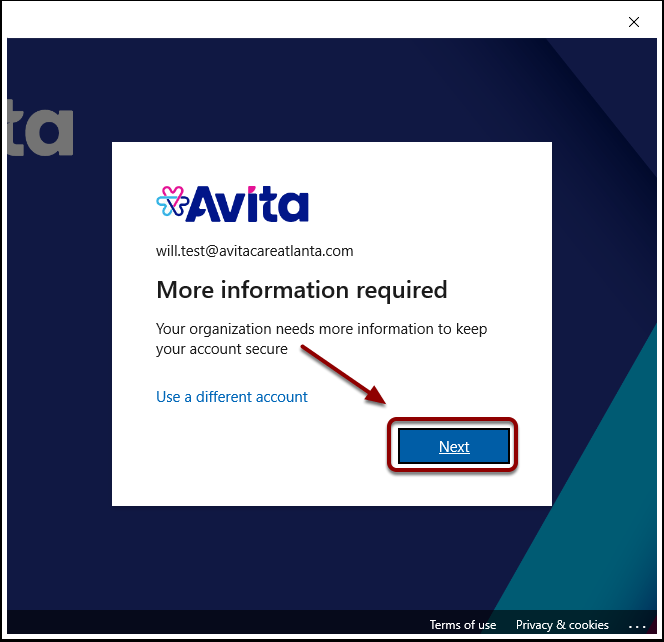
Select Next to Proceed
Download the Authenticator on your phone with the on-screen instructions.
Then select Next to proceed.
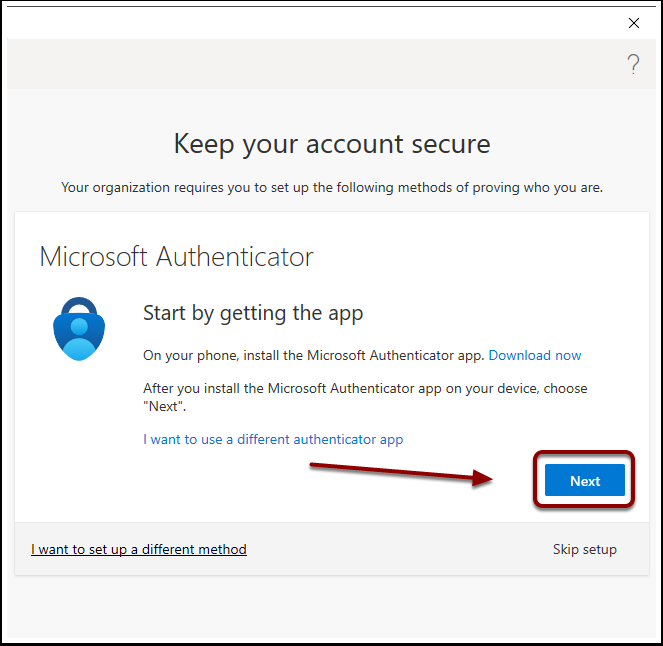
Select Next to Proceed
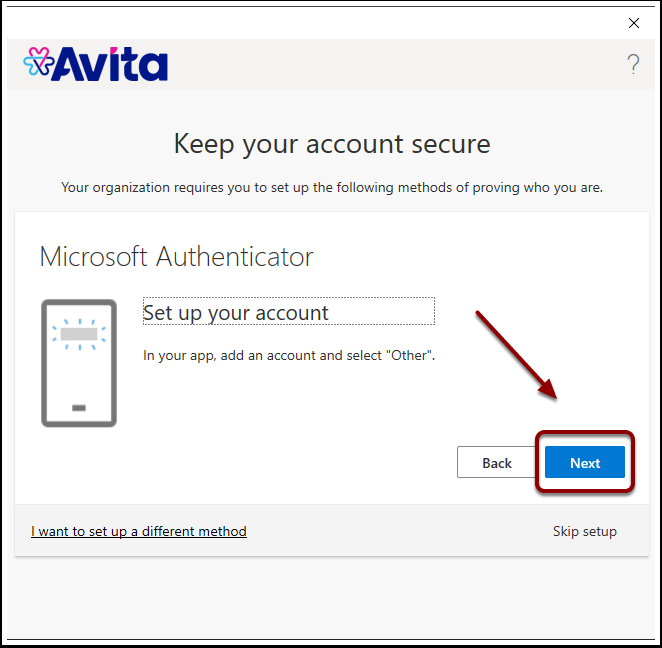
On your phone you will select the add option indicated by a plus as detailed with the onscreen
instructions.
Select Next to proceed.
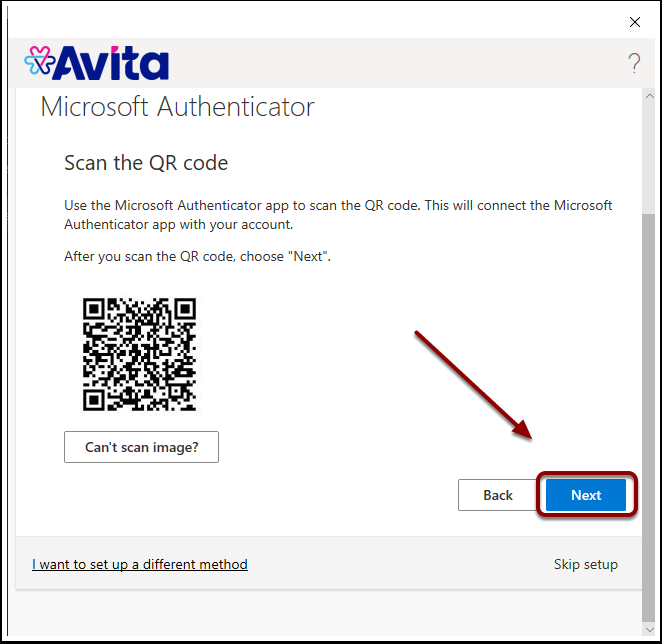
Scan the QR code with the Authenticator App
Use the Authenticator App on your Phone to scan the QR code as seen below.
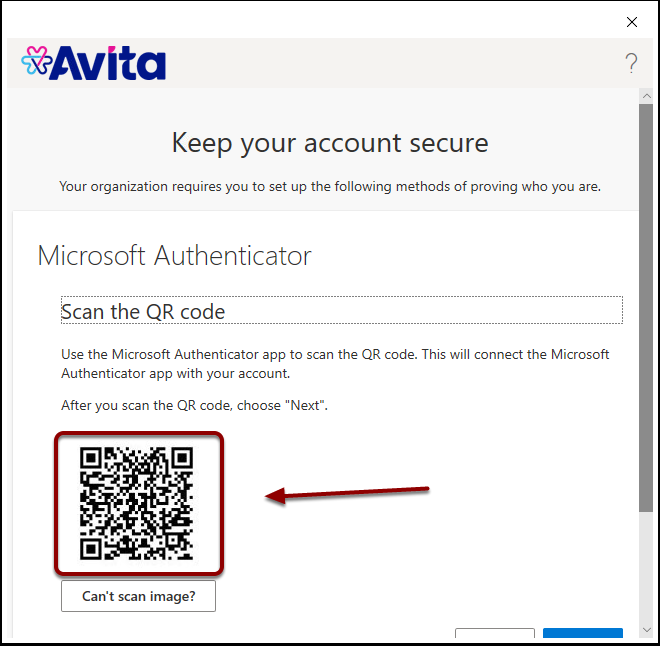
Select Next to Proceed
When you see a 6 digit code in the Authenticator App then you will select Next to
proceed.
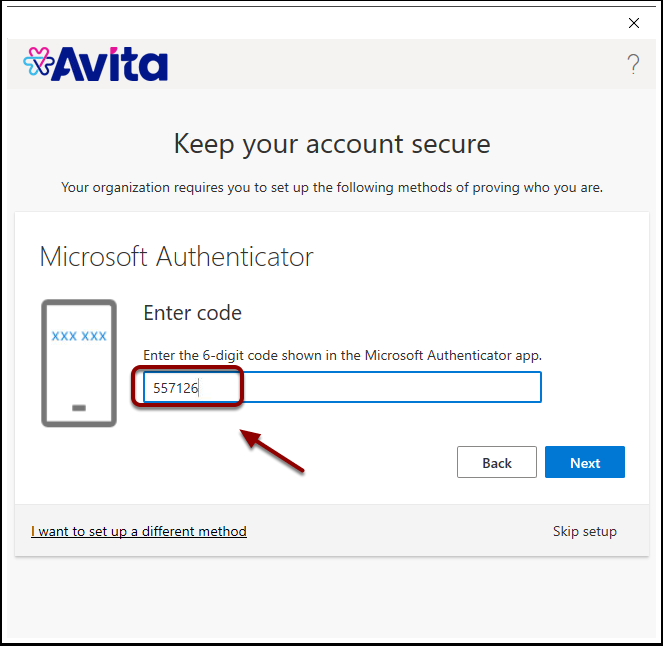
Enter 6 digit code from Authenticator App
Use the 6 digit code from your Authenticator App to verify it is added.
Then select Next to proceed.
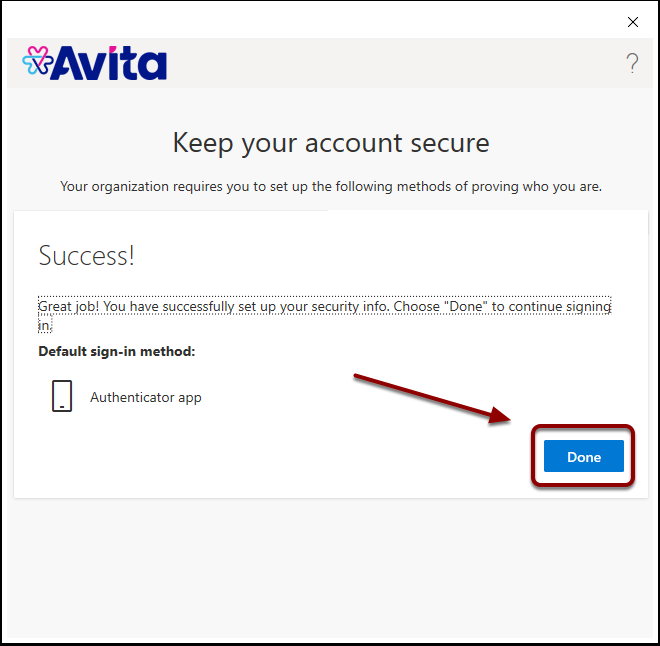
Select Done to Proceed
Once the Aunticator app is connected successfully then select Done to finish Multi-
Factor Authentication (MFA).
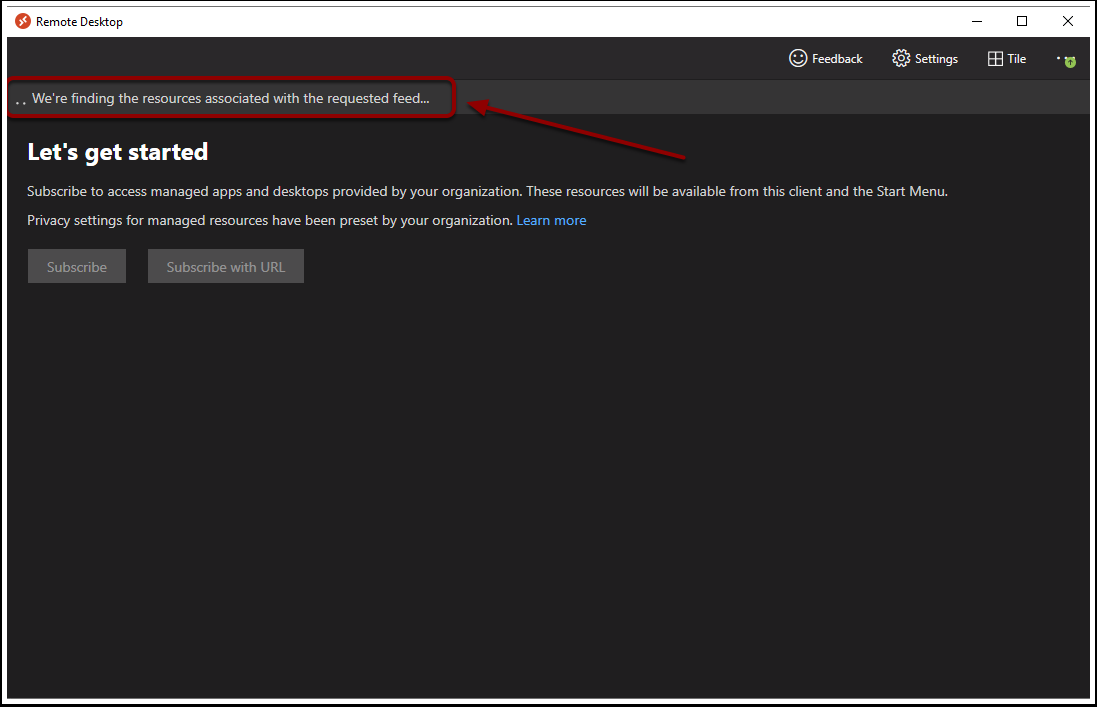
Remote Desktop is finding resources
The Remote Desktop app will now begin pulling the Remote Sessions available to you
as VDI resources associated with your subscription process.
Just wait for the options to load below.
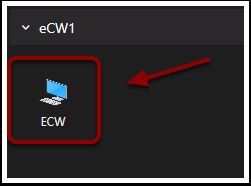
Double click the ECW resource
Once the resources have finished it will show all your available connection as seen
below.
Double click the computer icon to connect such as ECW seen below.
Enter Password to Proceed
You will be asked to verify your password again upon connection.

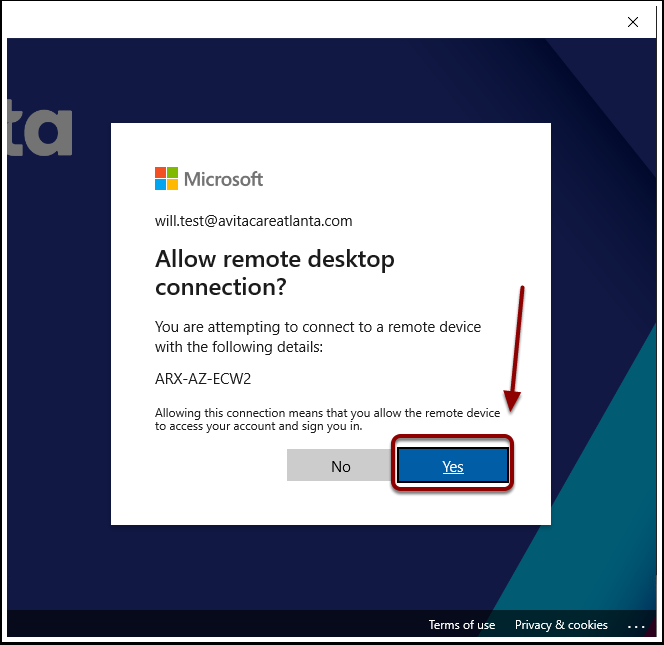
Select Yes to Allow Connection
After your password is verified, it will ask you to allow the connection.
Select Yes to proceed.
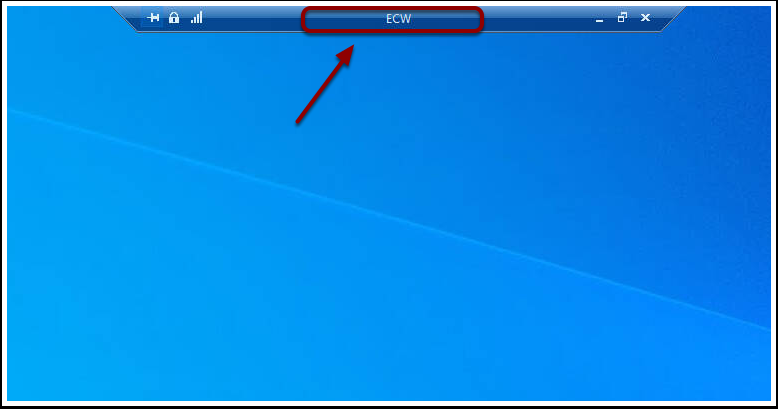
Connected to ECW Desktop
You will now be connected to the Remote Desktop session for ECW as seen below.
Launch eClinicalWorks from the Remote Desktop
Session
You can now launch eClinicalWorks by double clicking the shortcut on the Remote
Desktop.