Initial Setup for Company Owned Macs

Initial Setup for Company Owned Macs
This guide walks you through the step-by-step process of setting up your new Mac. Please read each step carefully to ensure a successful setup.
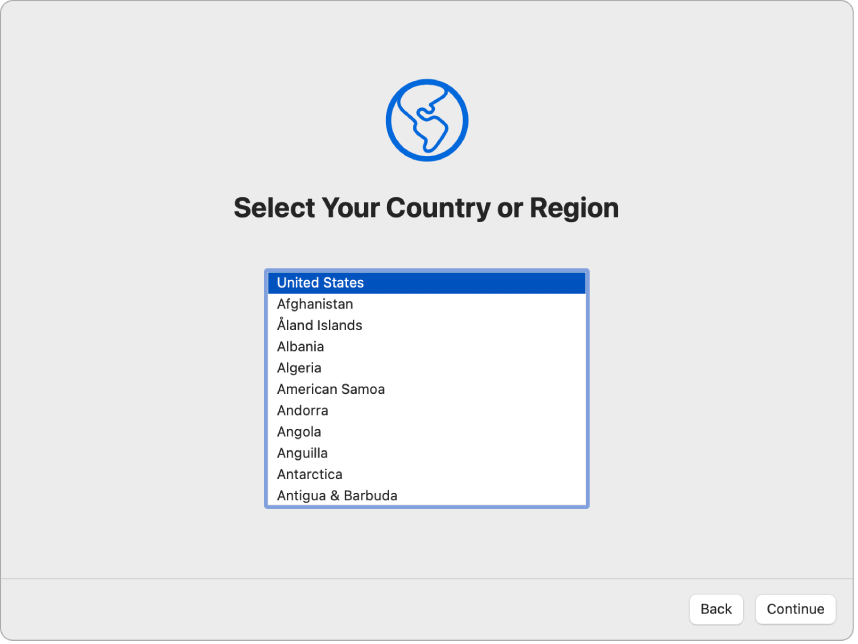
Step 1: Select Your Country
When prompted, choose your current country or region to configure the appropriate system settings.
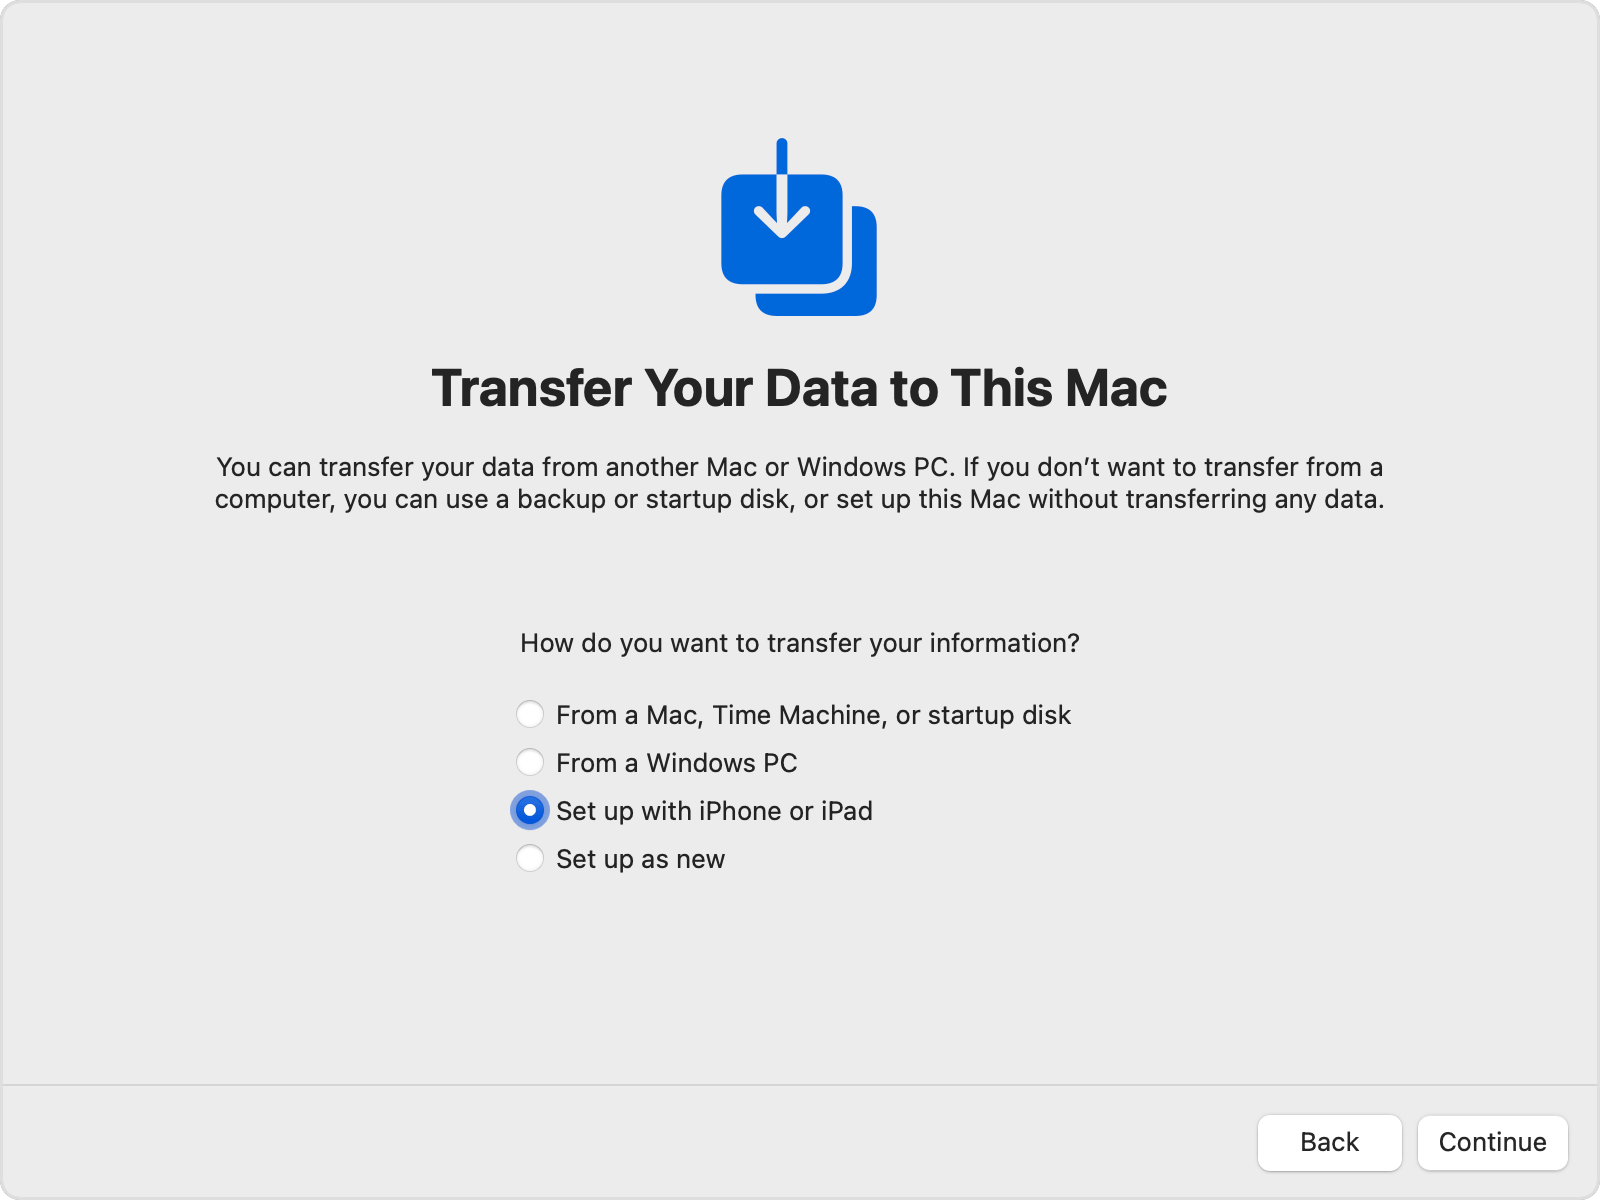
Step 2: Data Transfer (Optional)
If you're migrating data from another Mac or Windows PC, select the option to transfer your data now. Otherwise, choose to set up as a new Mac.
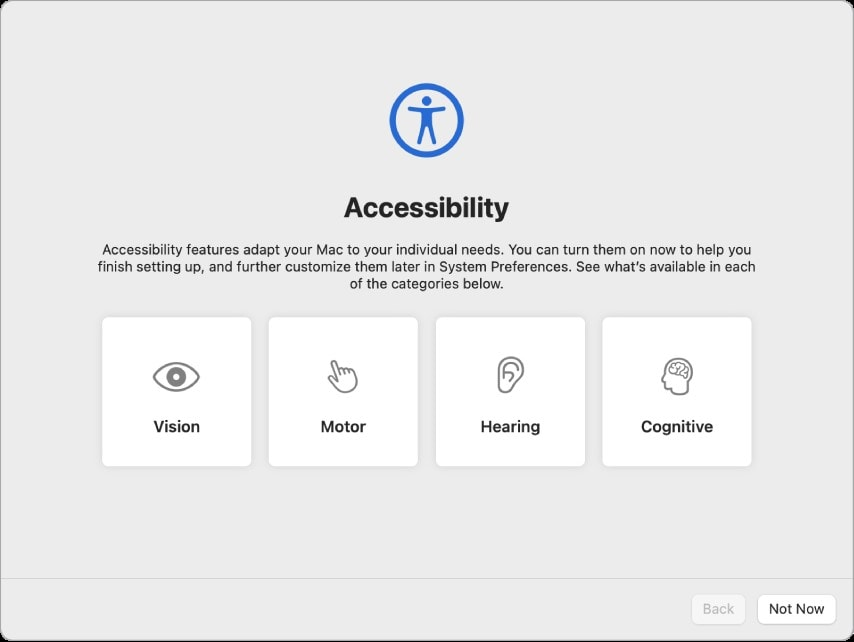
Step 3: Accessibility Options
Enable any accessibility features you need at this stage. This includes voiceover, zoom, increased contrast, and more.
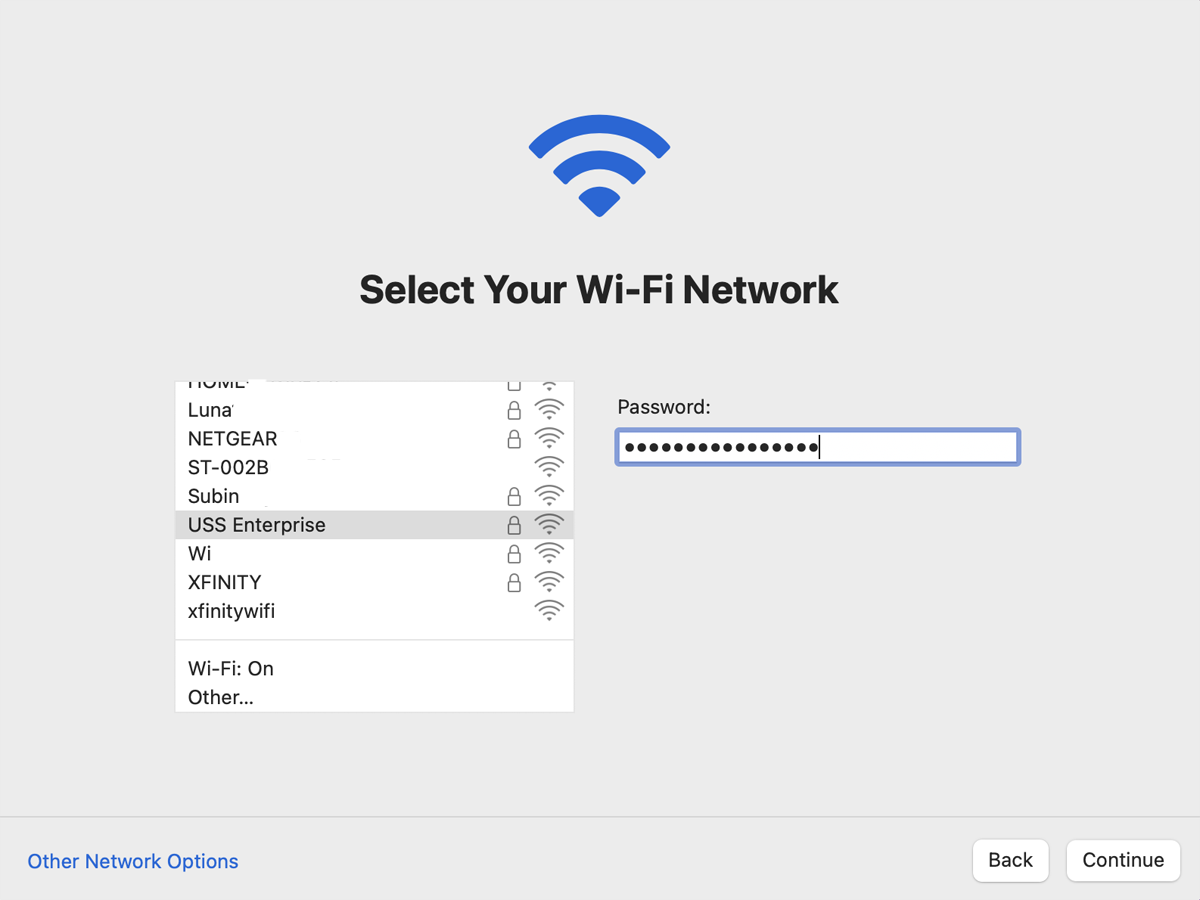
Step 4: Connect to Wi-Fi
Choose your Wi-Fi network from the list, enter the password, and connect. A stable internet connection is required for enrollment.
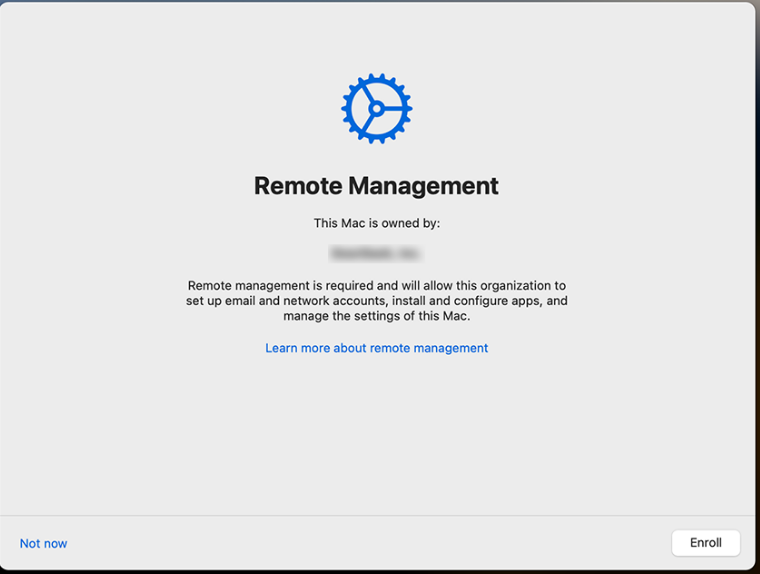
Step 5: Begin Enrollment
On the Remote Management Screen, click Enroll to start the automated enrollment process.
Step 6: Enable Location Services
When prompted, check the box to enable location services. This assists with device location and certain app functionalities.

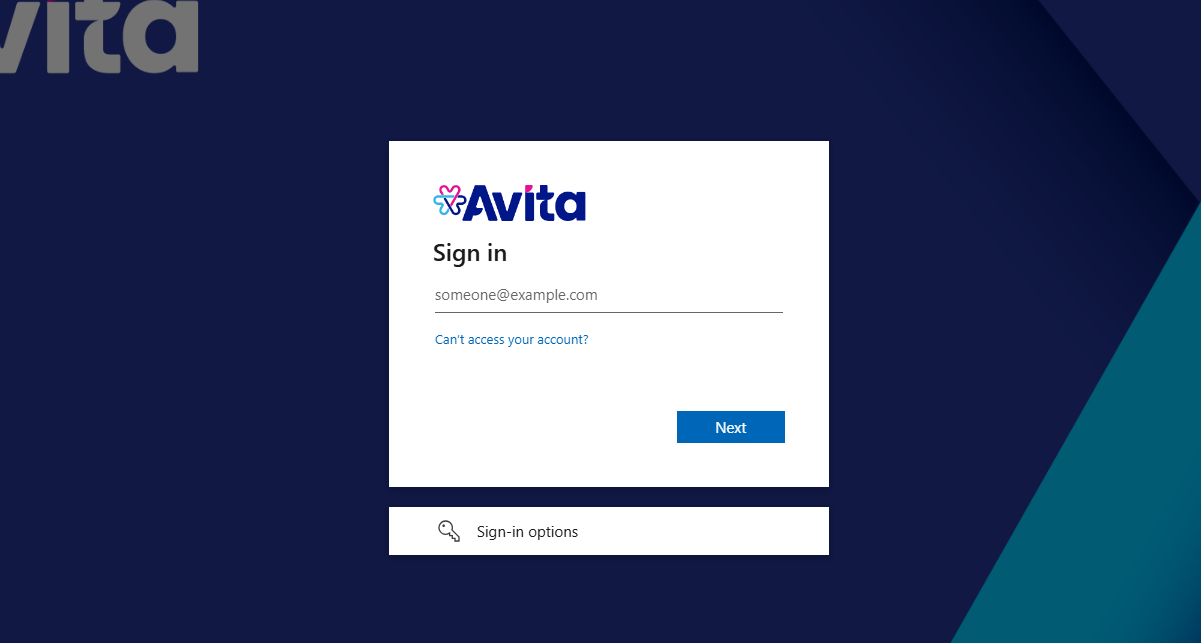
Step 7: Log in with Avita Credentials
Enter your Avita email address and password when prompted.
Step 8: Set Temporary Local Password
You will be asked to set a local account password. This is temporary and will be synced with your Avita credentials shortly.
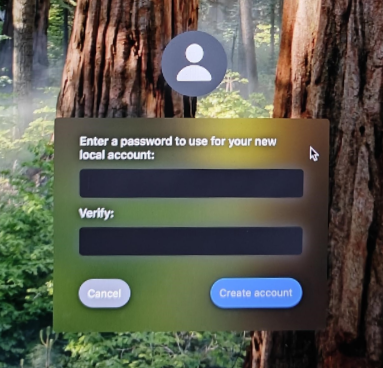
Important: Remember this password—you’ll use it again later in the process.
Step 9: Account Creation
Your Mac will now take a moment to create the local user account.

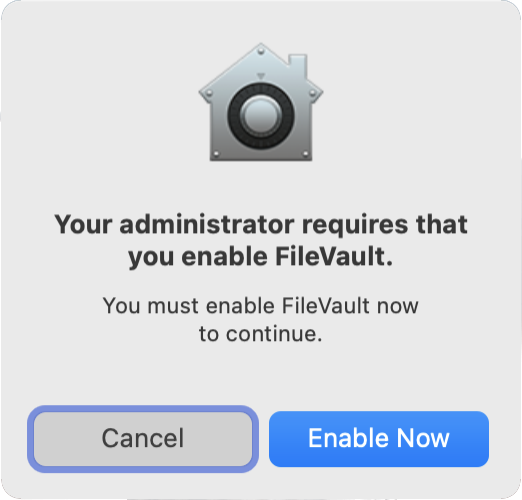
Step 10: Enable FileVault
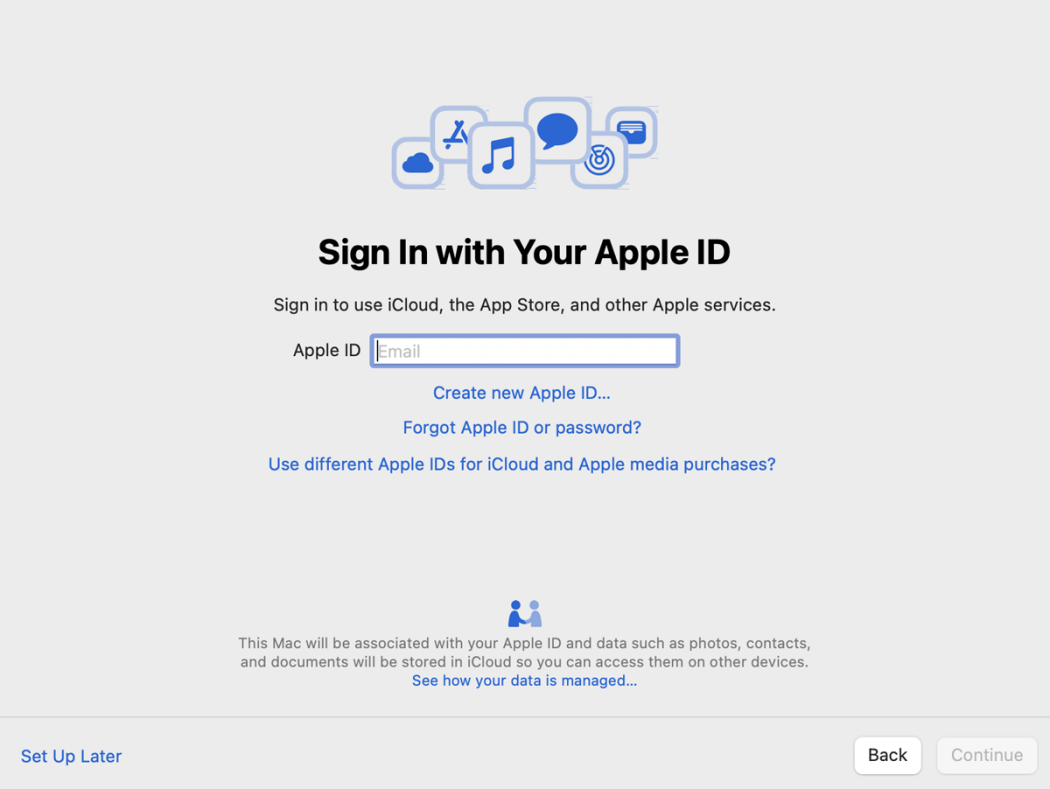
Step 10: Apple ID Setup
Sign in with your Avita Apple ID. We do not allow the use of personal Apple IDs on Company Owned Macs
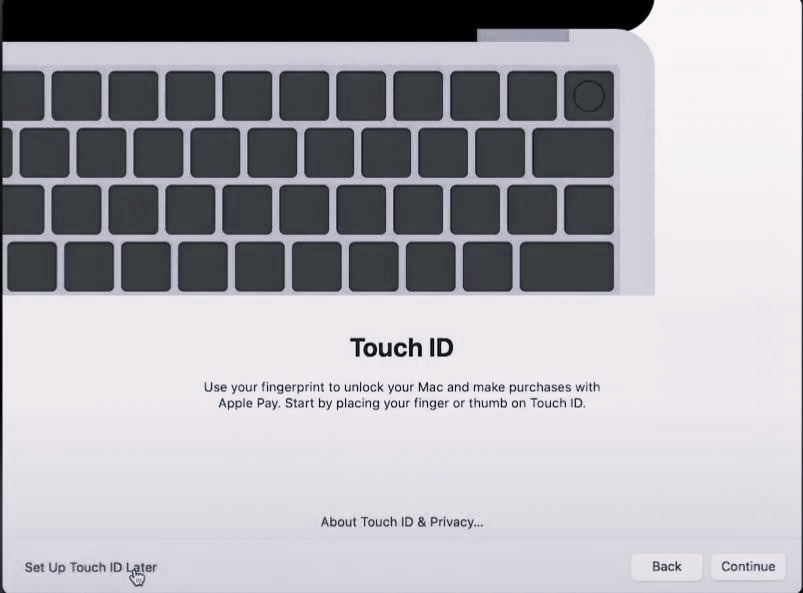
Step 11: Set Up Touch ID
Follow the on-screen instructions to configure Touch ID, if your device supports it.
Step 12: Configuration Profiles and Policies
You have now completed the initial macOS setup. Jamf Pro will begin installing required applications, security profiles, and policies automatically. Please leave the computer on and connected to the internet during this process.
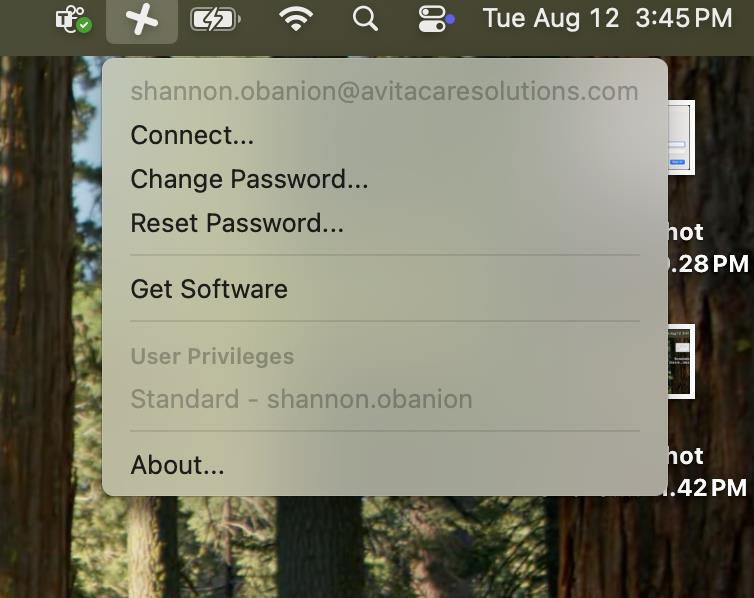
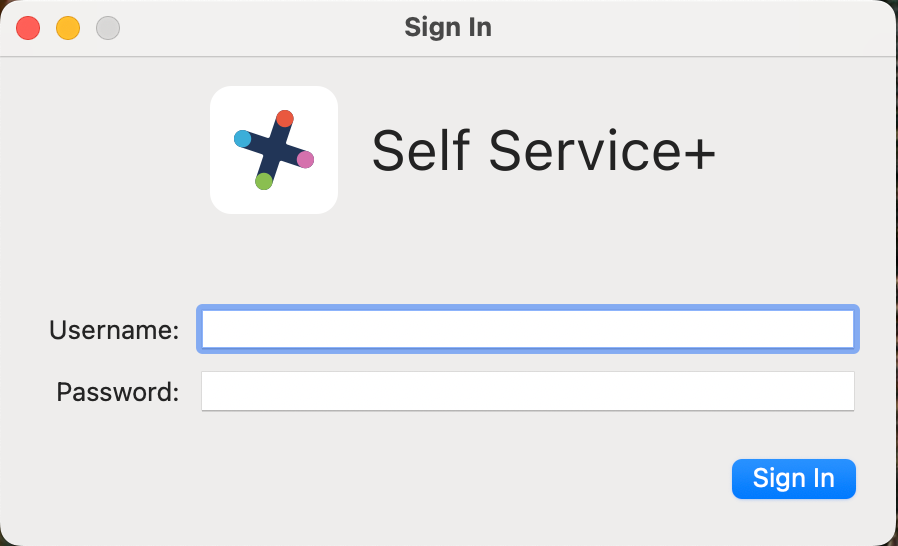
Step 13: Sync Your Avita Credentials
Once setup is complete, open Self Service+ > Click Connect. This tool will sync your local password with your Avita credentials so future logins match your organizational login.
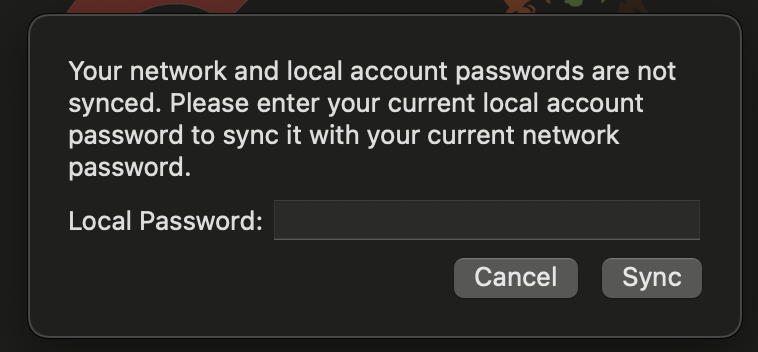
Step 14: Enter Local Password Again
You’ll be prompted to enter your temporary local password one more time. This finalizes the sync between your local and Avita account credentials.
Step 15: Verify Sync and Password Status
To confirm everything is set up:
- Open Self Service+
- Navigate to Get Software → Account Management
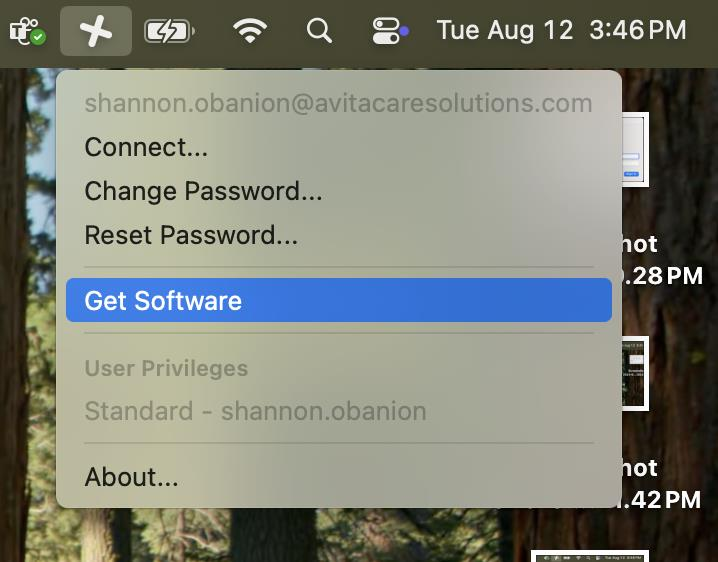

- Here, you can:
- Verify your password sync status
- View password expiration alerts
- Change your password if needed
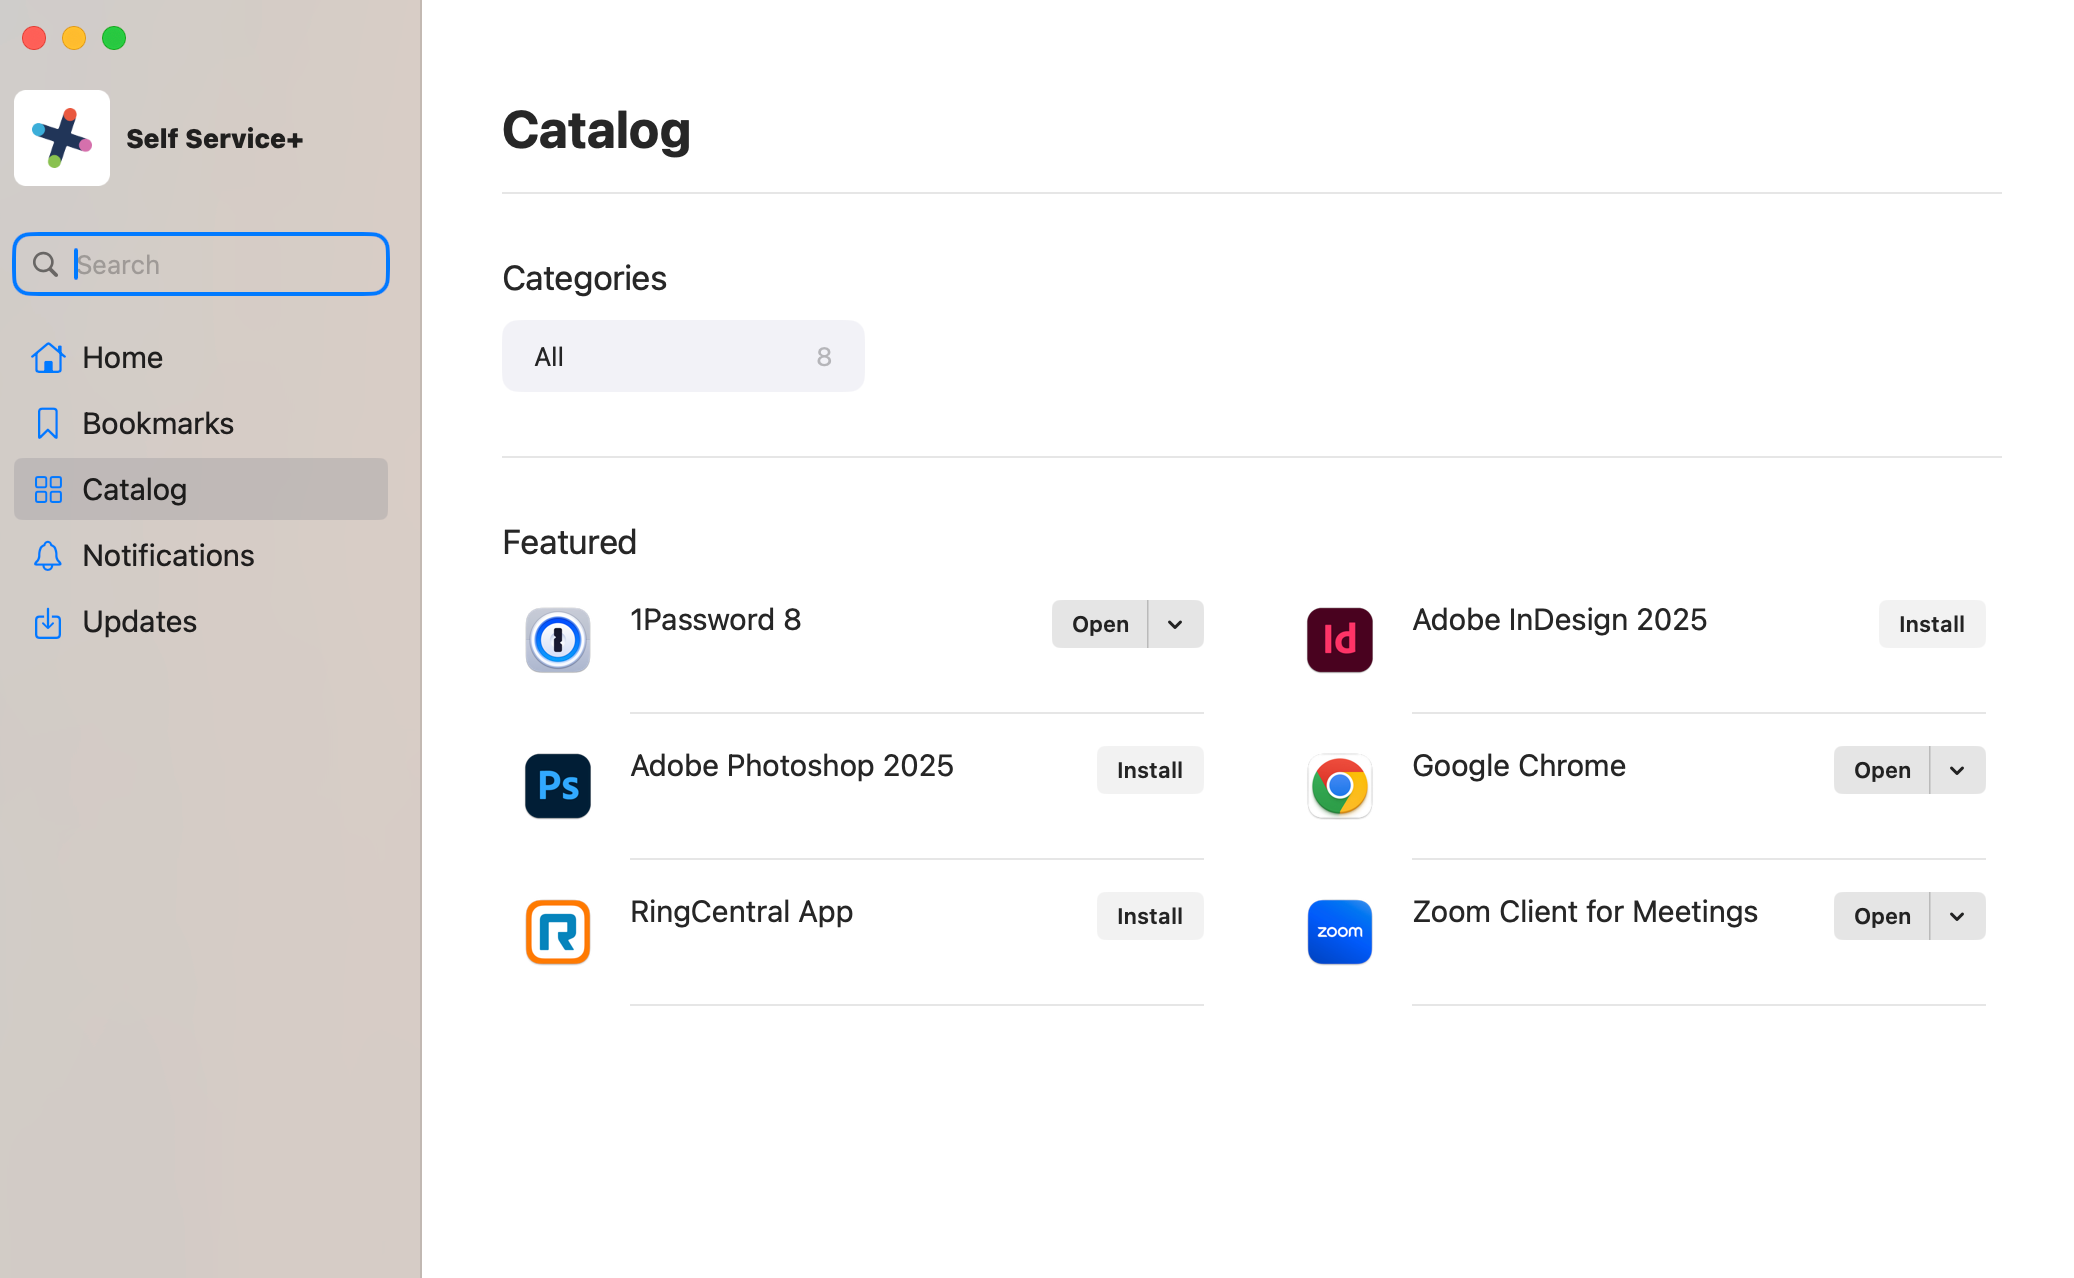
Step 16: Install Additional Applications
Self Service+ also allows you to install additional applications managed and made available by IT. If the app you need isn’t listed in your Catalog, you can submit a request through the IT department for additional applications if needed.
Create a Service Request https://asc.avitarx.com/portal/v2/request-support