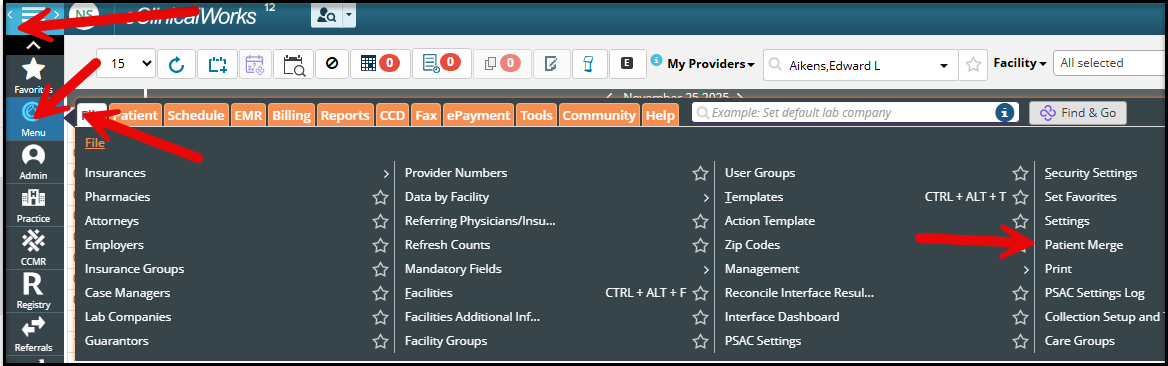
Clicking on the dashes on the top left of the screen
Click on the second option, Menu
Then Click on file To the right, click on Patient Merge.
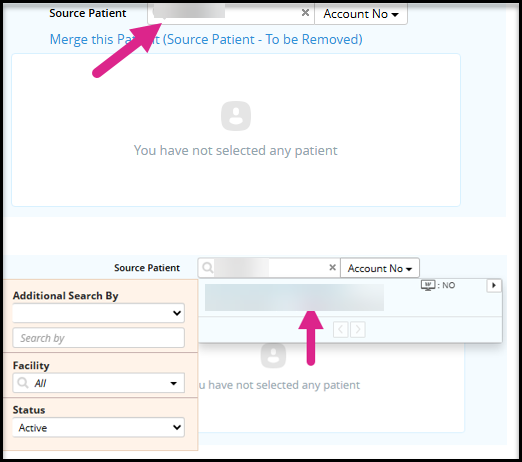
Click in the top search box (source patient search) and enter the patient’s account number to be removed.
As you type, the system will show a drop-down of accounts that match. Click on the patient’s name to select them.
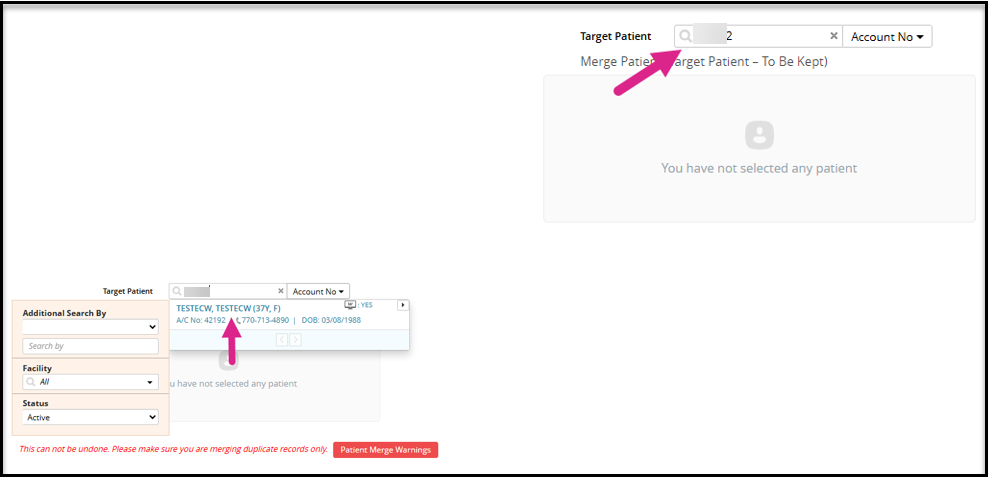
In the bottom search box (target patient search) enter the account number of the patient the source patient will be merged into, and click on the patient’s name to select the chart.
Note: If the names and DOB of the patients do not match, reach out to the requester for the ticket and confirm the account numbers are correct.
Click on the Red Patient Merge Warnings button in the middle of the screen.
Note: Once a chart has been merged into another chart, it cannot be undone.
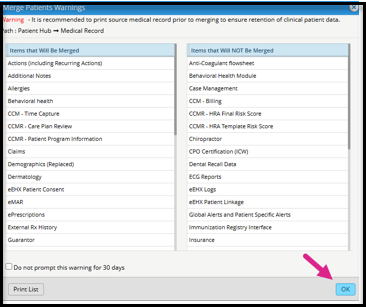
In the pop-up, you will see a list of things that will and will not be merged. Click the blue OK button at the bottom right of the screen.
Click the blue Merge button on the bottom right of the screen.
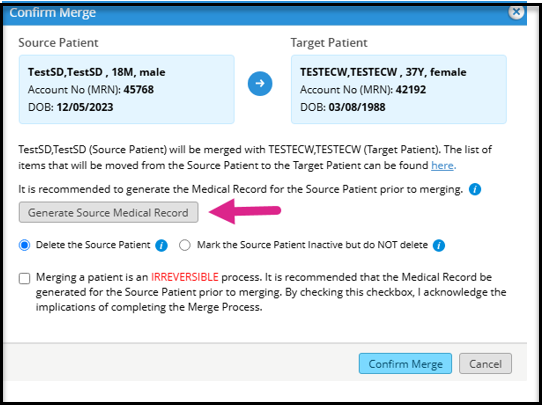
Generate the source patient’s medical record by clicking the grey Generate Source Medical Record in the middle of the screen. This will save a copy of any patient documentation from the source patient in the target patient’s record.
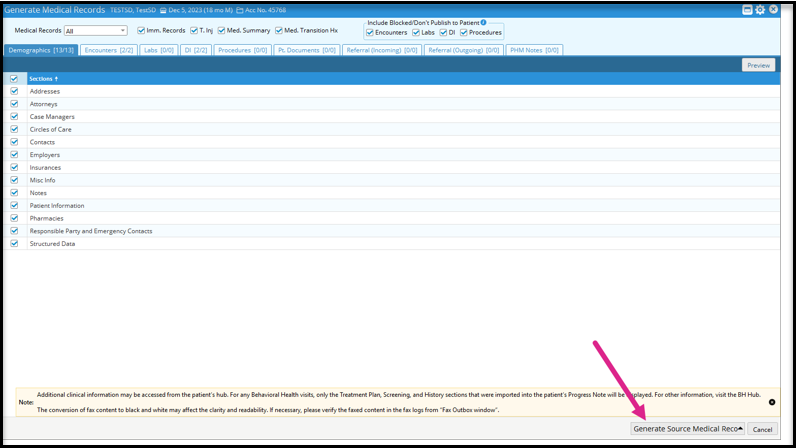
The medical records screen will appear in a new window. At the bottom right of the window, clickGenerate Source Medical Record. You will see some status bars showing the system generating the record. Click the Confirm Merge button. When it is completed, it will close the medical records window and return you to the previous window.
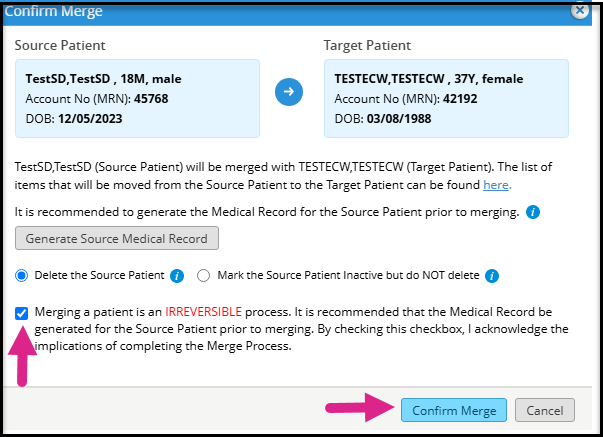
Ensure that Delete the Source Patient is selected with a blue dot, click the checkbox next to the merge warning, and click the blue Confirm Merge button on the bottom right.
Note: If there is an error, the system will display a pop-up with the error and the reason the merge cannot be completed. It will need to be fixed before trying to merge again.
After completing the merge, the source patient’s documents will show in your D Jellybean and will need to be marked as reviewed. Start by clicking on the D Jellybean at the top-right of your screen.
Click the checkbox to the left of the patient’s name, then click the grey Mark as Reviewed button above the table.