Applications
Mimecast
AOT- Courier Service for Pharmacies
Accessing Avita apps using Remote Desktop
Accessing Avita apps using Windows App
Accessing EPIC through the OCHIN Remote Portal (Citrix Workspace App)
BitRaser Wipe
Change Email Address in 1Password
Checking Intune for App Push Failure
How To Find A Computer Name
How to Connect to Remote Desktop - Financial or Other Apps (VDI)
How to Sign into Concur
How to make Adobe Acrobat the default PDF reader
How to update distribution list members
Intacct/Sage URL
Out-of-Office - How to set for Employees already out
Providing Archive Server Access
Sending Email from Shared Mailbox
Setup 1Password with Microsoft Entra
Starting Development VMs after 10PM CST during and over the Weekend
Switch from Adobe ID to Federated ID
Syncing favorites and passwords in Edge/Chrome
UPS Worldship- Setting Profile Defaults
Update Adobe Sign Email
Update Policies on Remote Computers
Updating QS/1 Archive Server Client Connections
Using CaptureOnTouch with your Canon Scanner
Using SSO to Sign into Verkada
Windows Hello for Business: Setup PIN and Biometric Options
eCW Merging Patient Charts
Avita Service Connect
Accessing Avita Service Connect - External Partners
How to access Avita Service Connect and submit a ticket ( For Insight Users)
How to use Avita Service Connect, our IT service portal
Facilities
Hardware
Basic Laser Printer Troubleshooting for customers - Checklist for Laser Printers
Ergotron Dual Monitor Mount Guide for Field Techs
How to use the Avita Technology Store
Jamf
Initial Setup for Company Owned Macs
Install Chrome and Self Service Apps via Jamf Self Service Portal on Mac
Microsoft 365
Add Outlook account to macOS
Enabling and Using Passwordless Sign-in with Microsoft Authenticator app
Encrypting Emails in Outlook
How to Add Phish Alert Button
How to add an email signature in Outlook
Install Microsoft Outlook app on mobile device
Microsoft Application Policy Installation - Android
Microsoft Application Policy Installation - iOS
Migrate content to OneDrive
NVP Account Setup
New Hire Instructions For Updating Windows Password and MFA
New Phish Alert Button for reporting phishing or spam emails
QCarePlus Device Migration
QCarePlus Outlook Migration
Re-adding Outlook Account on Mobile Device
Reconnect MFA Authenticator App with Number Matching
Reinstalling the Intune Company Portal on Android
Restoring Files in OneDrive
Self Service Password Reset or Unlock account
Setting up Passkeys in Microsoft Authenticator app
Setting up the alerts for the SharePoint folders
Sharing HIPAA Documents
Sharing emails and files securely
Updating email address in Microsoft 365 apps
Signing into Your Company Device for the First Time
Phone
Ring Central app not allowing calls to come through
RingCentral Issue - Headset not working
RingCentral MVP app Jabra Headset Audio Issue Resolution
RingCentral Video Training
PioneerRx
_Misc. Articles
eCW
- All Categories
- Microsoft 365
- QCarePlus Outlook Migration
QCarePlus Outlook Migration

QCarePlus Outlook migration
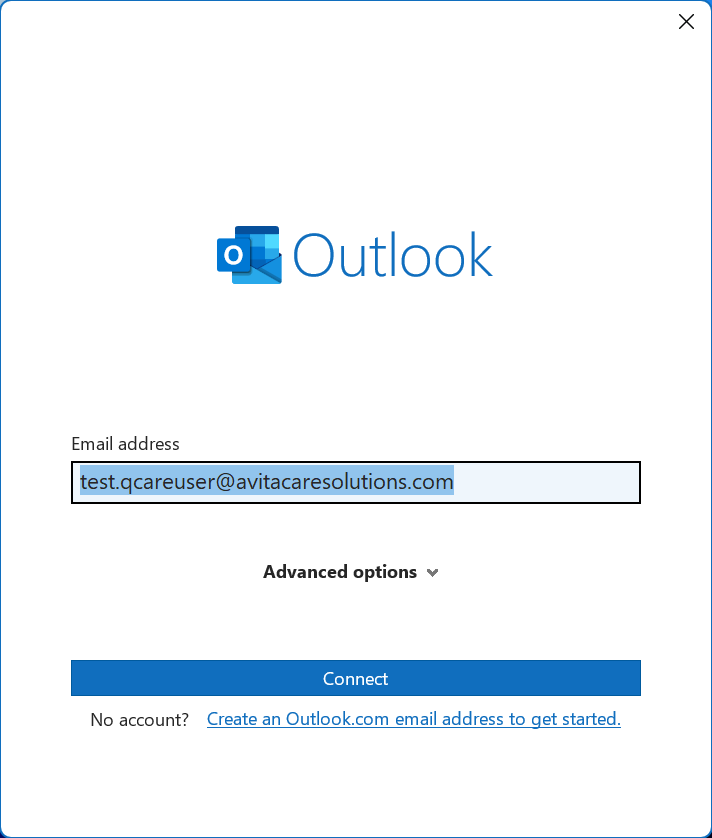
After your machine has successfully migrated, and you login the first time, open Outlook. When it launches, Outlook should recognize your account. Click Connect to continue. If necessary, enter your email address before clicking Connect.
After successfully adding your account, you will see the following window. Click Done.

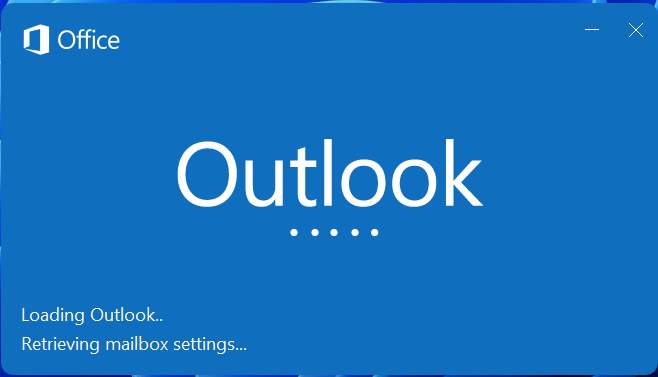
After a few moments this window will disappear, and Outlook will open. Depending on the size of your mailbox and your bandwidth speed, it could take anywhere from a couple minutes to and hour or two for all your emails to download. If you need something important, please go to https://outlook.office.com.
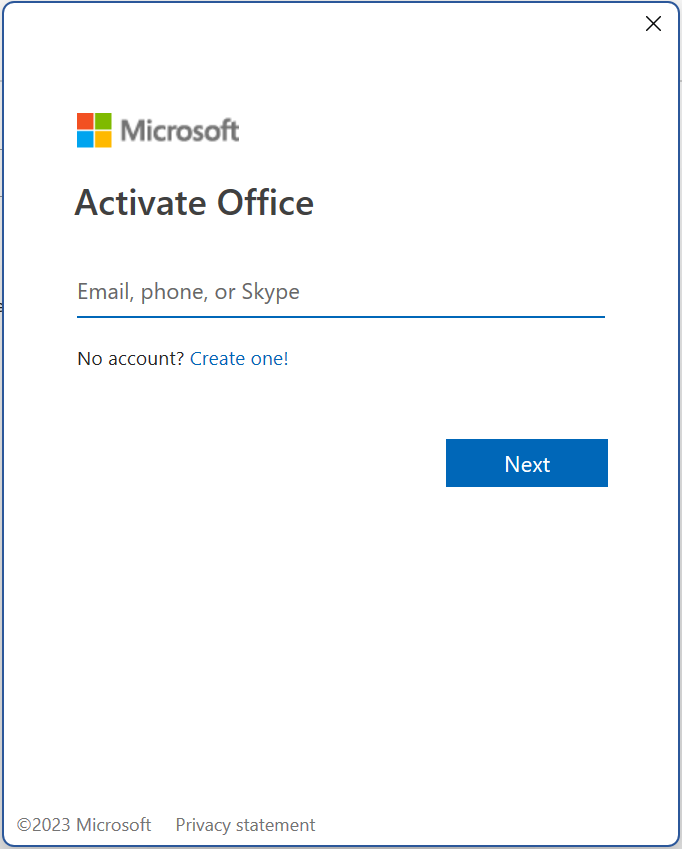
Next, you will want to activate Office. Open any Office app (Word, Excel, etc.) and you should be prompted to Sign in or create account. Click Sign in.
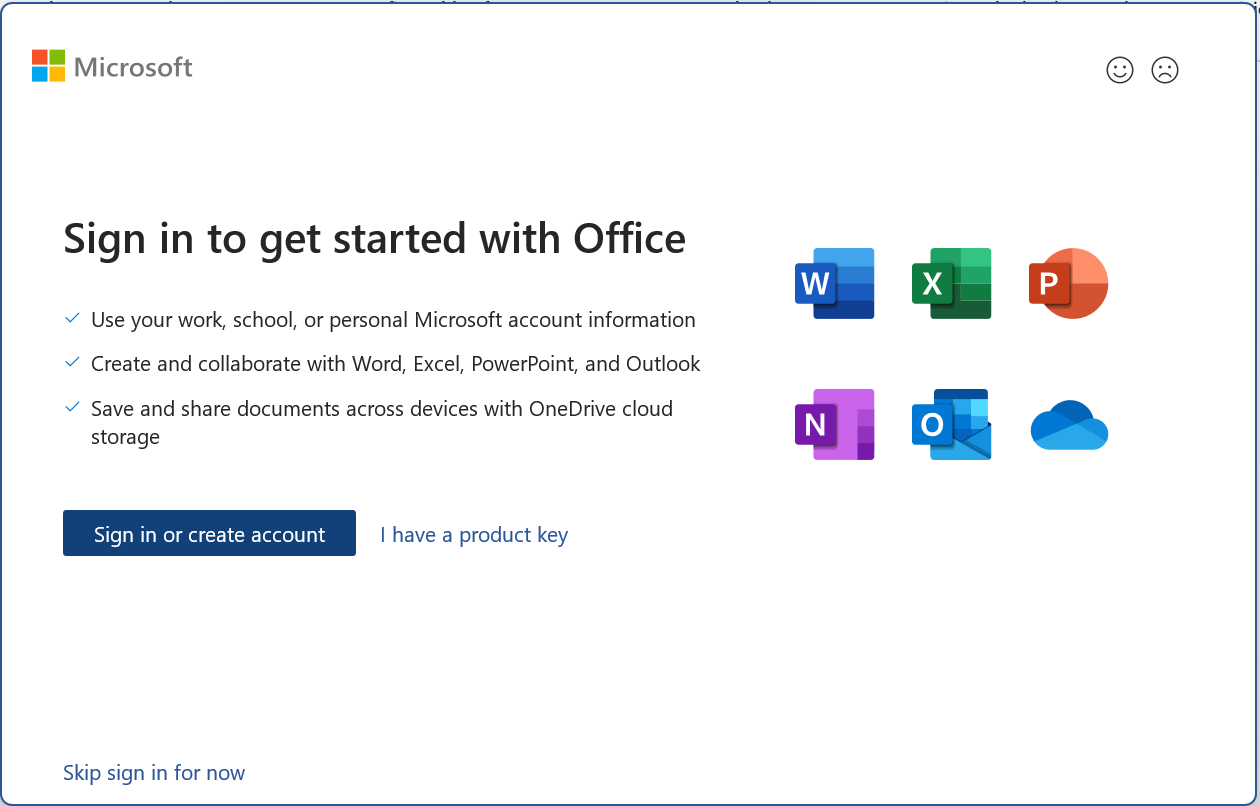
Enter your email address.
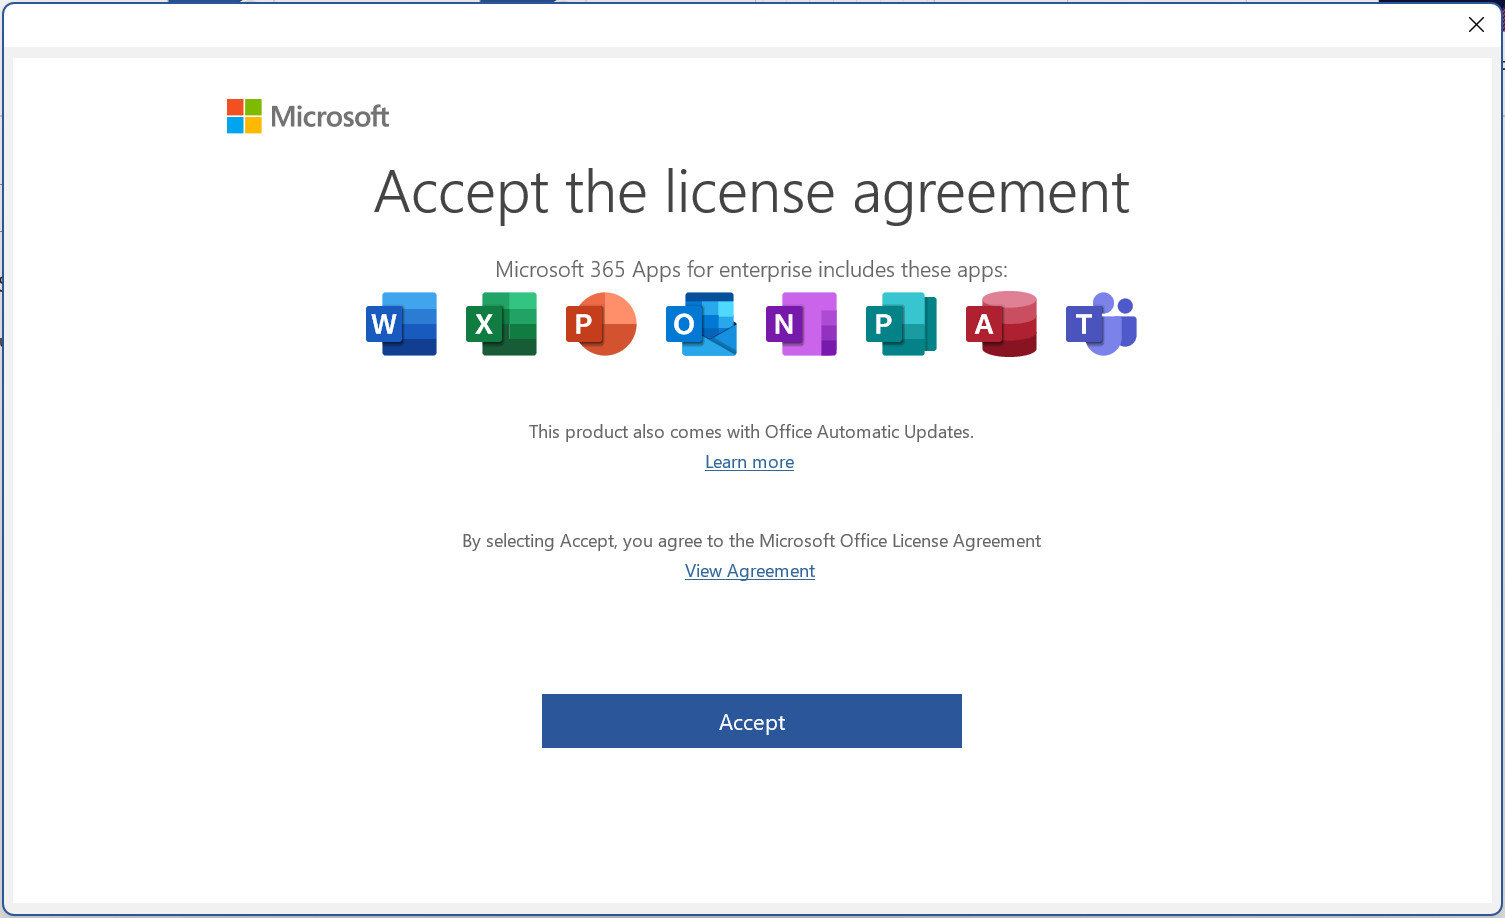
Accept the license agreement. You are all set.
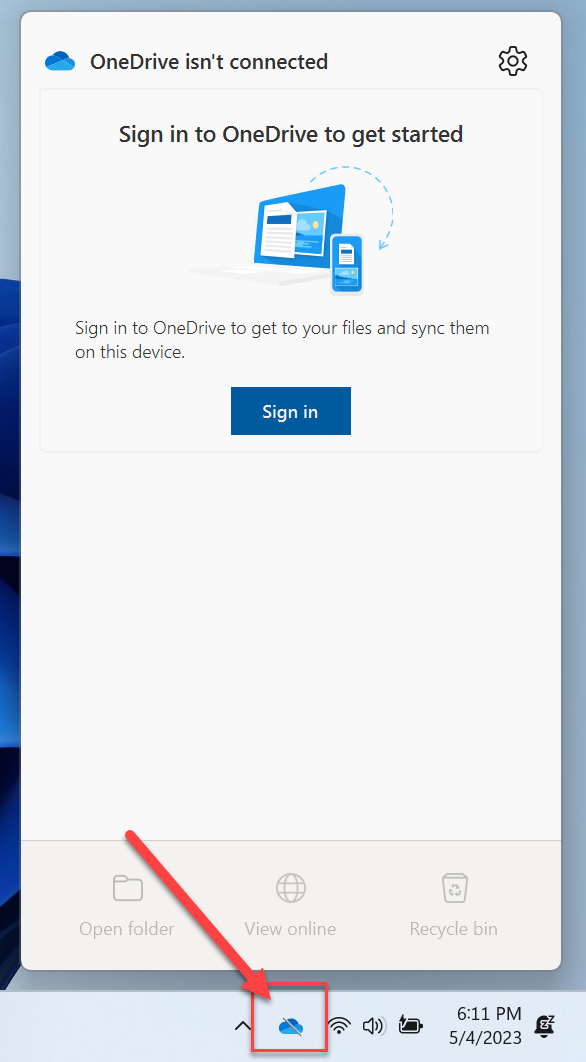
OneDrive should sign in automatically, but if it doesn't, you will need to sign in manually. Locate the OneDrive icon in your taskbar. Double-click on it. If it shows Sign in, click it and go through the steps.
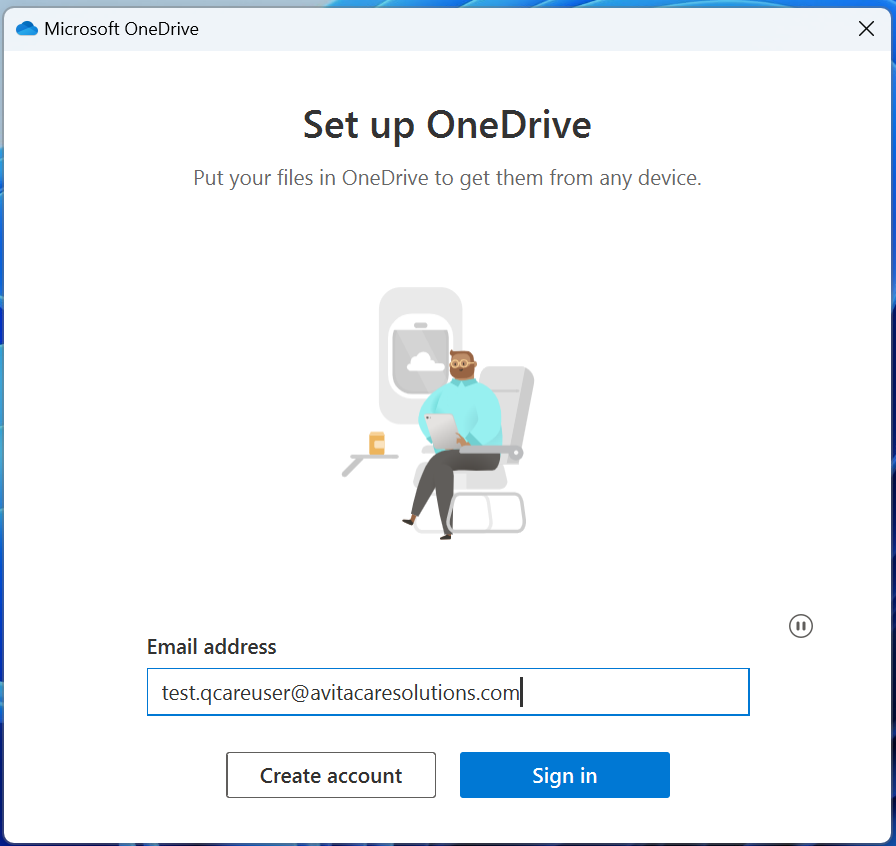
Email address should be populated already, so click Sign in.
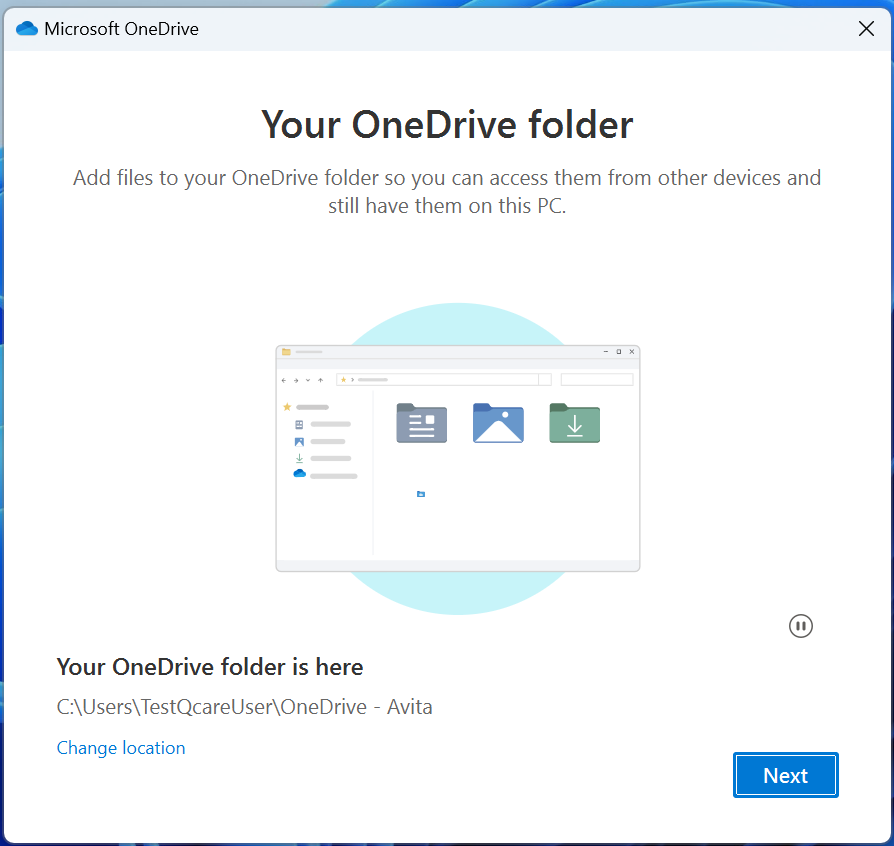
Click Next on the Your OneDrive Folder screen.
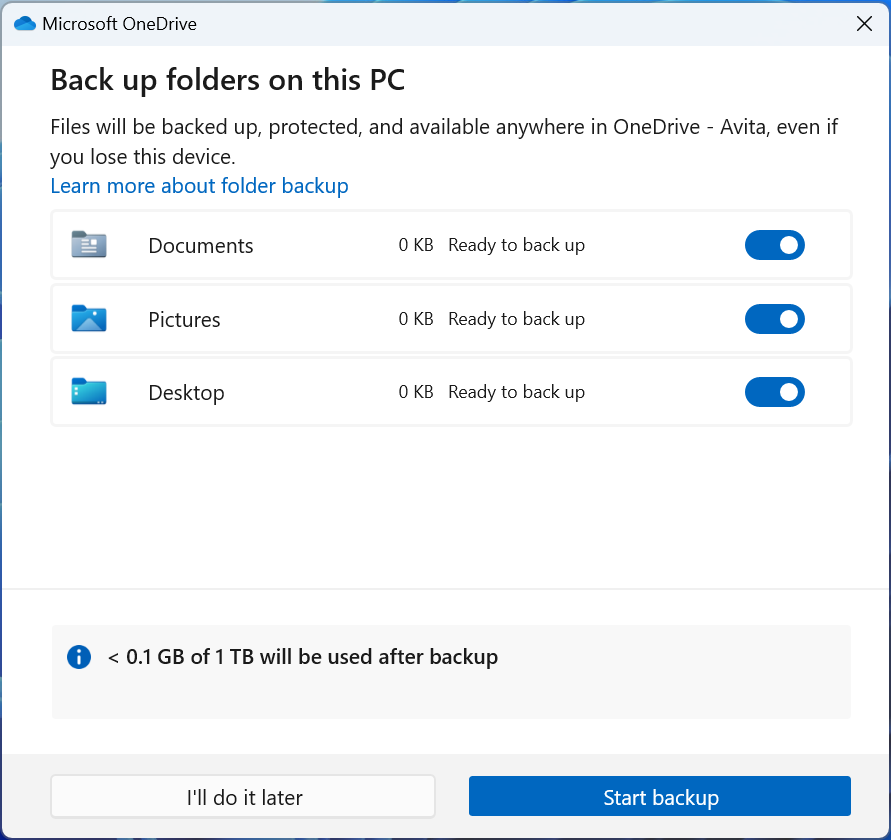
Keep all the folder selcted on the Back up folder on this PC window. Click Next.
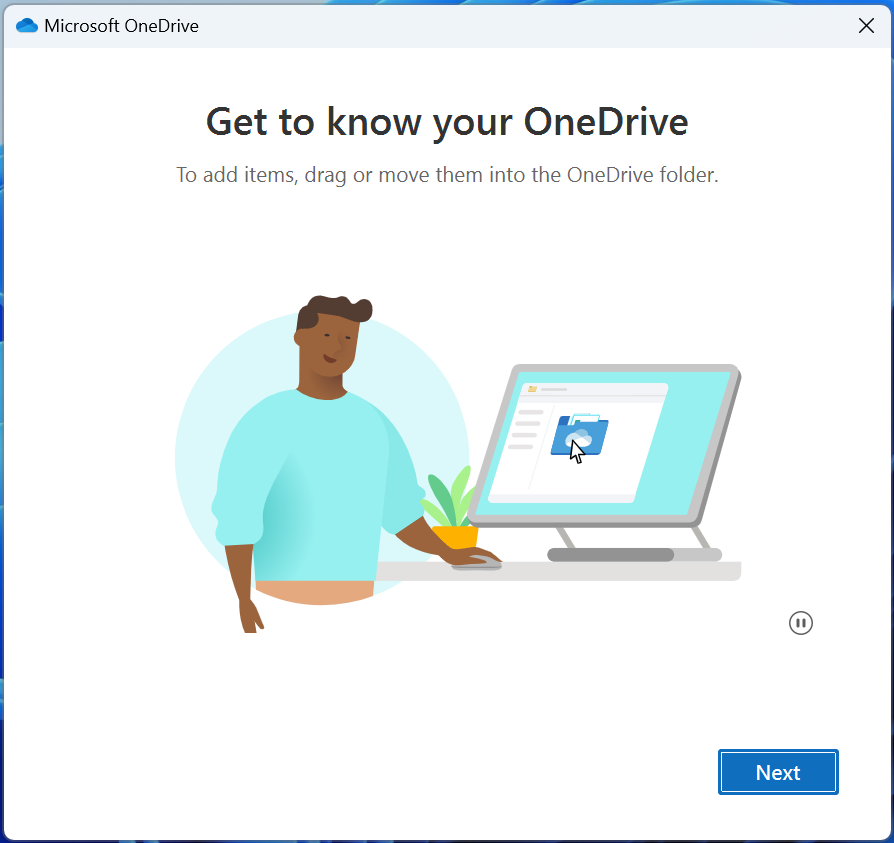
Click Next.
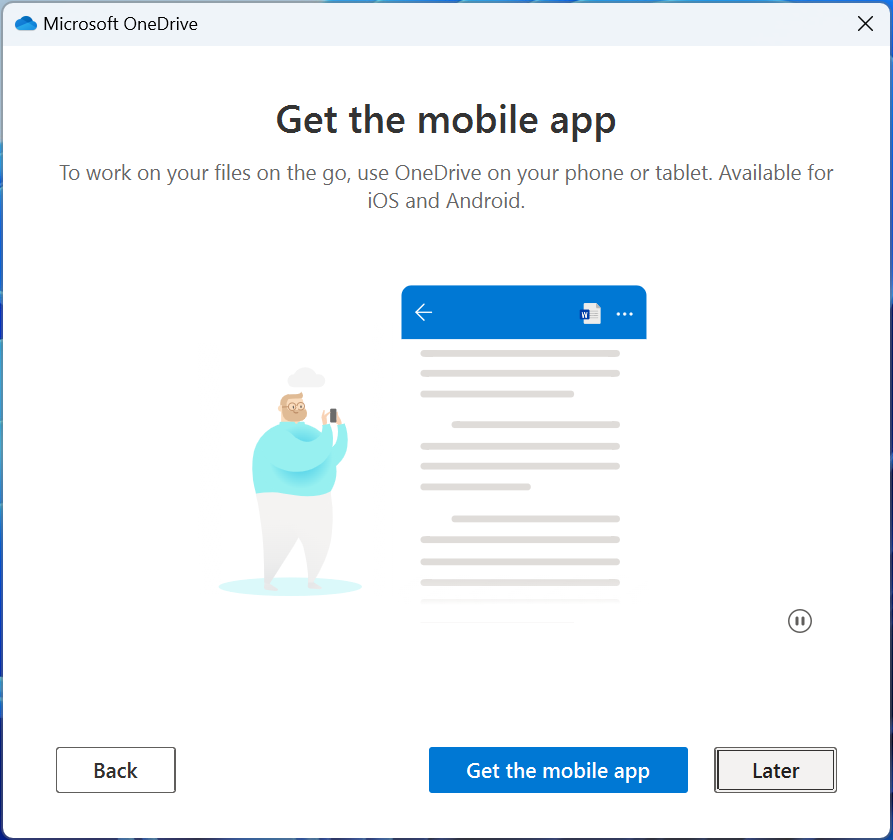
Select Later on the mobile app screen.
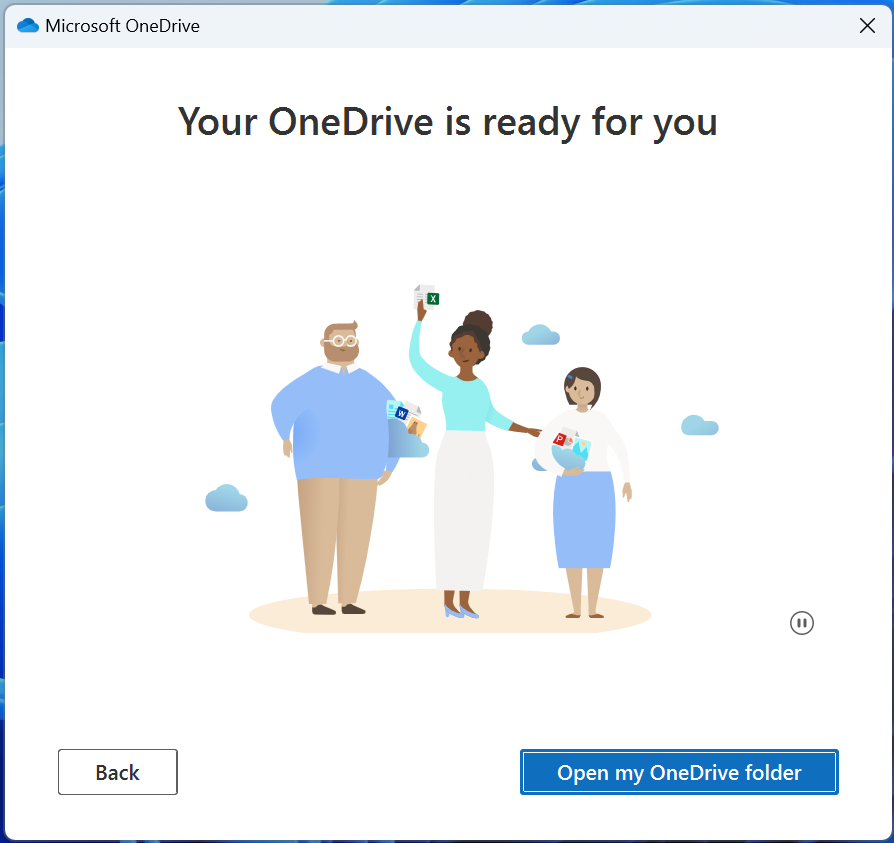
Select Open my OneDrive folder to complete. You should now see all the files you had before the migration. If any files are missing, please reach out to the IT Service Desk at 803-978-9070.