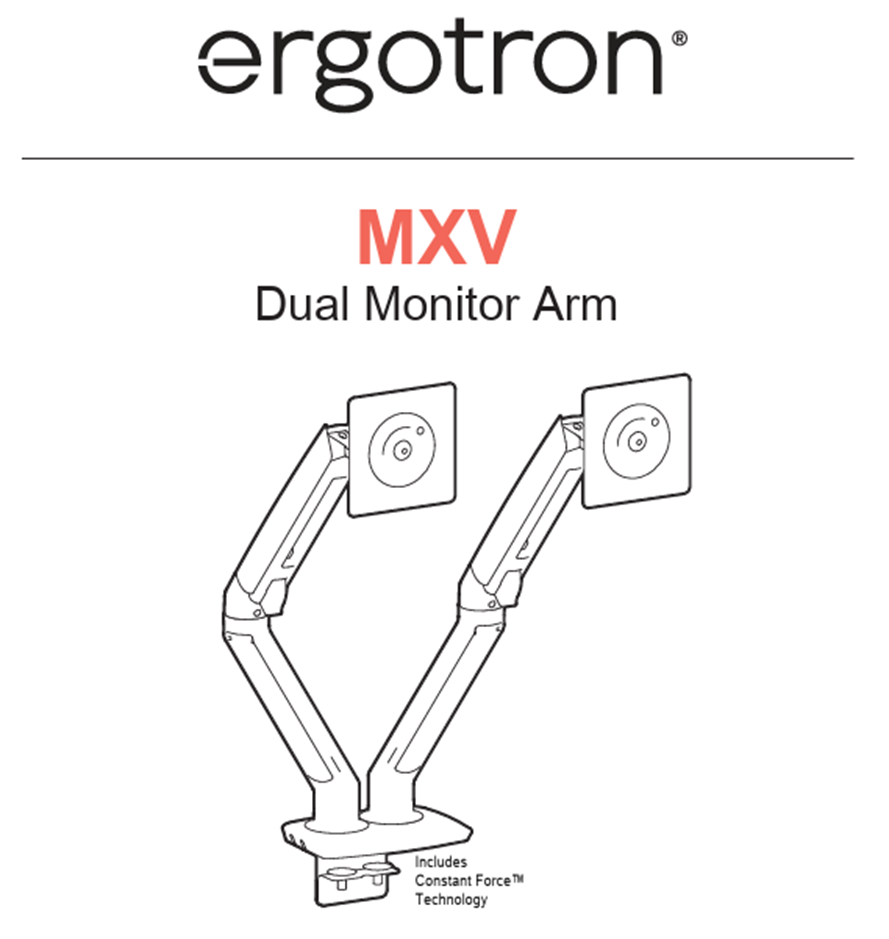
Ergotron Dual Monitor Mount Guide for Field Techs
DO NOT PERFORM THESE TASKS WITHOUT SPEAKING WITH AN AVITA TECH
- Unbox the arms
- Unbox one monitor
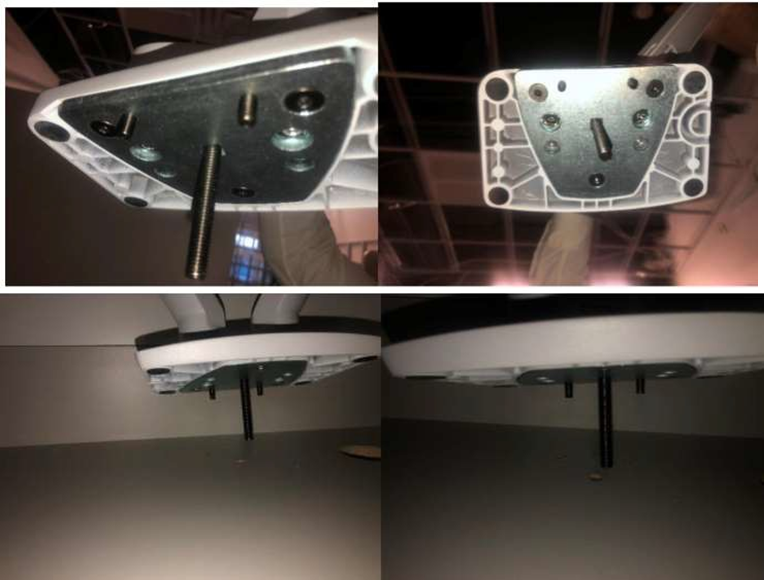
- Use the metal plate that goes under the counter as a stencil for marking the holes to be drilled. The larger bolt will need a 3/8” drill bit. The 2 smaller holes require a 5/16” drill bit.
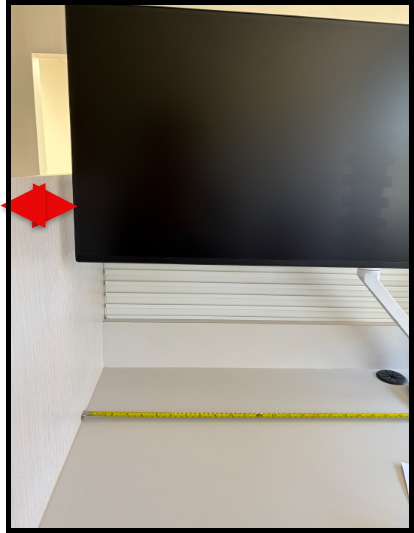
- Monitor mount should be approx. 3” from the back of the furniture/wall. The monitors will need to be centered where the technician will stand. If you are unsure, ask a member of the pharmacy team. The elbows on the monitors cannot extend outside of the workstation counter space or else staff will hit them when moving.
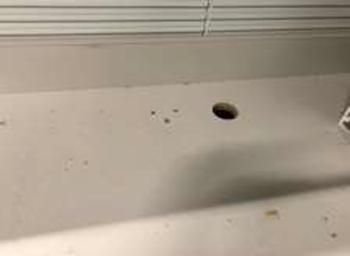
Drill three small holes as shown on the instructions that come in the box. The bigger 2-in hole shown below is for cables from above to under the counter. The larger bolt size is M8 and requires a 3/8” drill bit. The smaller bolts are M6 and require a 5/16” drill bit. USE THE PLATE AS A STENCIL TO GET THE ORIENTATION CORRECT.
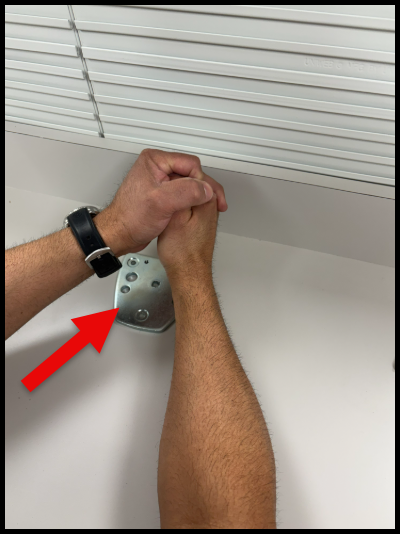
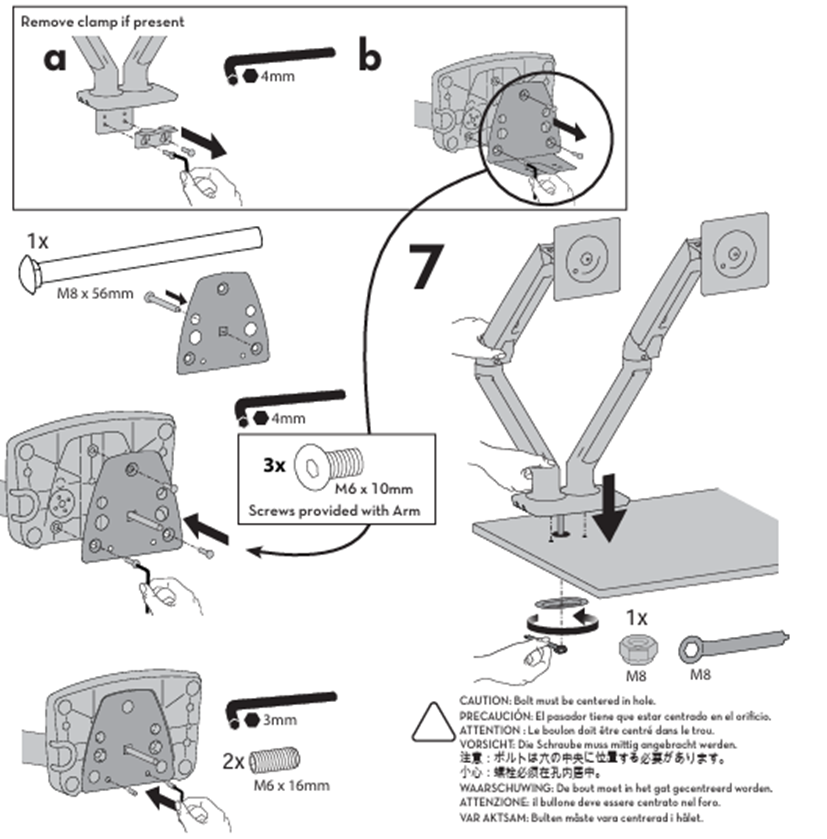
Follow instructions to mount arm above the counter and secure it with nut screw and washer plate under the counter. Make sure to include the peg screws so that the entire monitor mount does not rotate in place.
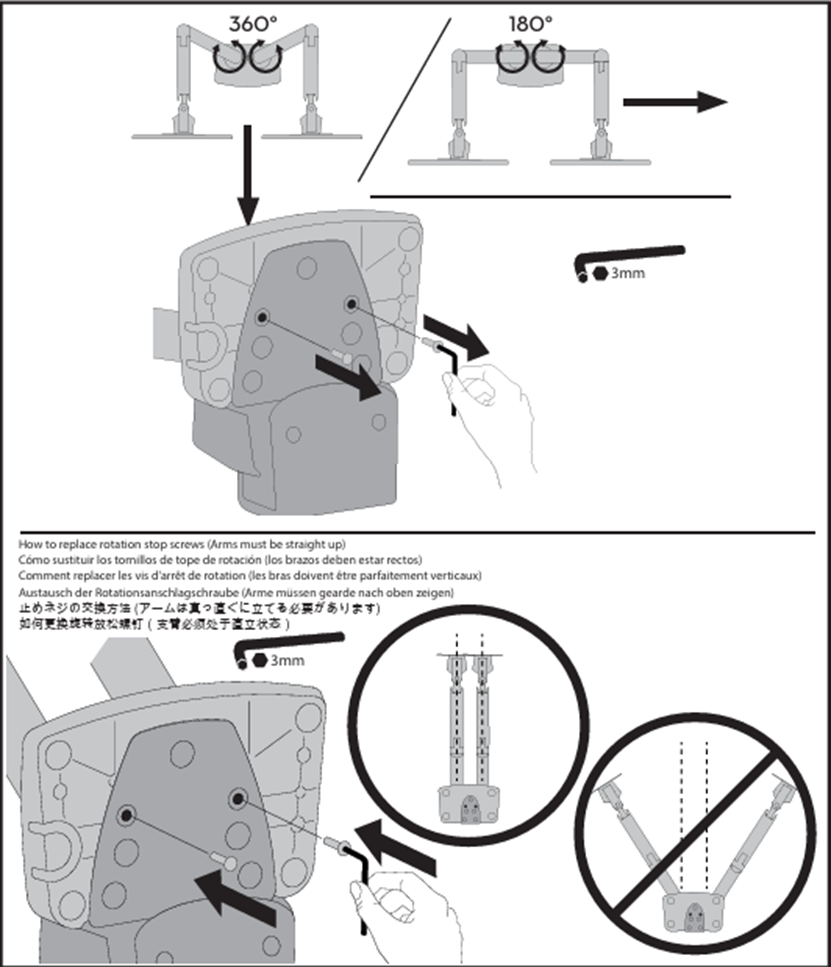
- Remove the rotation stop screws from the bottom of the mount.
- As shown below, remove the C-clamp and attach the grommet mount plate to the mount.
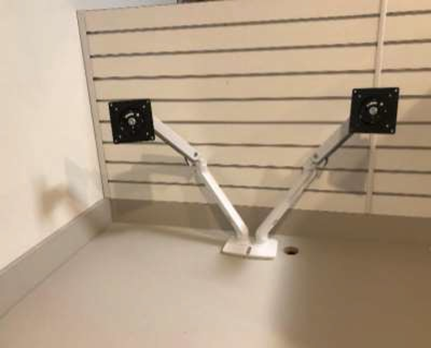
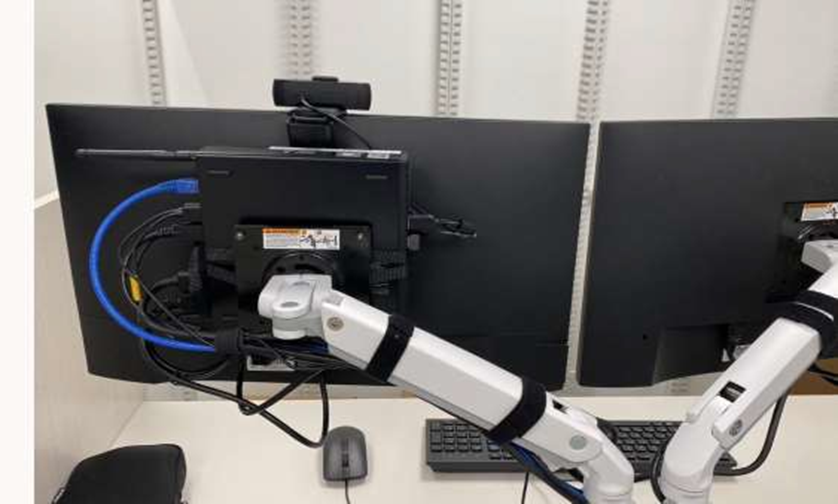
- Monitor arms should look like this now.**They will not stay in this position; this is simply an example**
- Install all hardware at workstations to pharmacy staff preference. The pictures below show how workstations must look once complete:
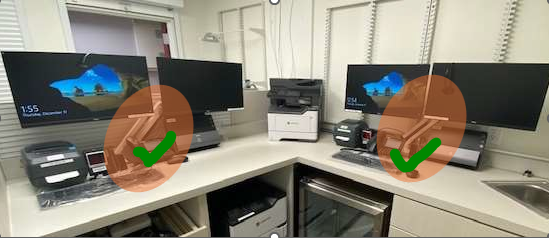
- Notice how both monitor arms are aimed the same direction, but one arm then separates at the middle hinge and goes the opposite directions. This allows for the least amount of room used behind the monitors. Cable management should be performed as shown in the last picture.
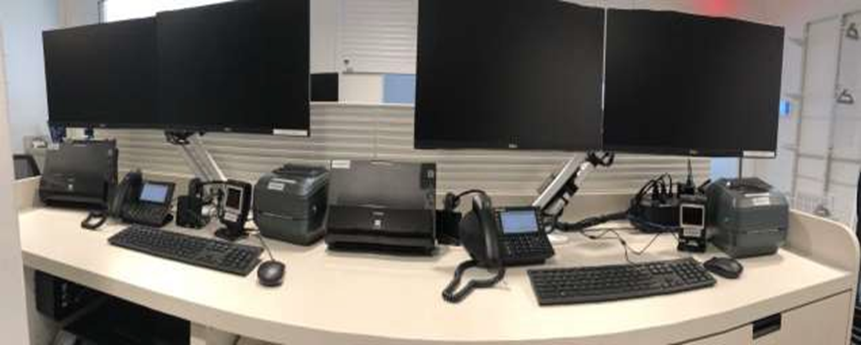
- This is what every workstation should look like after cable management:
Look at these helpful Links as well
Please see below how to mantle and dismantle a monitor mount to put up or tear down and ship out to another location or closing site:
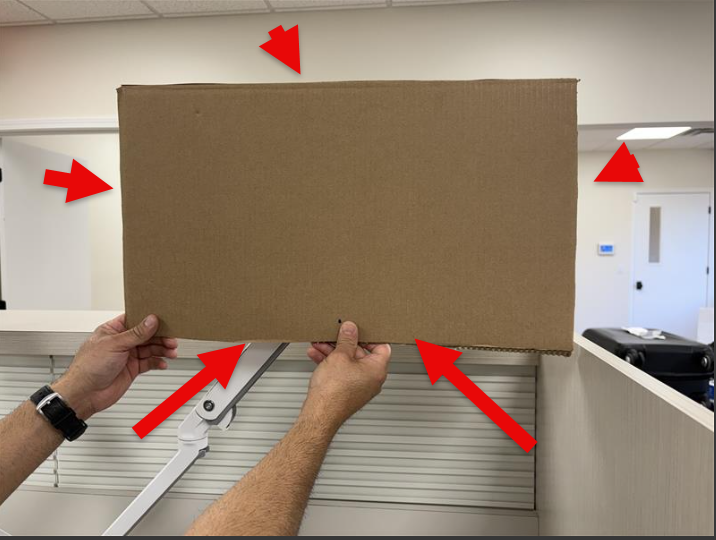
- Use cardboard to measure the space that will be needed for width
- Measure space needed for wall mount on wall.
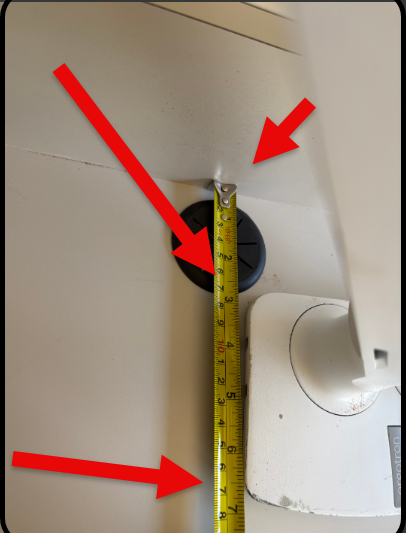
- Then Measure from mount to wall space.

- This way you will not be hitting the wall with monitor.
- Then taking the bottom Mount bracket .
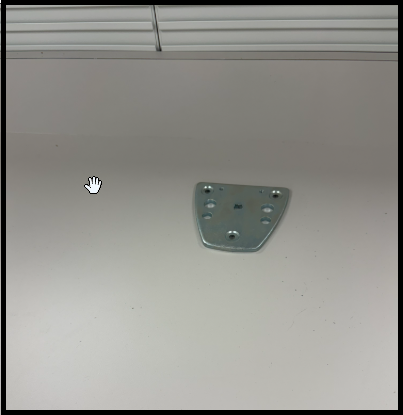
- Make sure the spacing is correct for the bottom arm bracket.
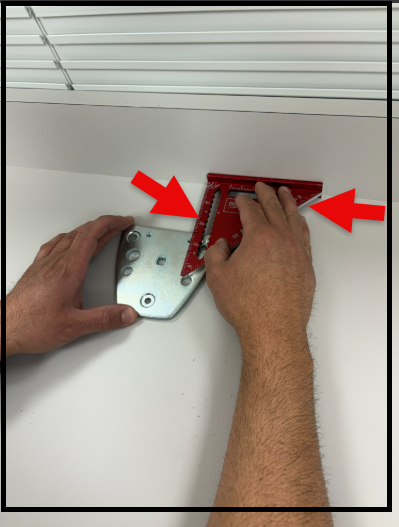
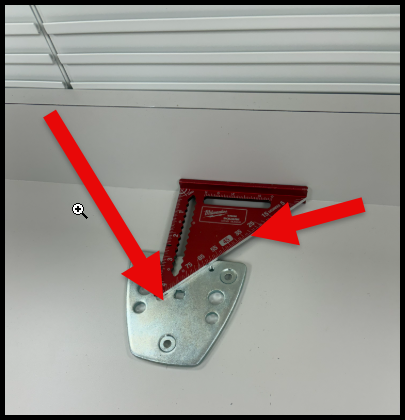
- This will allow you to drill the holes where they need to be with no error or anymore damage to the counter location.