Table of Contents
Windows Hello for Business: Setup PIN and Biometric Options

Windows Hello for Business: Setup PIN and Biometric Options
Windows Hello for Business is being enabled to give you a more secure and easier way to sign in to your computer. Instead of relying only on passwords, you’ll be able to sign in using a PIN and—on eligible devices—biometric options like fingerprint or facial recognition. These methods are faster, reduce the risk of phishing or password theft, and help better protect both your account and company data.
Please watch the 1‑minute video below for a quick walkthrough of what the setup process looks like before you continue.
If you have more than one device, each device will have a different pin.
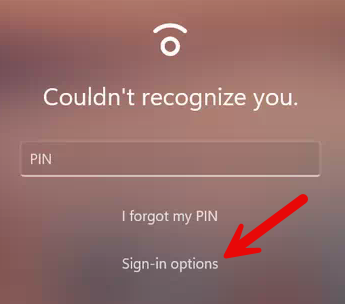
If you ever forget your PIN, you can still sign in using your password via Sign‑in options.
ISMS-POL-05 - Password Management Policy
Initial Setup of Windows Hello PIN or Biometrics
- Setting up Facial Recognition on an Eligible Device by selecting "Yes, set up" as seen below
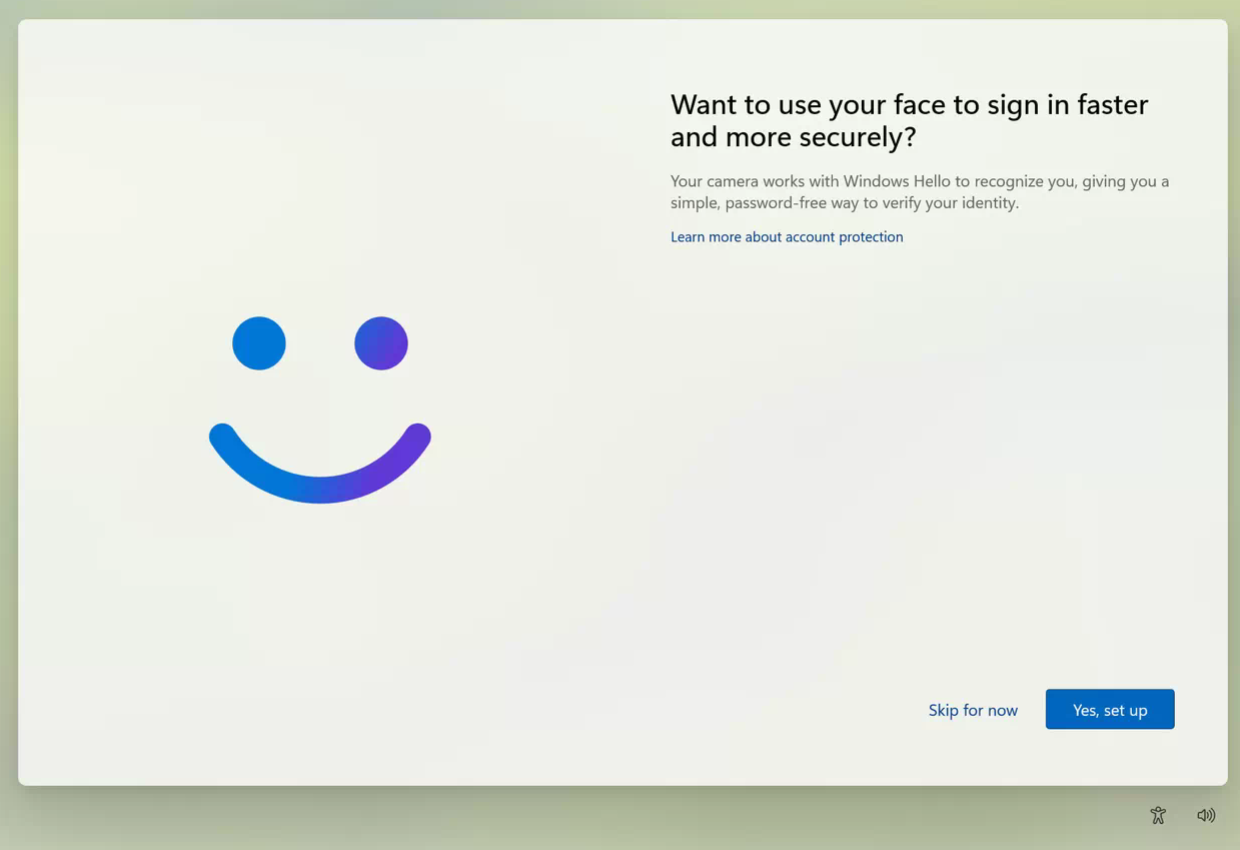
If you don't see the option for Facial Recognition or Fingerprint Biometric, then it is likely you don't have an eligible device for these additional features and will only get the PIN option, as seen later in this guide.
- If you have a newer-model laptop, then you will likely have a fingerprint reader built into your power button at the top right-hand corner. You just need to gently rest your finger on top of the button to use the fingerprint reader, as shown with that backlight on the button. Please see the image below as a reference.

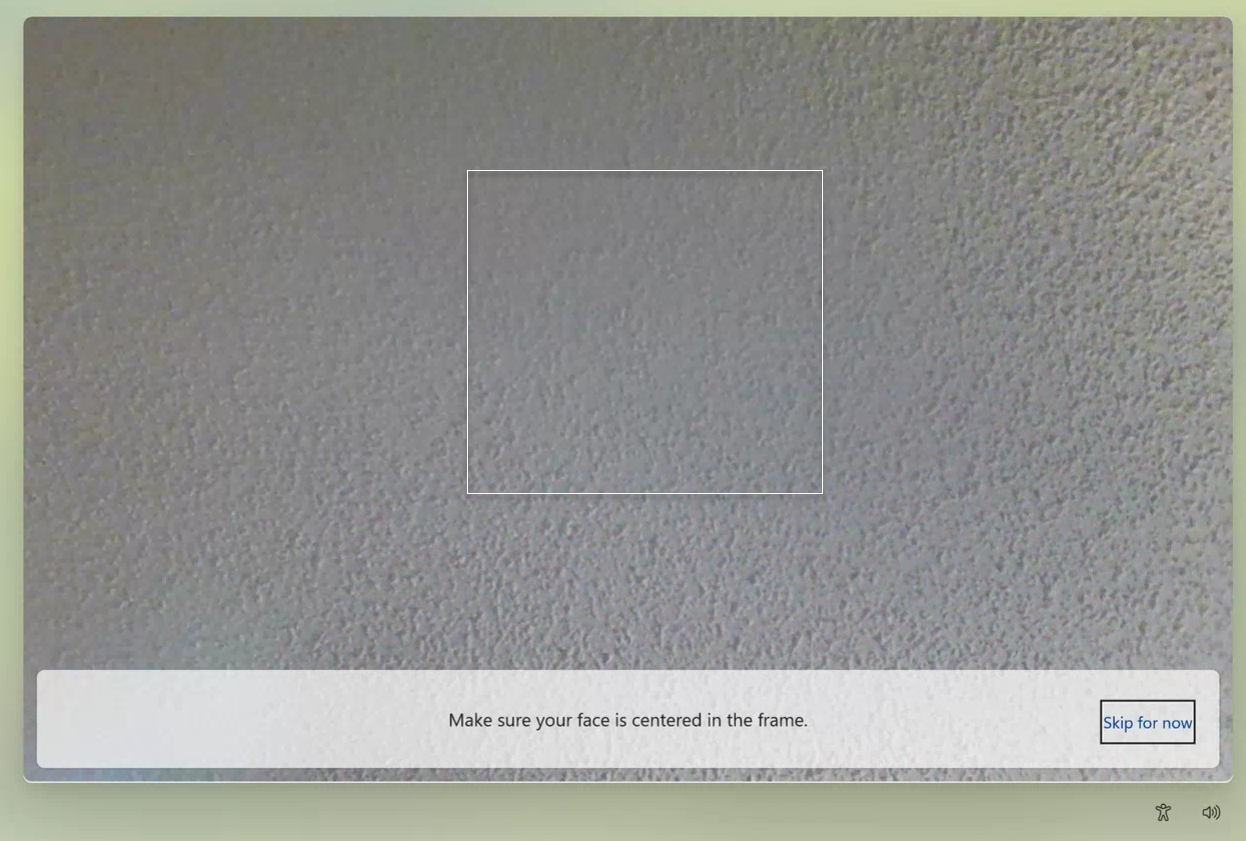
- Facial Recognition will then use an eligible webcam to scan your face. Simply position your face in the middle of the screen to proceed.
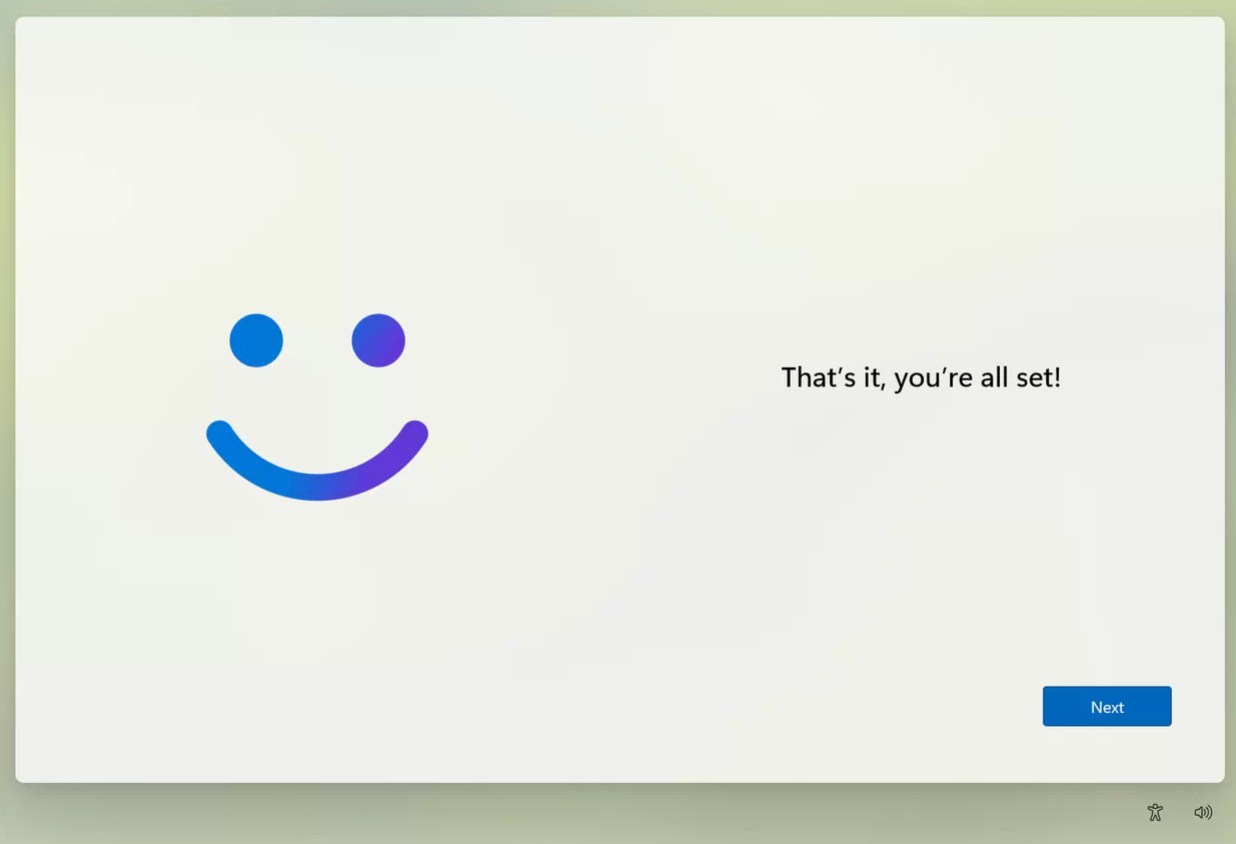
- Facial Recognition will complete when it says, "That's it, you're all set!" as seen below. Select Next to proceed to setting up your required PIN.
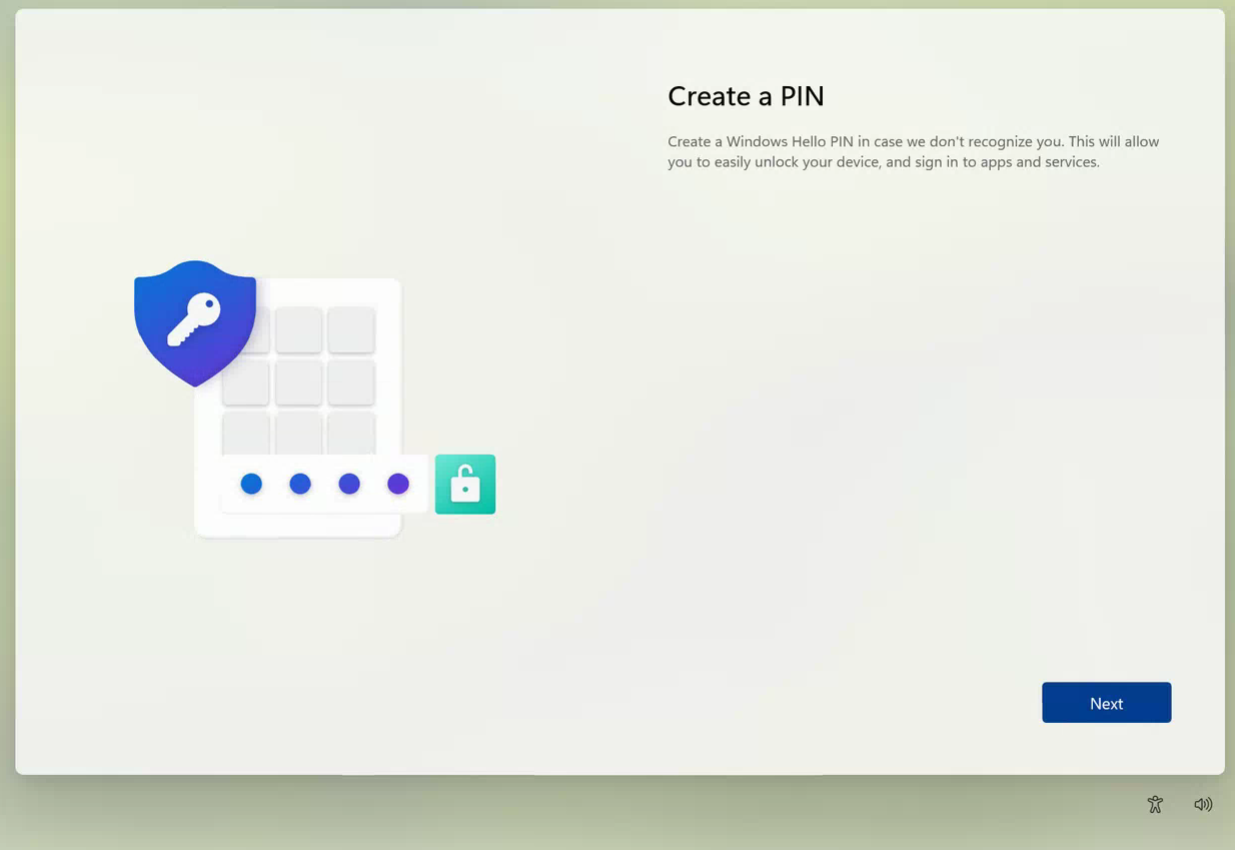
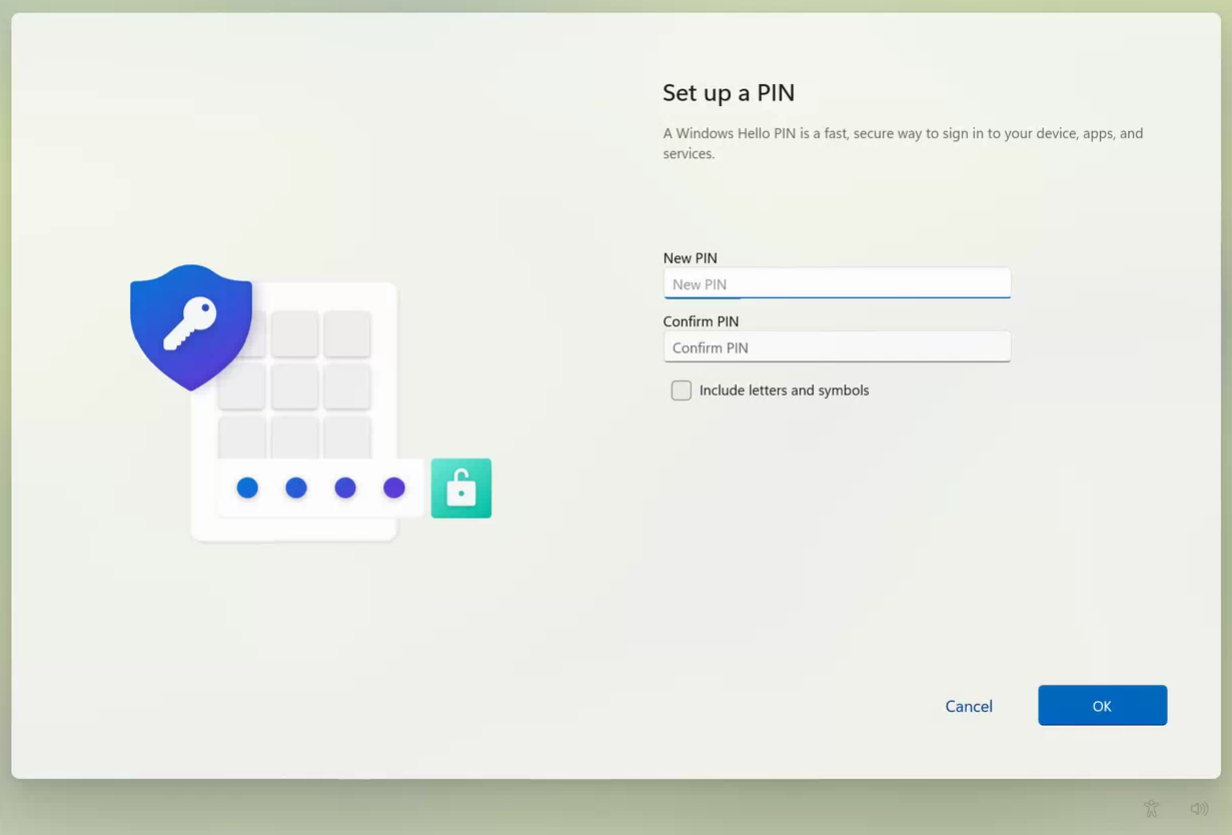
- Select Next to begin setting up your PIN for this specific device/workstation. The PIN has to be a minimum of 6 digits and will NOT sync between devices.
- Set your 6+ digit PIN on this screen and select "OK" to proceed.
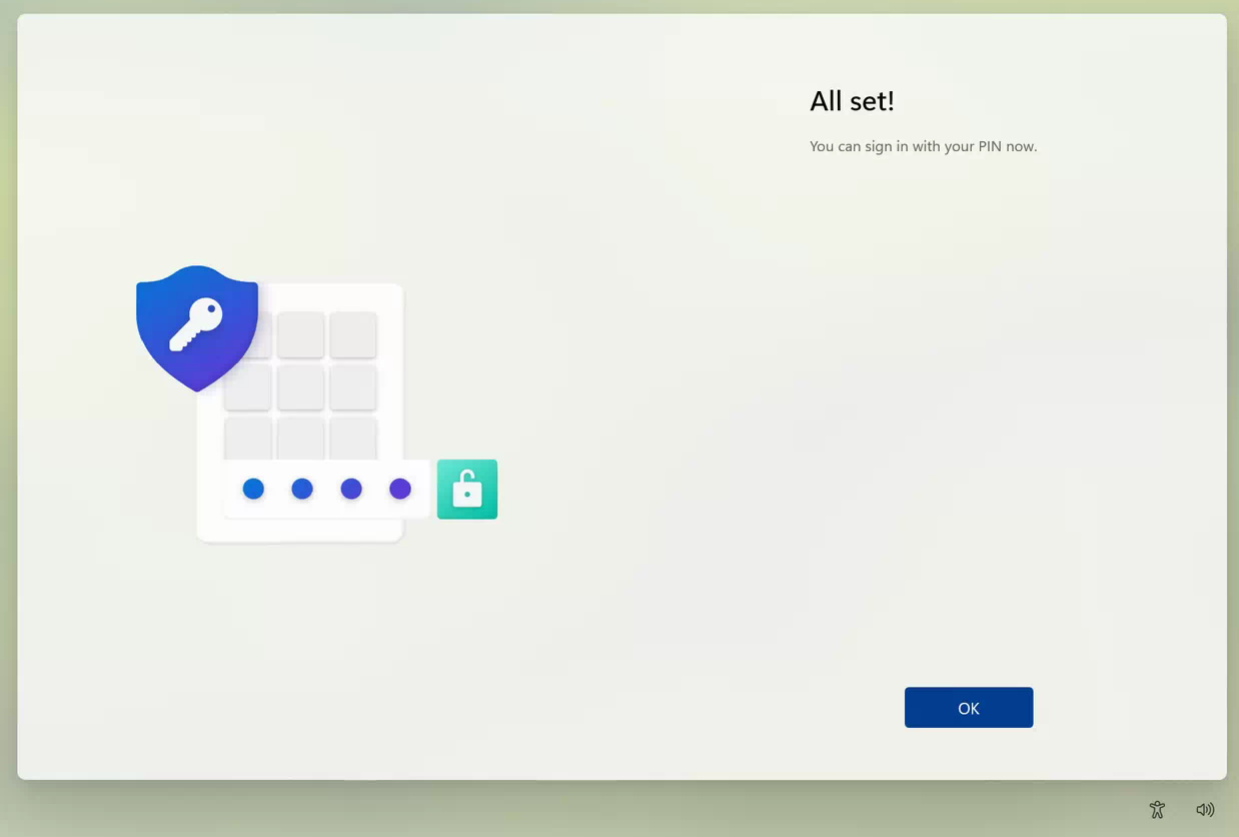
- The final screen will now let you know you are "All set!" and the Windows Hello for Business settings are complete.
The process below outlines the steps needed to change the sign-in option at the login screen. This is only applicable after you have completed the Enrollment Experience.
Alternate Sign-In Methods for Windows Hello
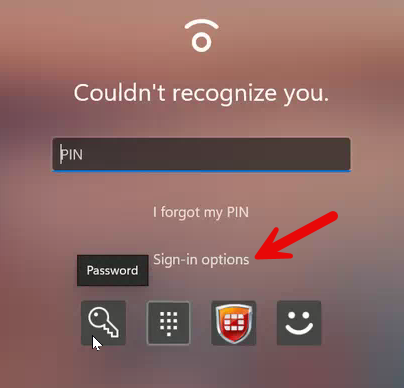
- On the login screen, select Sign-in options to change the sign-in method
- Hover over the icon to see the option and select the desired sign-in method. For example, select the Key icon to change back to your traditional password sign-in method.
Troubleshooting Steps
Error "credentials could not be verified".
If you see the error for "credentials could not be verified" then follow these steps detailed below.
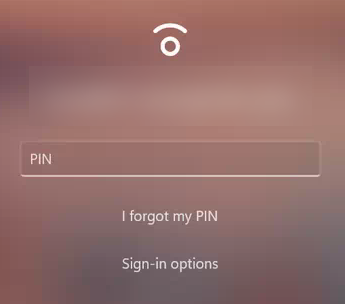
- Select the key icon under Sign‑in options to sign in using your password

- Launch FortiClient from the Start menu
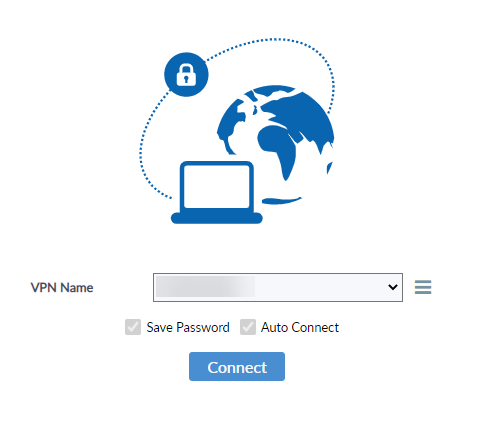
- Once signed in, connect to the VPN manually
- Lock your computer, then unlock it again to test your PIN or biometric sign‑in
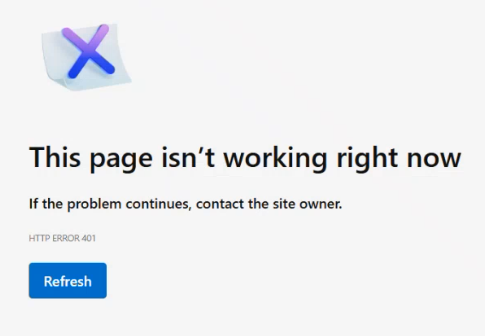
Error for "This page isn't working right now" accessing SSRS Reporting
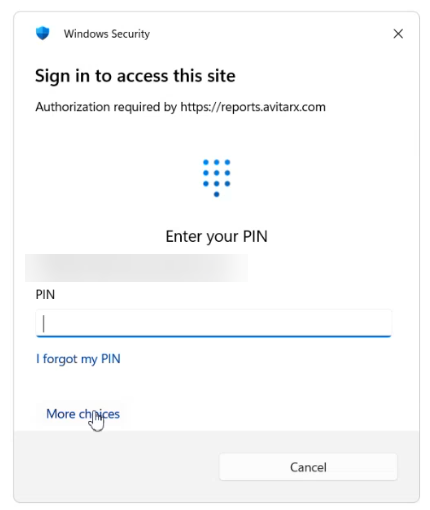
If you see the error "This page isn't working right now," then follow the steps detailed below.
- If you are accessing reports via SSRS then the URL will look like https://reports.avitarx.com/ as seen below

- Select the Refresh under the Error message to be prompted again
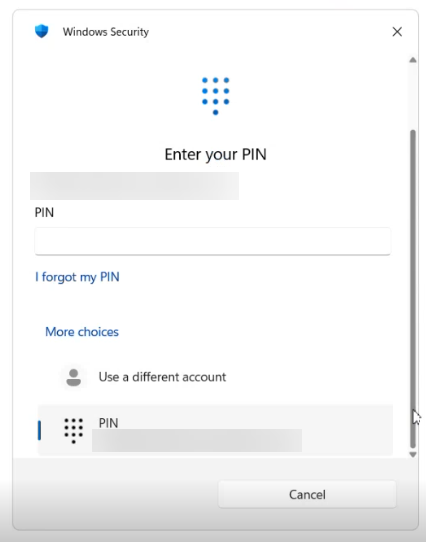
- Select the More choices option under PIN option
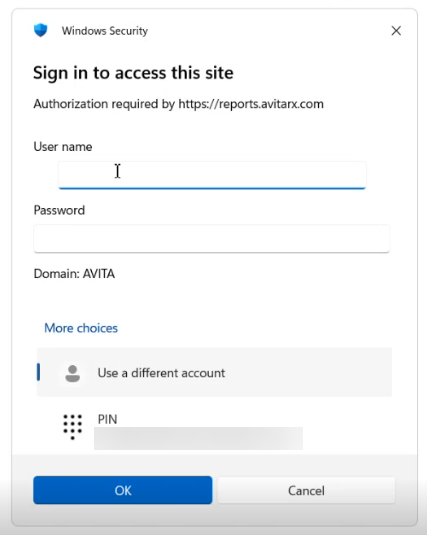
- Select the User a different account from More choices to sign in using your password
- Enter your User name and Password to sign in
FAQs
Q: What if I haven't been prompted to set this up?
Q: What if I was out when this was rolled out?
Q: How do I know if I have an eligible fingerprint reader?
Traditionally, this will be a built into your laptop just below the keyboard.
Some devices in even rarer cases may even have it on the side of the laptop.
Q: How do I know if I have an eligible Webcam for Facial Recognition?
Q: How do I switch back to my password or another Sign-in option?
Q: What if I received an error when trying to set my PIN?
The Service Desk will use the error code to reference against common PIN errors.
Q: How I update these options after I completed the Enrollment Experience?
Q: What if I receive an error for "Something went wrong and your PIN isn't available" after?
Q: What if I know my PIN and it is telling me the PIN is incorrect?
certutil.exe -deleteHelloContainer