Table of Contents
Creating a ReveleMD Cloud Account (or Quest)

Creating a ReveleMD or Quest Cloud Account
Please include msmart@revelemd.com as a CC on the ticket you have to create the account if request doesn't come from her directly.
Ensure all your Admin Roles are Activated to Create the Account in Microsoft O365 Admin Console.
- Login to Microsoft 365 admin center
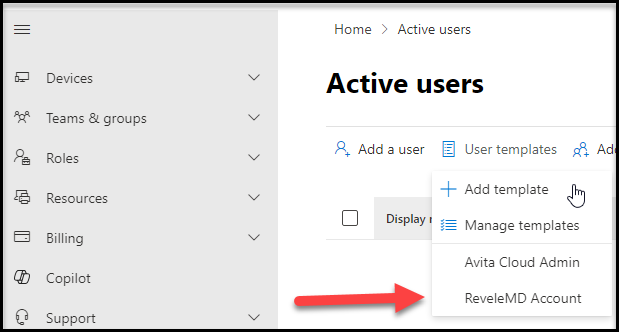
- Go to Users > Active users and select ReveleMD Account under User templates:
- Fill-in the following fields:
First Name
Last Name
Display Name
Username will be First.Last name
Domain will autofill with the Template
then Click Add User.
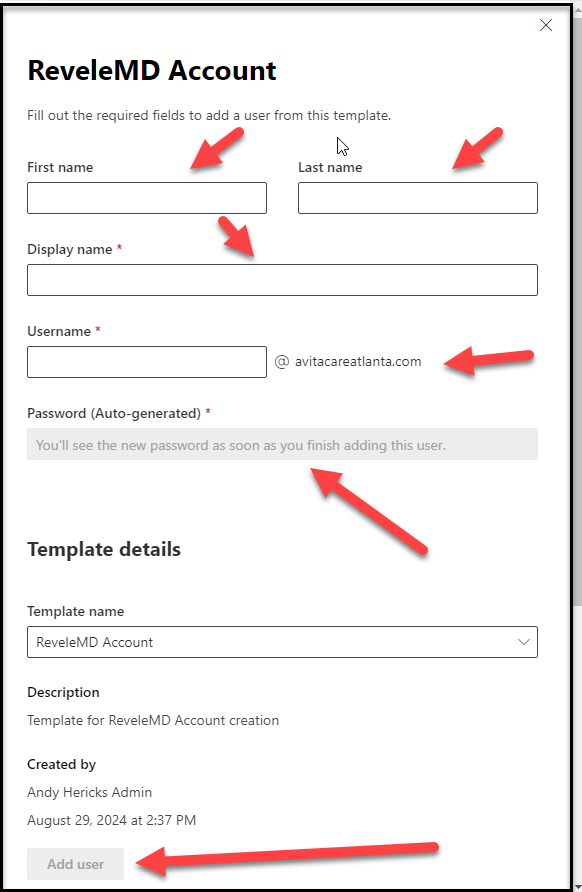
- This will also autogenerate the Password on the next screen.
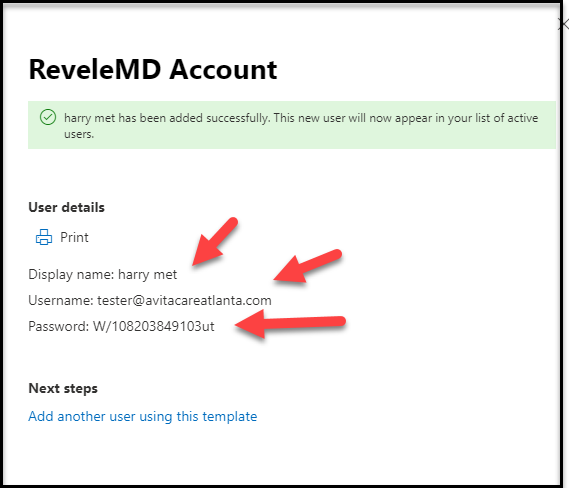
- This will allow you to copy the credentials when you need to send out the secure email to the New User.
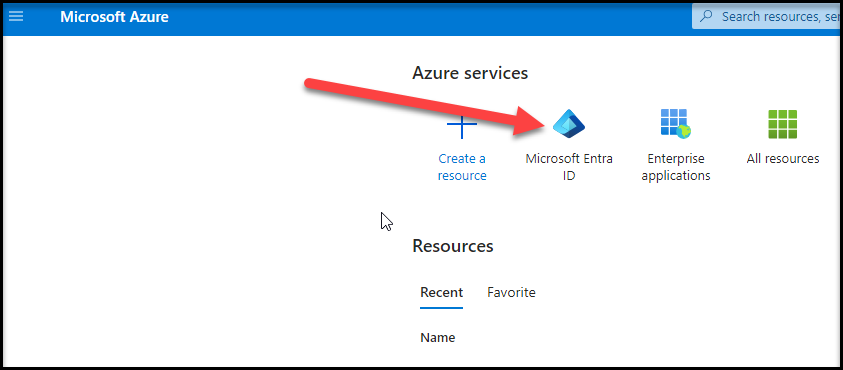
- Once the account has been created Login to: Azure Portal
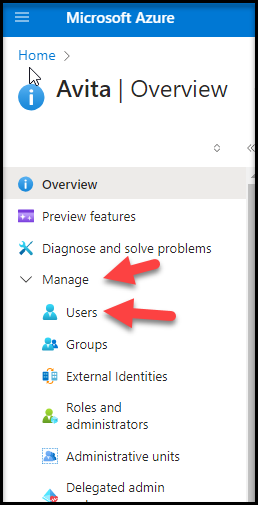
- Click on Microsoft Entra ID:
- Click on Manage, then Users:
- Then Search for the User you created:
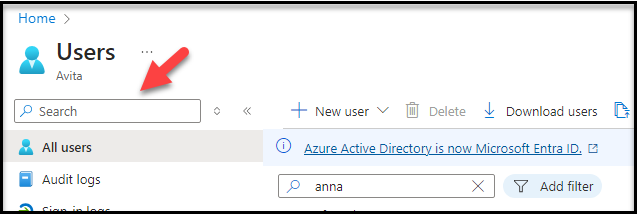
- Click on the User:

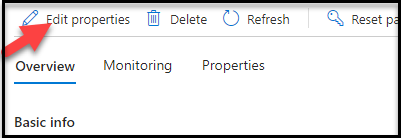
- You will need to go back and Edit the Company Name Field for the User account you just created.
- Click on Edit Properties:
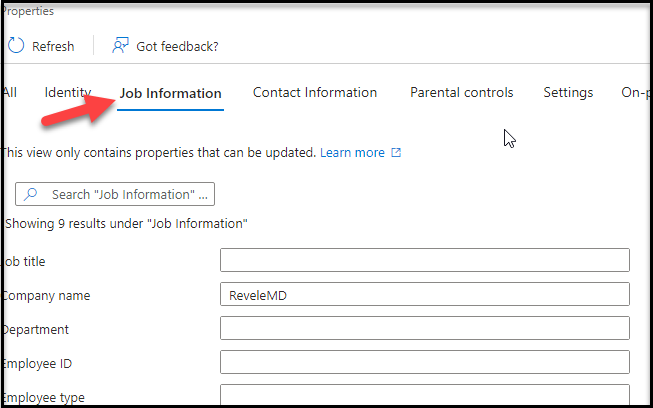
- Under Job Information in the Company name field type in ReveleMD:
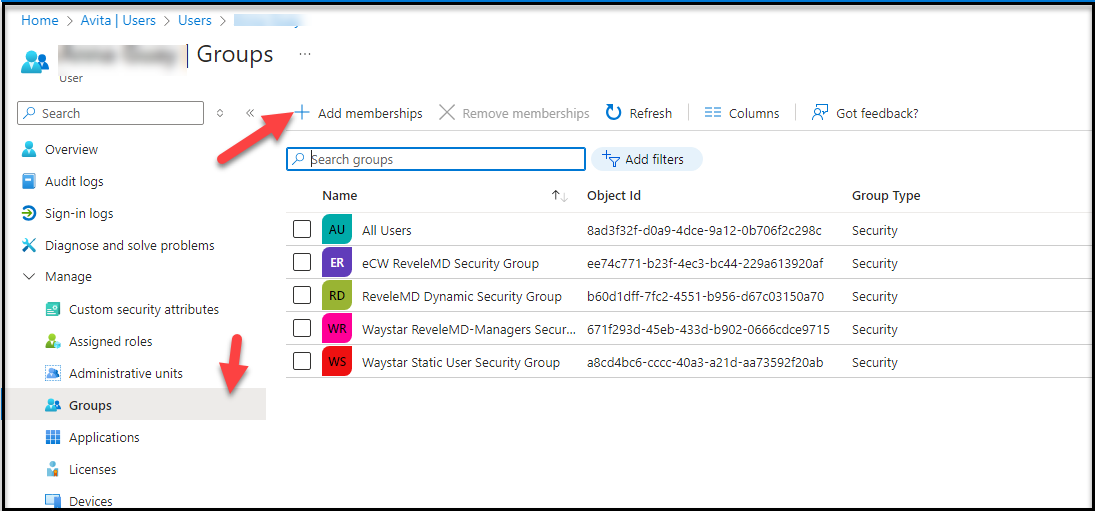
- Click on the Group memberships:

NOTE: All RevelMD employees will be added automatically to the ReveleMD Dynamic Security Group once the company name has been updated.
Quest employees will be automatically added to the Quest Dynamic Security Group
Quest employees will be automatically added to the Quest Dynamic Security Group
- HERE IS WHERE YOU WILL CHECK THE TICKET FOR THE GROUP OR GROUPS. YOU NEED TO ADD THE CUSTOMER TOO. (This will be listed in the ticket as a Security Role)
Example: Security Role: Coding Lead/Coach
- To add Group access, Click on Groups +Add Membership:
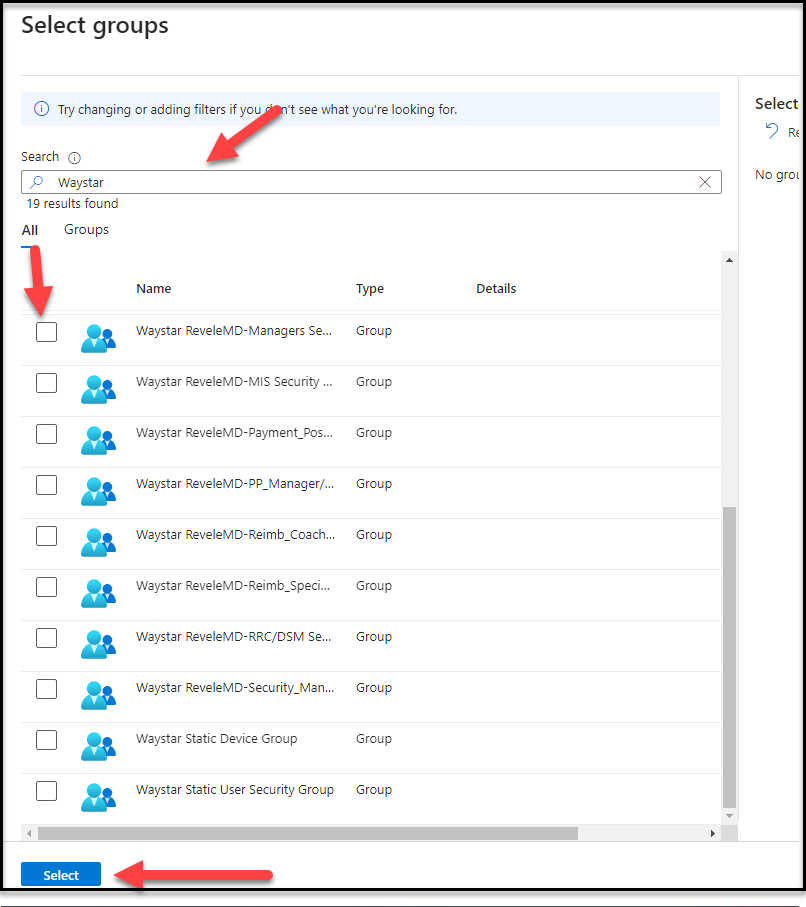
- Search by the security role name(s) in the ticket, then scroll till you find which group you need to add the customer to then Click on Select:
- After a few minutes, the group memberships should update. This should complete your account creation and group access.
- If you would like to see the video as well, Click on link below:
- Once the account is created and all roles are assigned:
- a secure (encrypted) email will need to be sent out using the Avita Technology shared mailbox with the Username and Password.
- Melischa Smart will need to be CC'd on the email.
How to send out encrypted email using the template.
- The template to be used can be found in Outlook template in EHR folder.

- Click on ellipses to download or simply Click to Open.
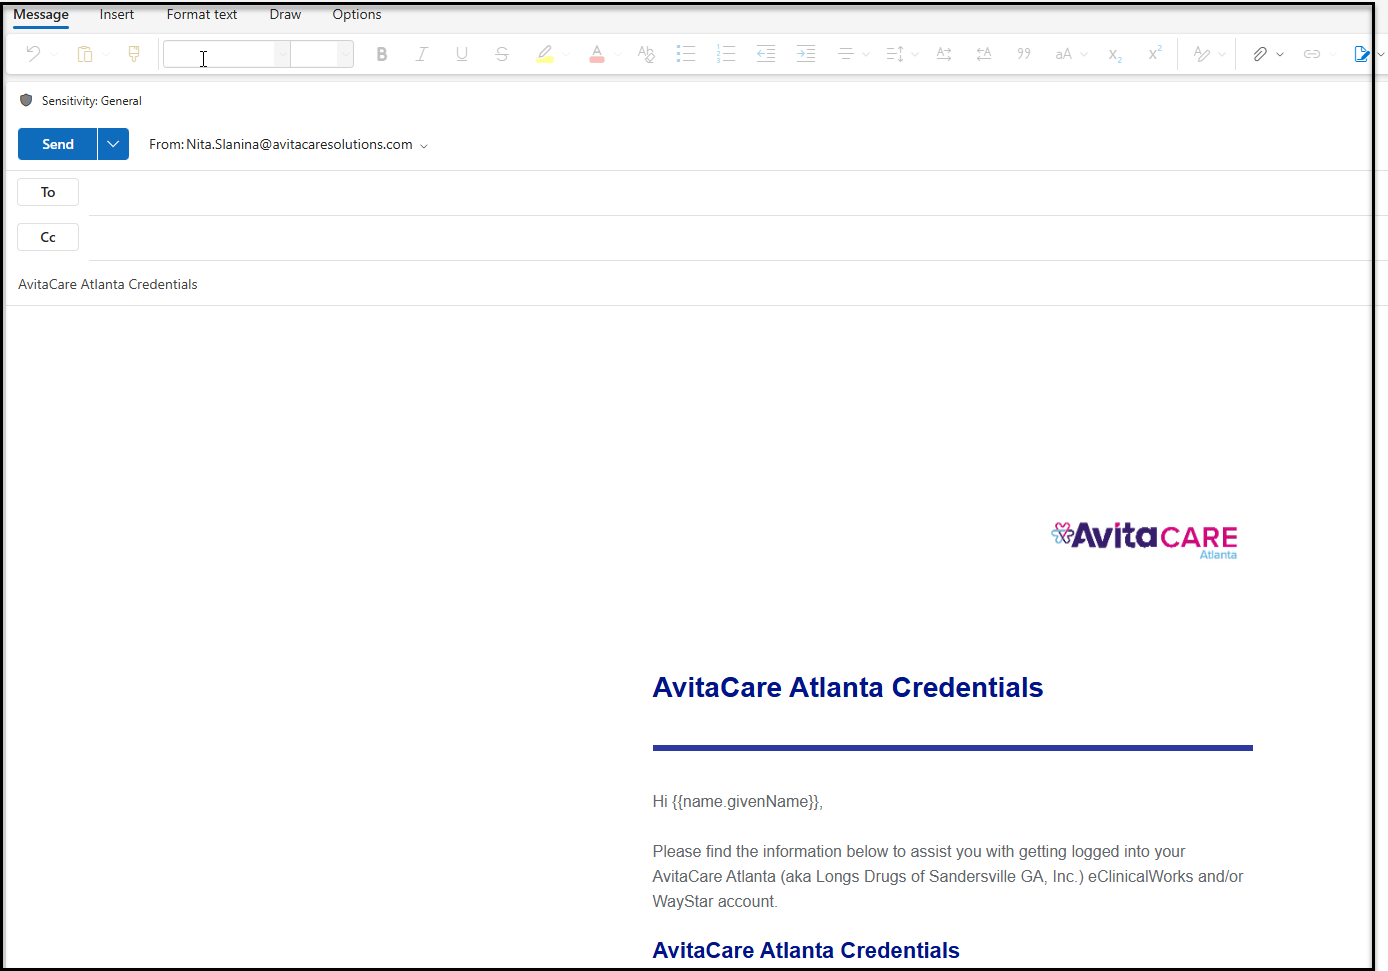
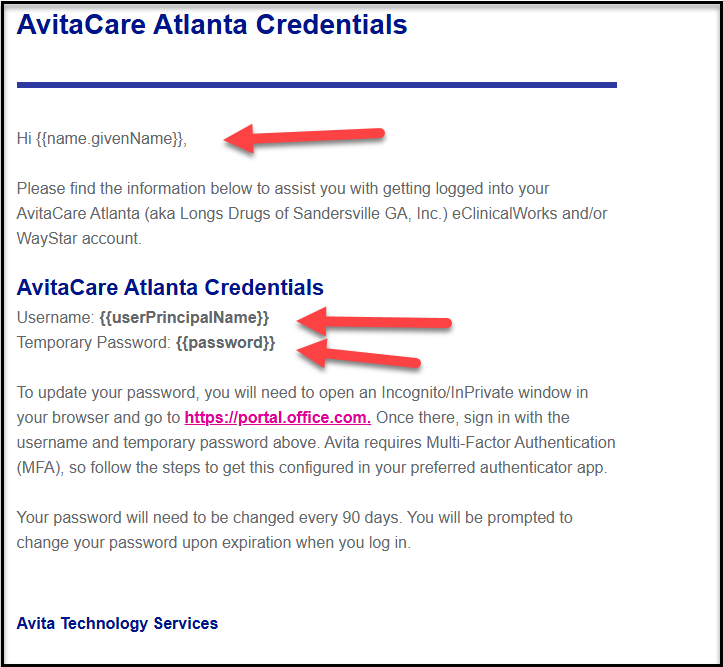
Once opened it will look like this:
- You will need to make these changes.
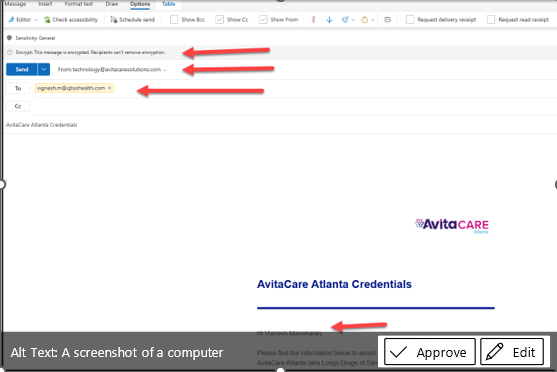
- From: should be

If you are unsure of how to retrieve this shared mailbox, see the help doc Sending Email from Shared Mailbox
- To: This should be the customer email provided in the ticket. (Not the avitacareatlanta.com)
- Cc: msmart@revelemd.com on ReveleMD accounts. No cc's for Quest.
- In the body of the email, you will input the following:
Given Name and Username (this will be the first.lastname@avitacareatlanta.com, then you will include the password that was auto-generated when you created the account.
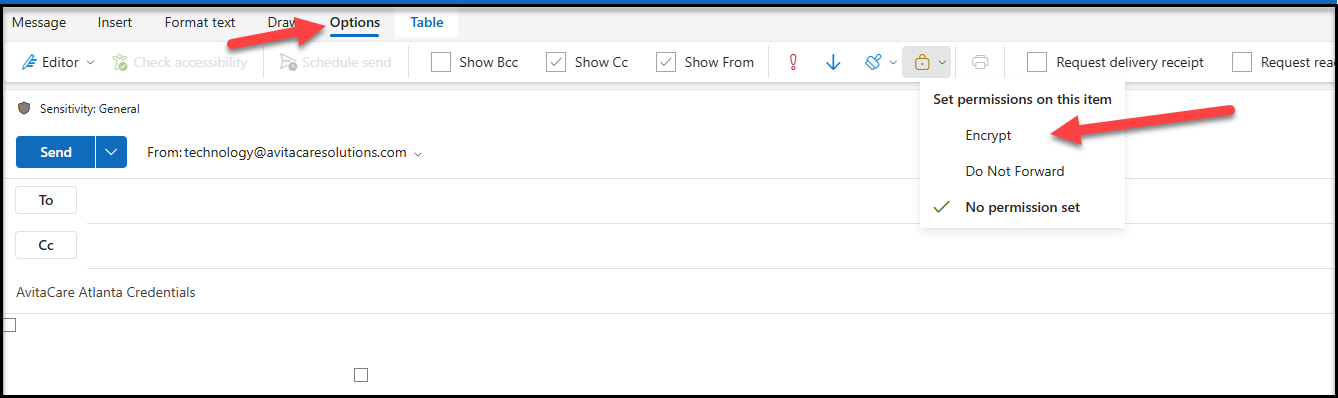
- Then you will encrypt the email by Choosing. Options, the Encryption Icon and selecting encrypt.
- When this is all completed, Update the ticket stating the account is created, roles assigned, and Encrypted email sent with msmart@revelemd.com Cc'd. Then, put in waiting for customer confirmation that the account is working as designed, put status in awaiting customer response.