Table of Contents
Creating or Removing a Meriplex Account

Creating a Meriplex Account
- When getting a request to create accounts for Meriplex
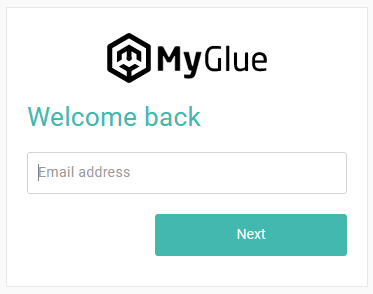
- Please look at: https://app.myglue.com/ this will allow you to see what accounts need to be created and what permissions they will need.
- On Left hand side of portal, Choose Documents:
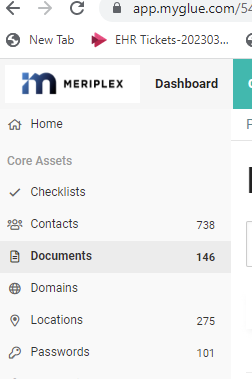
- Then choose PMQ-Avita_MeriplexUS:

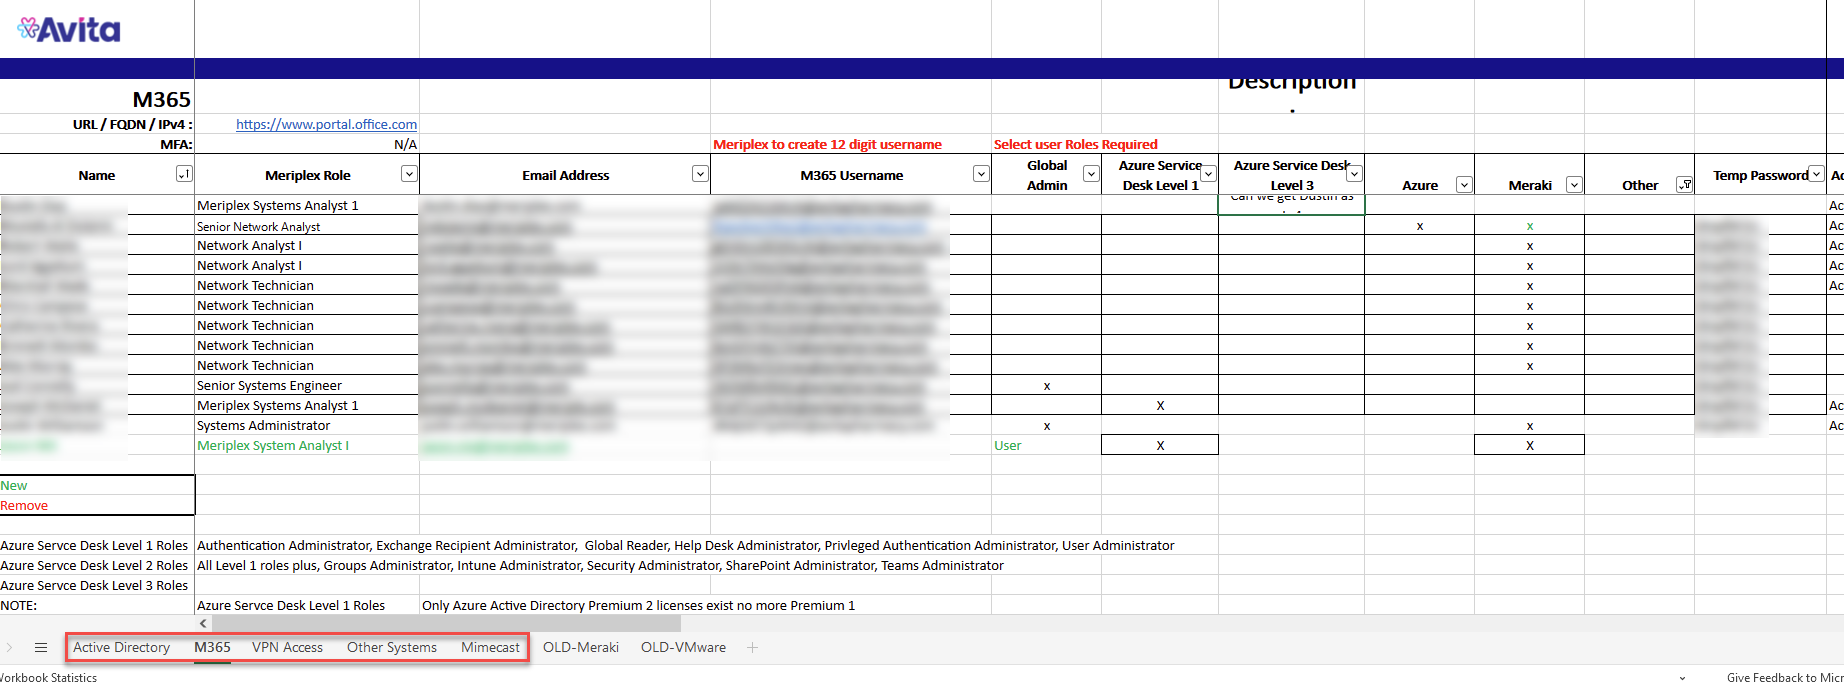
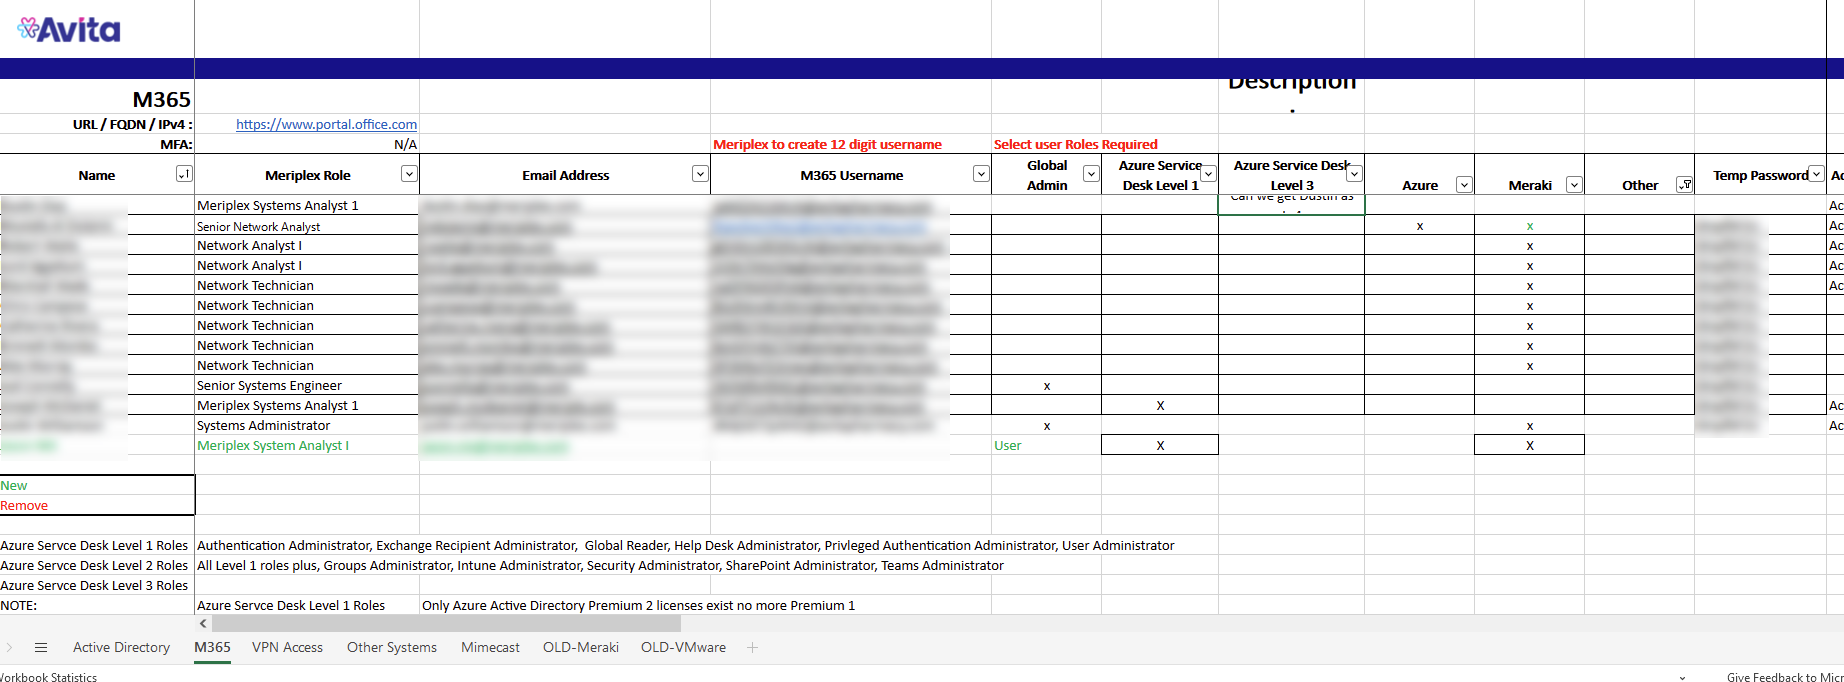
This document will show what is needed for the customers you will need to add. Such as, Active Directory account, M365 account, VPN Access & Mimecast:
Creating Meriplex on-prem accounts
- You first want to add an on prem account in the Meriplex folder on the domain controller. in the Meriplex OU (you can copy the settings from an existing account with the same level of access you knew account will need.TIP: Be sure to check the memberships needed against the My Glue worksheet.

- Once these accounts are created – send an email with login credentials to the Meriplex employee you just created.
Creating Meriplex M365 accounts
Go to O365 Admin Portal
Example:
- Click on Add User:

- Refer to the My glue worksheet to see an example:
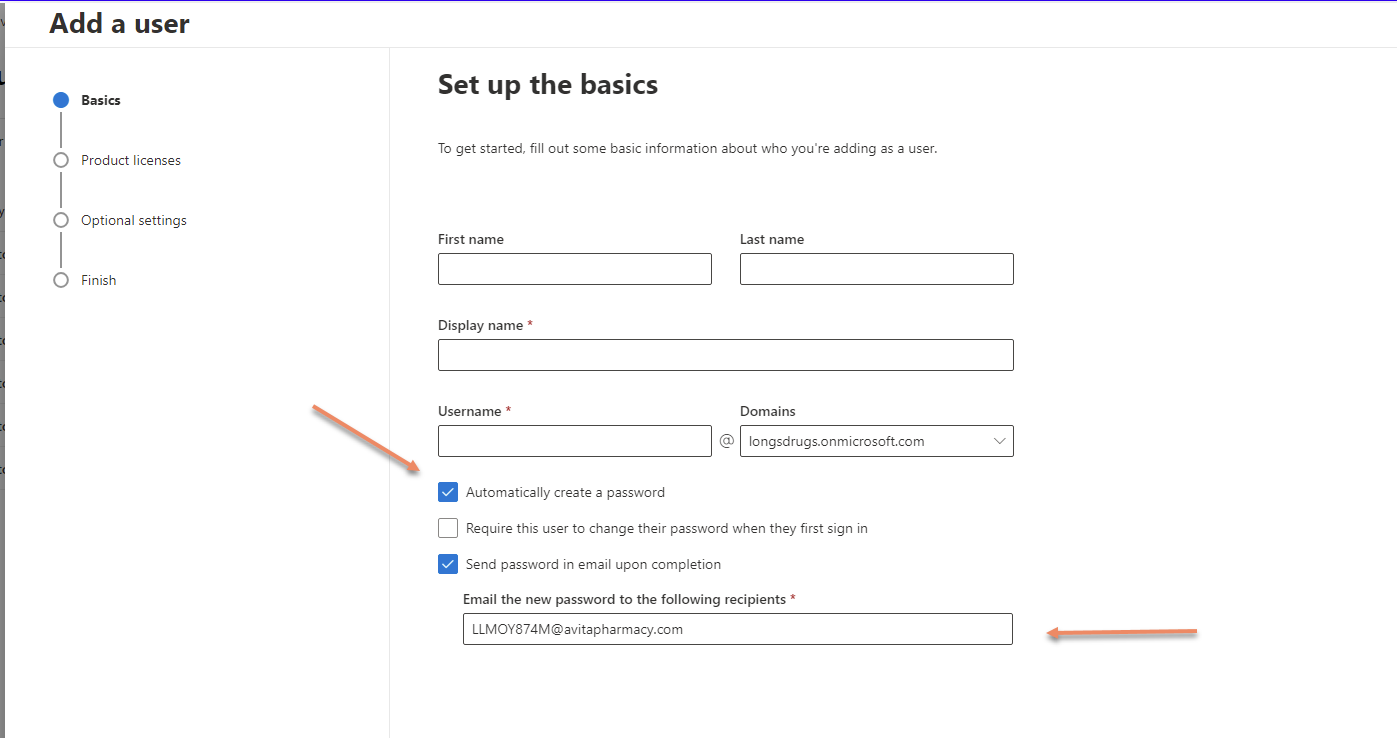
- Fill in the First – Last name.
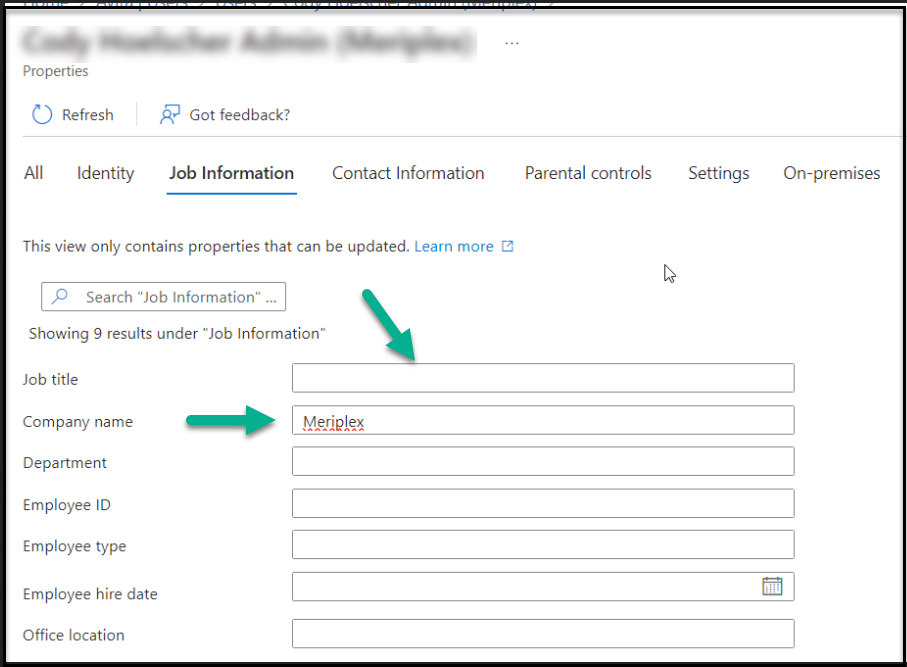
- Then in Display Name add First, last name Admin (Meriplex).
- Then in Username you will copy from the sheet under the M365 Username column.
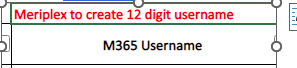
- For the Username use the 12-digit username provided by Meriplex, then change the domain name to avitapharmacy.com.
- Use the system generated password created previously in Step 1.
- Then fill in the customer email so they get these credentials sent to them.
Example: @meriplex.com - Click Next and follow the steps.
Adding M365 License for Meriplex Admin accounts
Example:
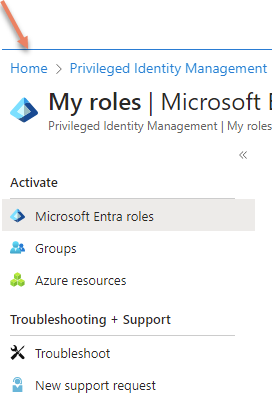
Activate the User Administrator Role
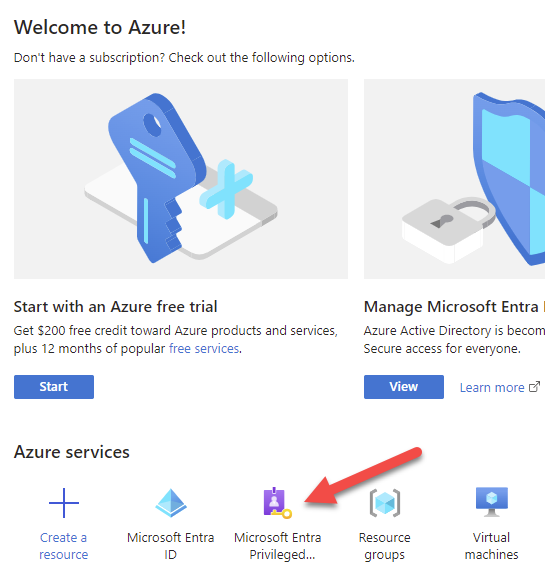
- Sign into Azure:
Go to: portal.azure.com
Sign in using your Azure admin credentials, - Click Microsoft Entra Privileged Roles:
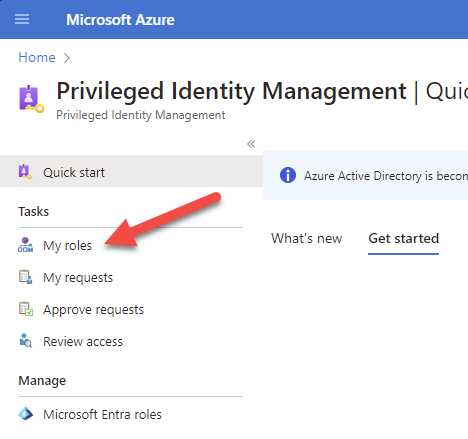
- Click My Roles:
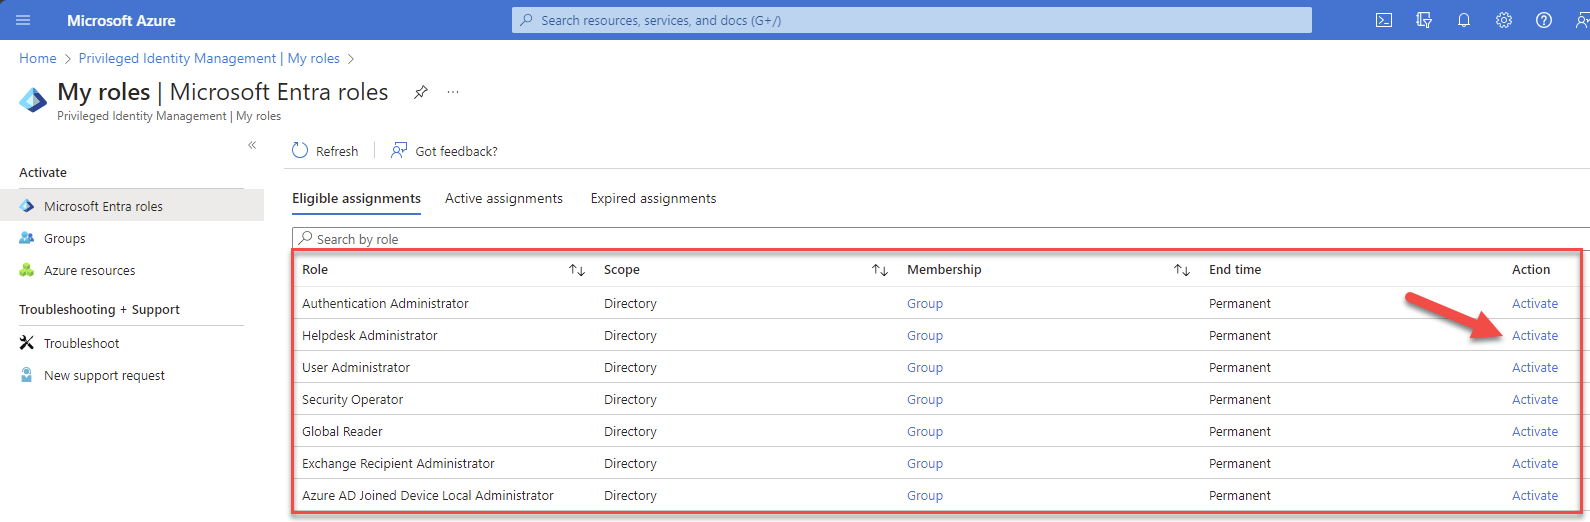
- This page will display all your available roles. Find your desired role and click Activate:
Add the Microsoft 365 license
- Sign into Microsoft 365 admin center
If they ask for Level 2 access, you give them an Azure SD Level 3 License and one of the O365 admins will have to give them that access.


- Then click Next and it will send the customer the credentials and click next to finish.
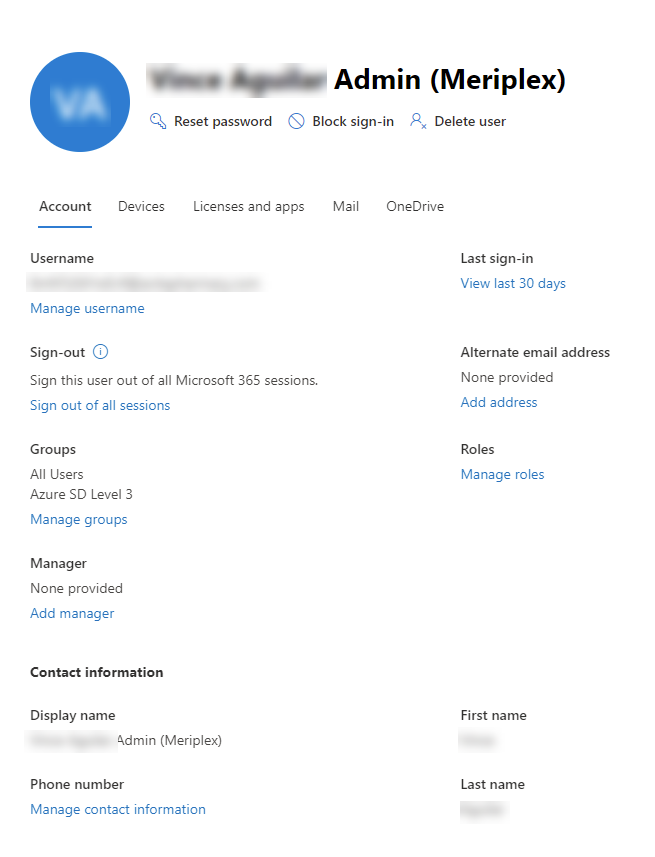
Once these accounts are added you will need to reach out to the owners of the group to give them the Azure SD 2 or Azure SD 3 group access in Azure to grant that access.
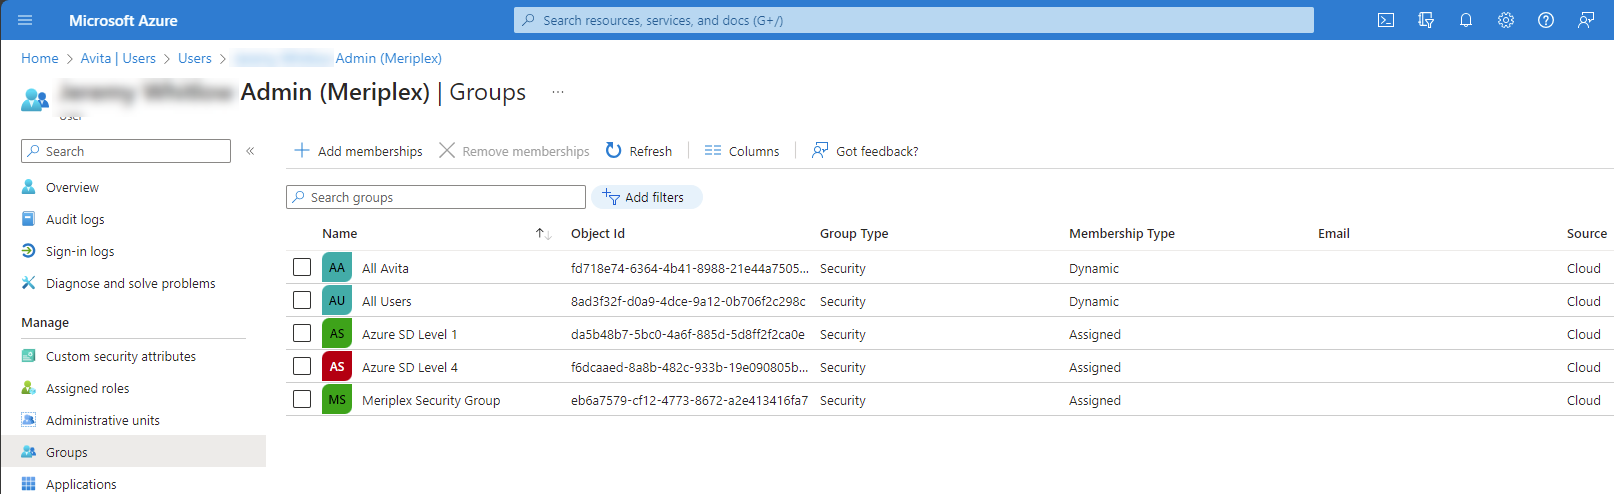
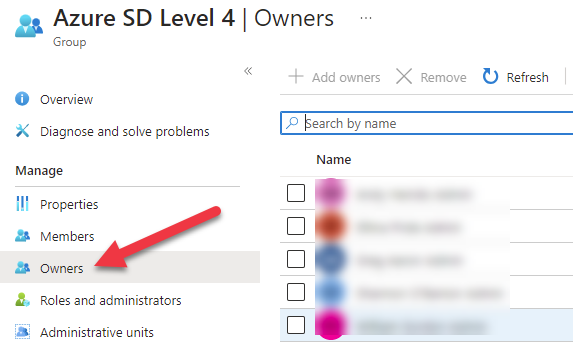
To view the owners of a group, click a Group Name and then select Owners:
Adding Azure Groups
Make sure all your roles are activated for your admin account in.
Once roles are activated.
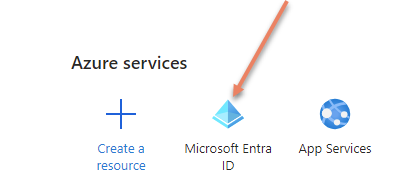
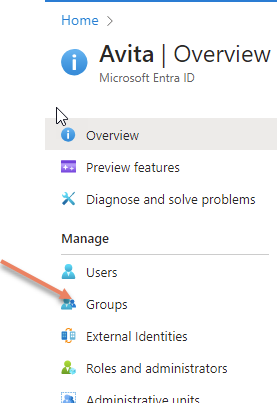
- Click on Home in the portal:
- In the Azure services window click on Microsoft Entra Id:
- Then go to Groups on the left-hand side:
- Then in the click in the search window and search for Meraki:
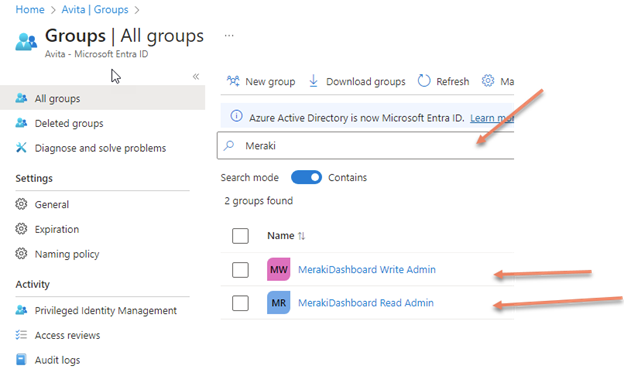
- You will see 2 groups for Meraki access:NOTE: Most roles will only need read access.
- Click on the MerakiDashboard Read Admin group:

- This will bring up the MerakiDashboard Read Admin properties window:
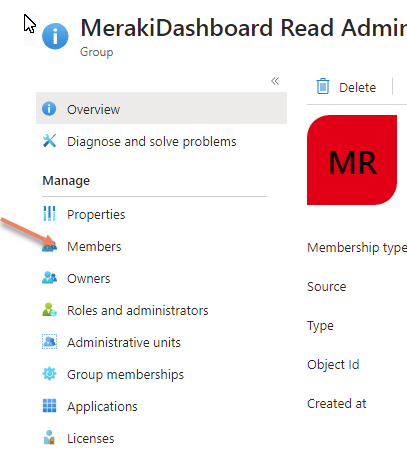
- Click on Members to view all the current group members:
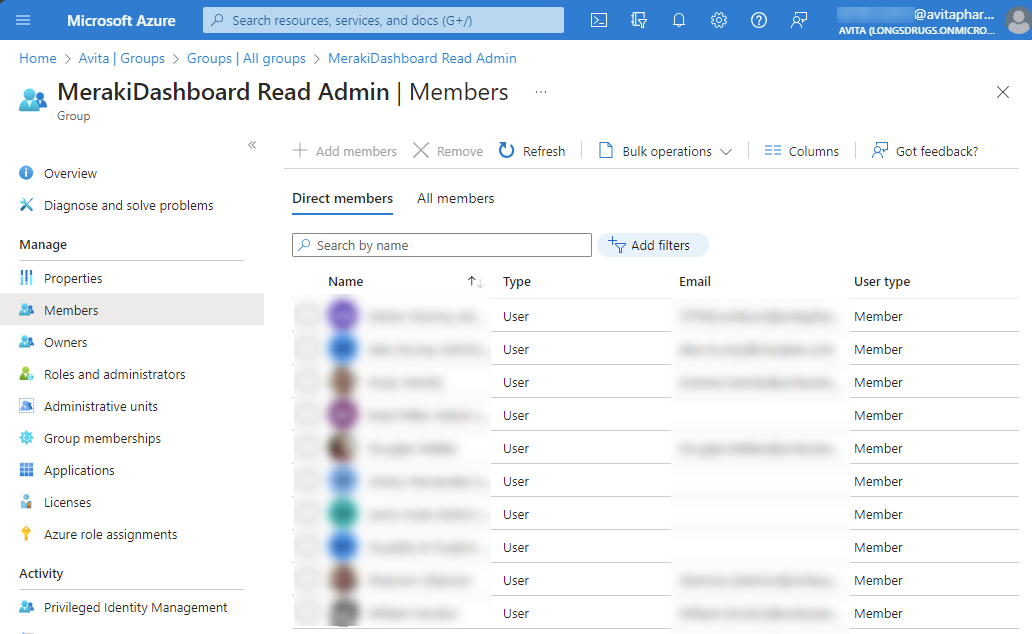
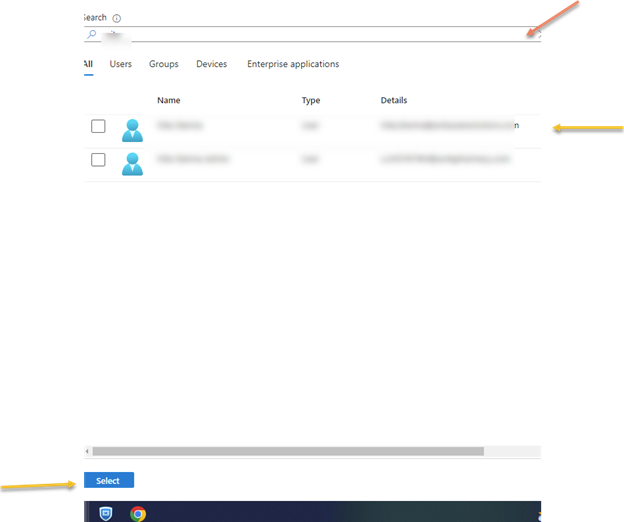
- Then this is where you will search for the account of the person that will need access:

- Once you find the person then click on the box next to the person’s name and click on select at bottom of screen and they will be added to the Meraki group: