Table of Contents
UPS Worldship Install and Integration Setup

UPS WorldShip Install and Integration Setup
Prerequisites:
- PioneerRx ShippingUser & Password
- ODBC Connection
- UPS WorldShip installed.
- Active UPS account.
Installing UPS Worldship
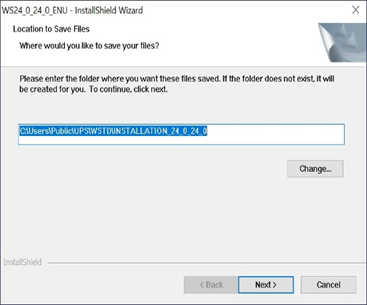
- Download the latest version of UPS worldship here.
https://www.ups.com/us/en/business-solutions/business-shipping-tools/worldship.page - Run the exe. Default selections are fine and reboot when initial install is completed:
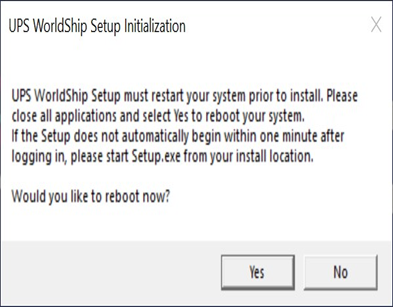
- Once reboot is completed UPS Worldship should automatically open after you sign in. Click > Next
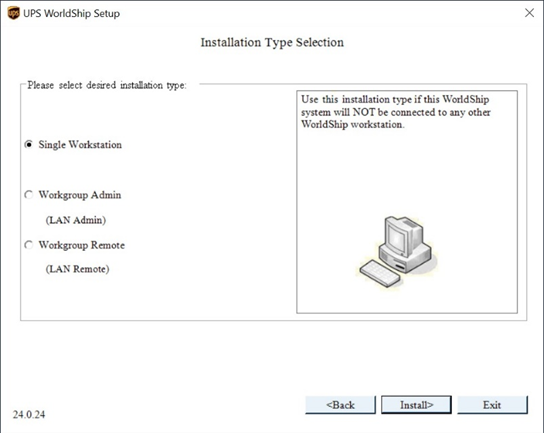
- For the installation type this will depend on the location but typically this will be “Single Workstation”. Click > Install:

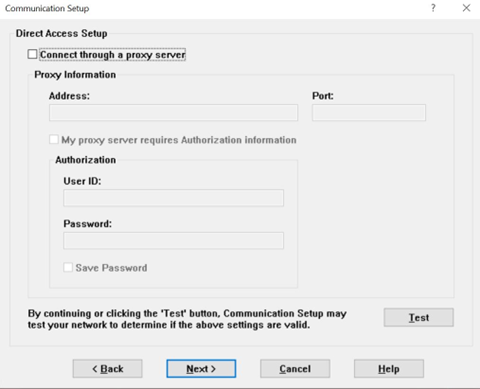
- After install is complete you will be prompted to select Connection Methods, Check Direct Access > Next > No additional setup is needed on the next screen, those can be left blank.
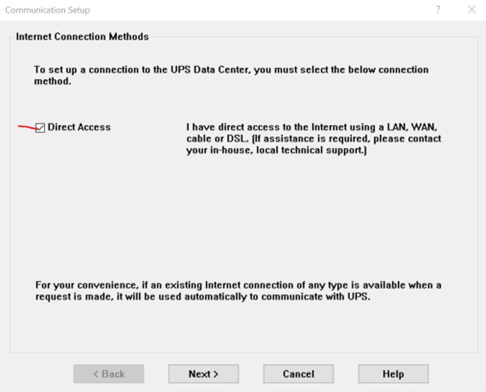
- Click > Next:
- Fill in the pharmacy's information for the Registration process.
- Shipper Name can be Generic “Shipping Dept” and Contact will be Avita ####.
DO NOT PUT THE WORD PHARMACY IN ANY OF THESE FIELDS. THIS INCREASES THE RISK OF THEFT
- Click > Finish:

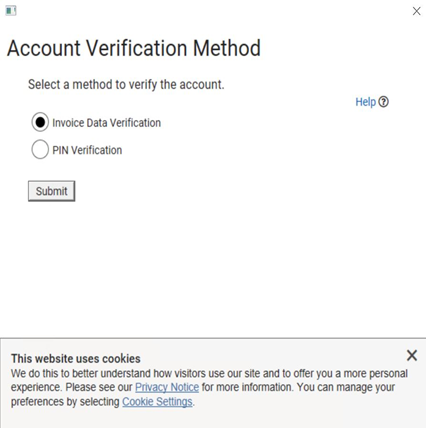
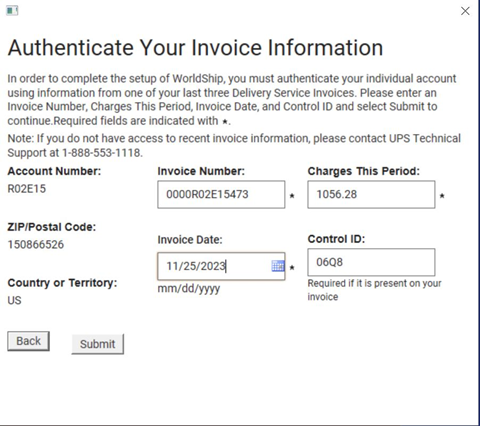
- Select Invoice for Verification Method. Invoices can be acquired from the Finance AP team. Fill in the information found from the invoice on the next screen then click > Submit
- Make sure to use the Calendar icon when inputting the Invoice date otherwise the date will not be formatted correctly and will fail.
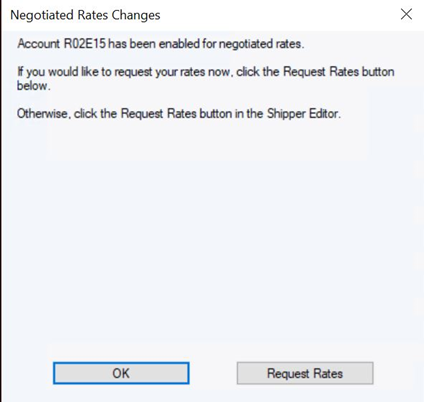
- Registration will then take place once completed click Request Rates
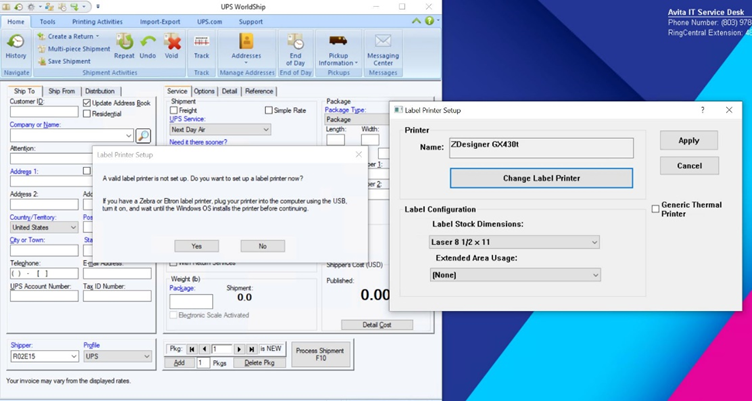
- You will then be prompted to select a label printer, If Label printer is already connected you can set designated printing
Pioneer Integration Setup
Import Map
- Open WorldShip and click Import/Export Data menu
- Click Create/Edit Map
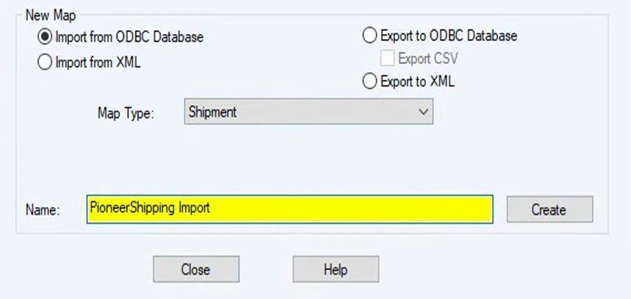
- Select import from ODBC database
- In the drop down next to Map type, select Shipment.
- In the name box, name your map. Ex: Import Pioneer
- Click Create:
- Select the ODBC data source you created (Ex PioneerShipping). Input your ShippingUser and Password
- On the ODBC side at the top select SaleTransactionShippingAddressView
- Under the ODBC select the Barcode and then click the Define Key Import Button
- On the WorldShip side select Shipment Information from the dropdown
- On the ODBC side select SaleReceiptNumber and on the WorldShip side select Reference 1 click Connect
- Open WorldShip Field and change it from Shipment Information to Ship to
- Connect the following Fields:
- ZipCode > PostalCode
- StateCode > State/Province/Country
- PatientPhone > Telephone
- PatientFullNameFirst.. > Company or Name
- PatientAddress > Address 1
- Email > Email Address
- City > City or Town
- Once Done click “OK” to save the map
Export Map
- Open WorldShip and click Import/Export Data menu
- Click Create/Edit Map
- In the drop down next to Map Type, select Shipment.
- In the Name box, name your map. Ex. Export Pioneer
- Click Create:
- Select the ODBC data source you created (Ex PioneerShipping) Input your ShippingUser and Password
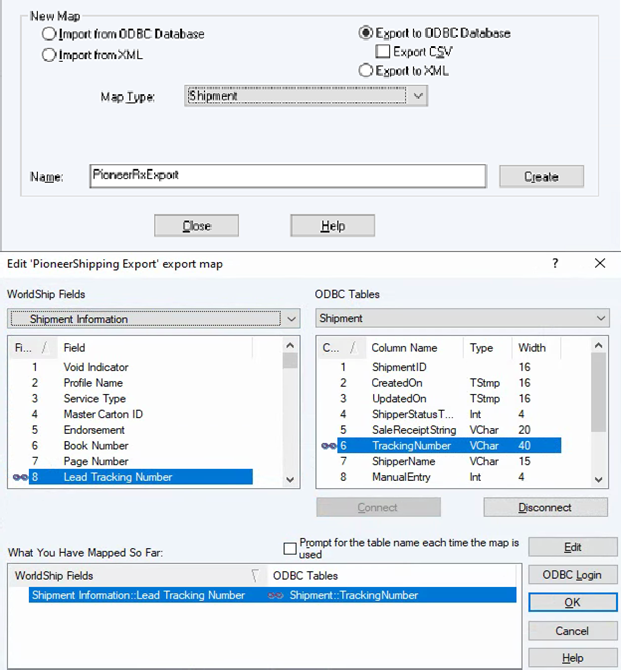
- On the ODBC side at the top select Shipment from the dropdown
- On the WorldShip side select Shipment Information from the dropdown
- Connect Lead Tracking Number from the WorldShip to Tracking Number on the ODBC
- Change the WorldShip side from Shipment Information to Package

- Connect Reference 1 from the WorldShip to SaleReciptString on the ODBC
- Click OK to save the map
Set Import/Auto Export
- Click on the Down Arrow next to Keyed Import and select More…
- Select your Import Map and then click the Import Button in the lower left-hand corner. Now when you click on the down arrow next to Keyed Import you should see your map with a check.

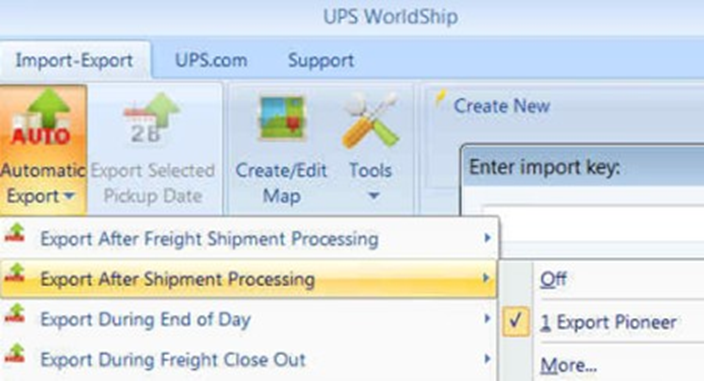
- Click on the Down Arrow next to Automatic Export.
- Next to Export After Shipment Processing click on More…
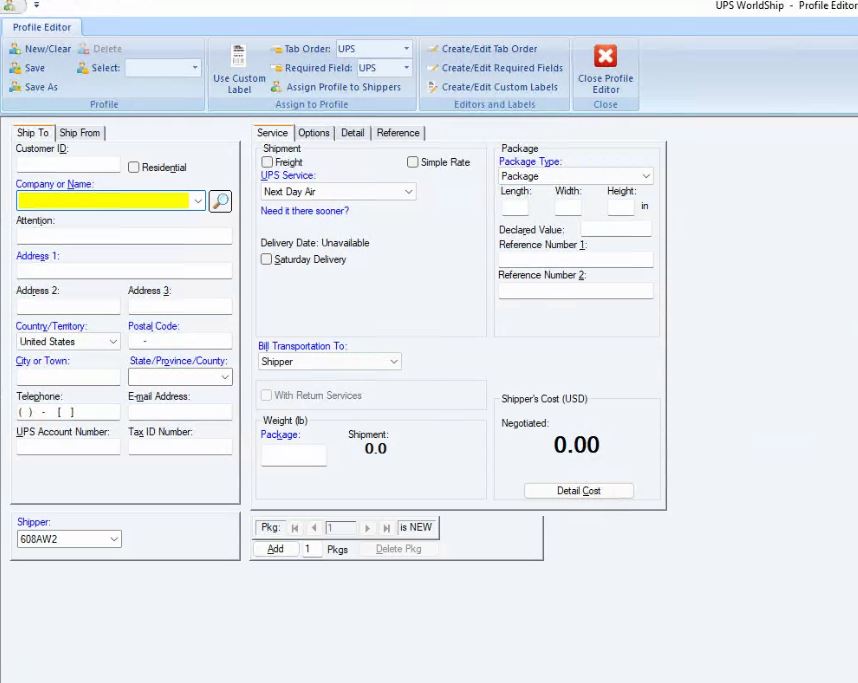
Setting Profile Defaults
UPS Worldship allows users to set default settings as a profile. This means the user will not have to select things like Shipping Service Type, Package Weight, Package Type, and optional services and features.
- Open the Tools Tab in Worldship
- Click Create/Edit Profile

- Ask the Shipping User what settings they would like to have defaulted. Set those settings in the fields below like they normally would for a shipment. Most preffer to have Ground as their UPS Service and Package Weight set to 1lb
- When you have the settings applied click Save As and Name the new profile. I use SHIP as the profile name
- Now that the Profile is created we need to go to Shipper Editor and Click Modify.

- In this menu go to Preferences and in the Profile Field Select the profile you just created in the drop down. Click Ok.
- The profile will now be the default profile that will be selected when launching Worldship.
Pioneer Location Settings
For new locations who have not had Shipping Software setup before we need to set the Shipping account info in Pioneer. This only needs to be done 1 time for each shipping software so if this is a refresh or replacement computer you do not need to follow this part.
- Launch PioneerRx and go to Location > My Location > Rx Options > Device Options and make sure a person’s name has been selected next to Default Service Account. If no one is selected choose the pharmacy owner.

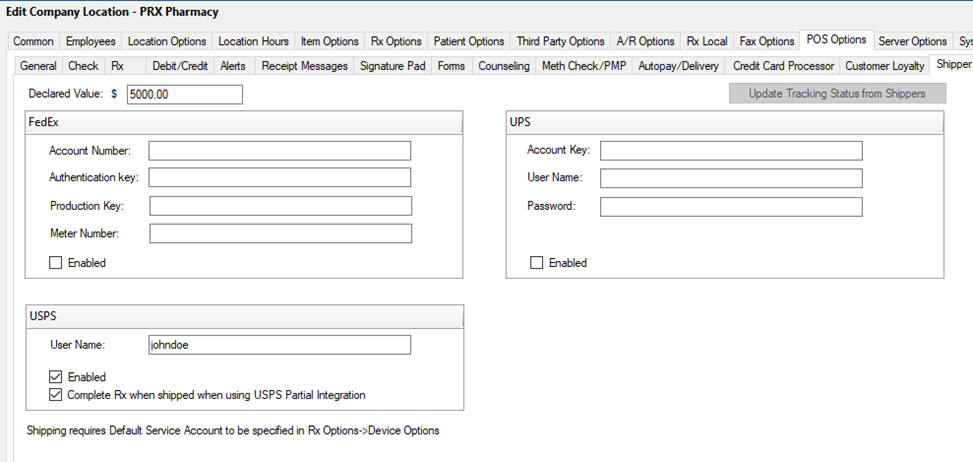
- Go to Location > My Location > POS Options > Shipper Configuration
- Enter the following information:
- Account Key - provided by UPS -Guide Here
- User Name - UPS User name
- Password - Password to UPS account
- Check the Enable box and click Save
UPS Troubleshooting Improper Integration
- Due to an improper setup or configuration, the UPS Software may not send the data to PioneerRx. You can force a manual export by doing the steps below.
- Click Batch Export > Select Date Range >select the correct Export Database > Click OK
- For further troubleshooting, UPS Support number: 1 (800) 742-5877