Equinox Luxe - Pioneer Installing the Luxe 8500i Signature Pad

Installing the Luxe 8500i Signature Pad
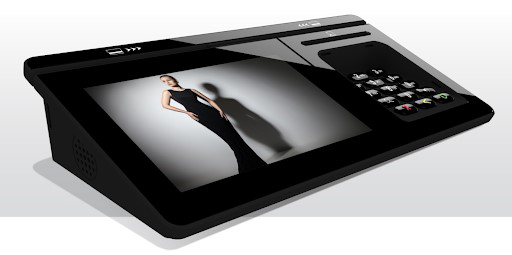
The Equinox Luxe8500i Signature Pad is the latest signature pad used with PioneerRx. This section goes over how to install the pad for use in the pharmacy.
Physical Installation
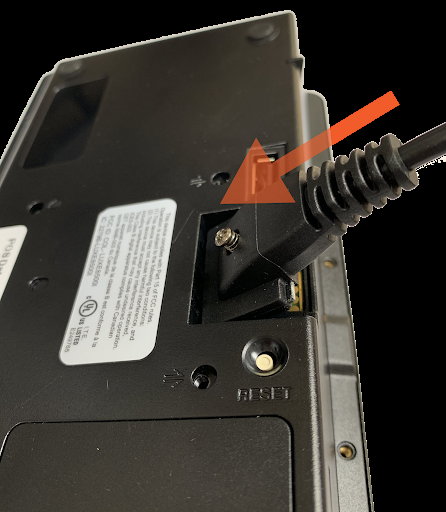
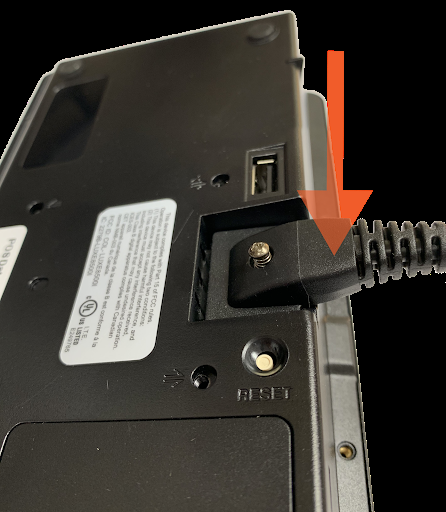
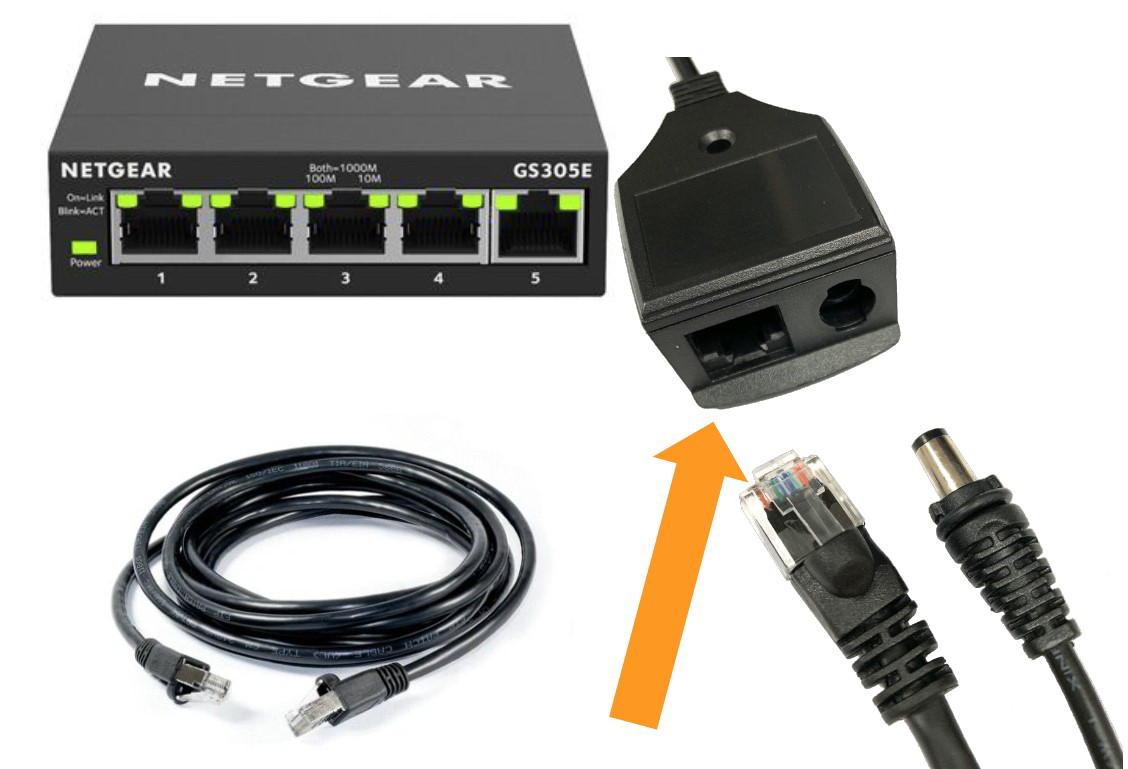
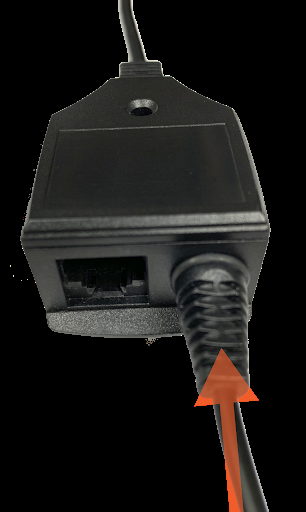
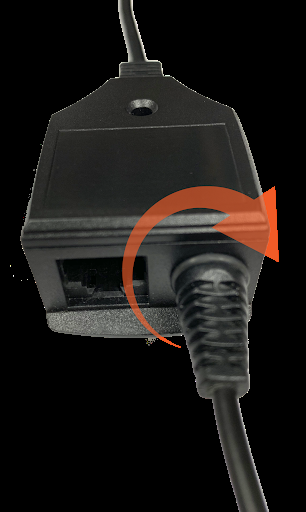
The Luxe 8500i will need to be connected to an active Ethernet cable in order to provide the signature pad with a network connection and power. | 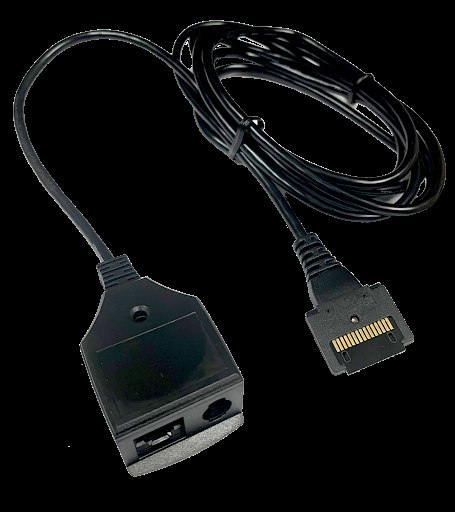 |
|  |
|  |
|  |
|  |
|  |
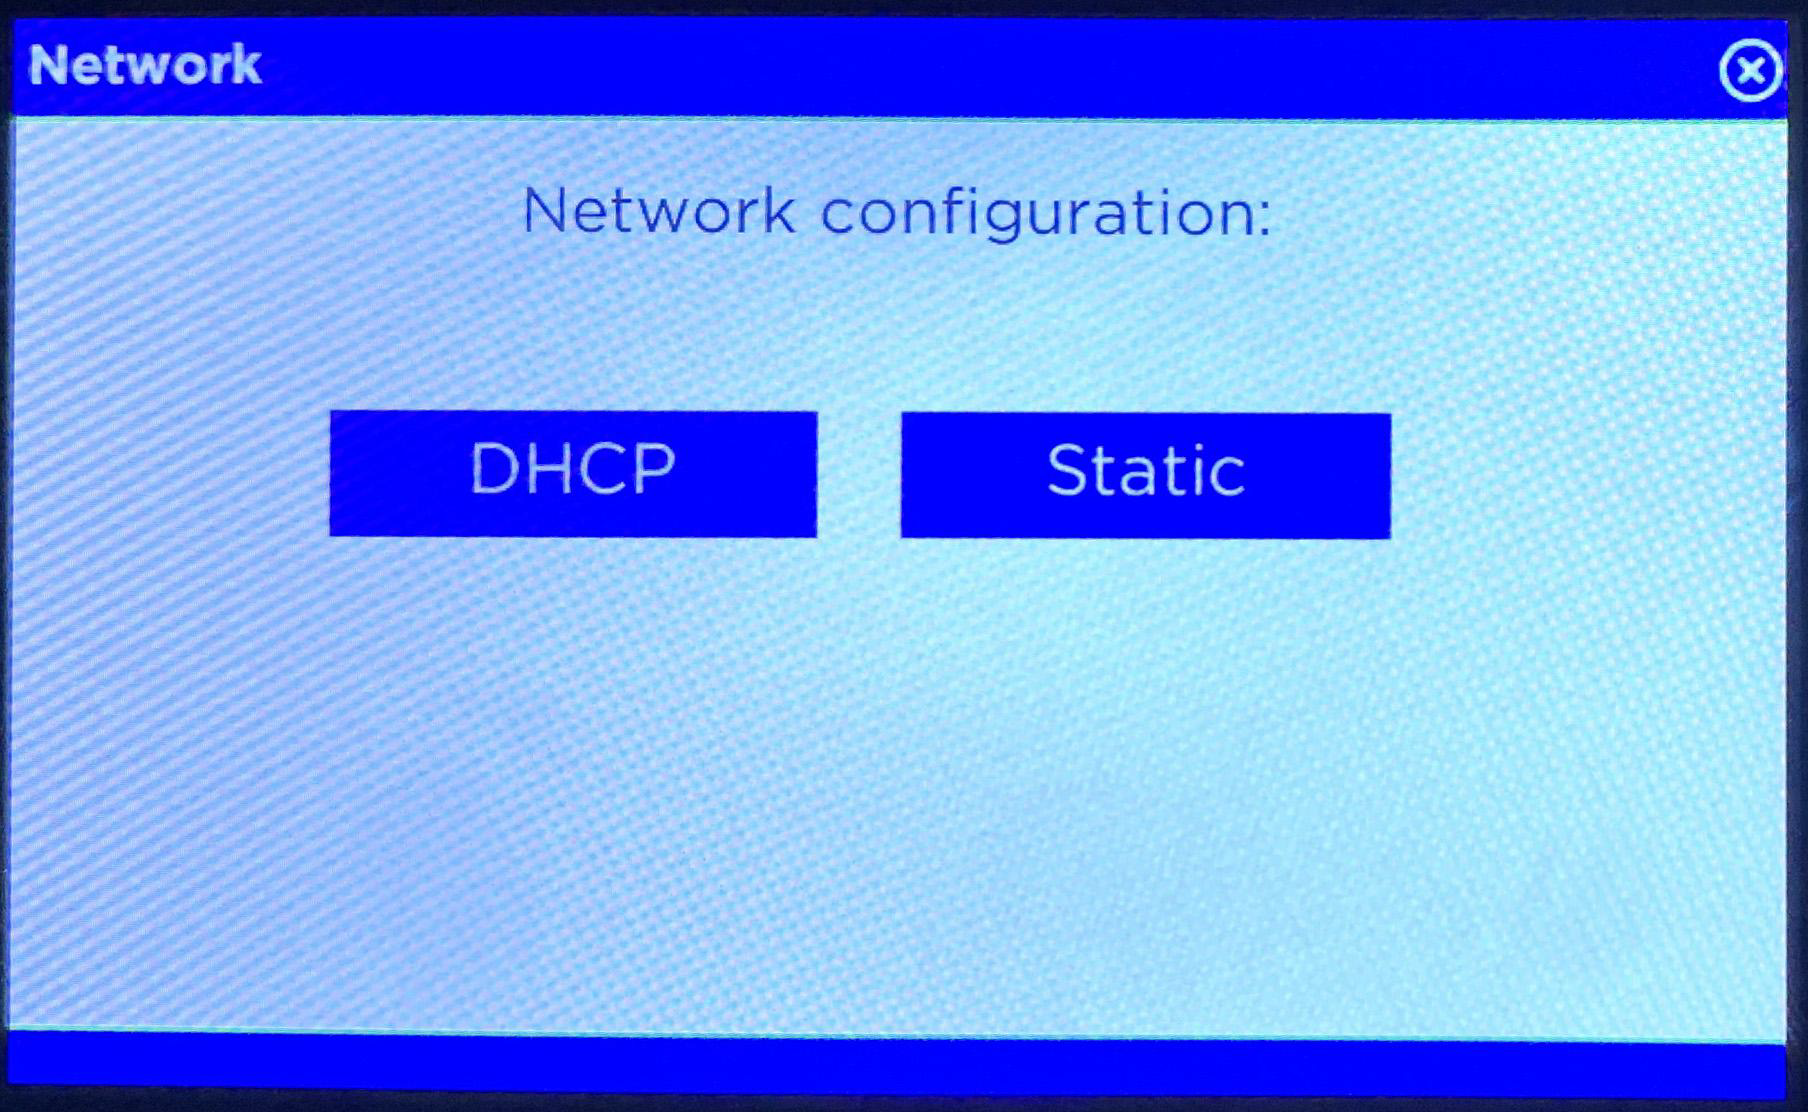
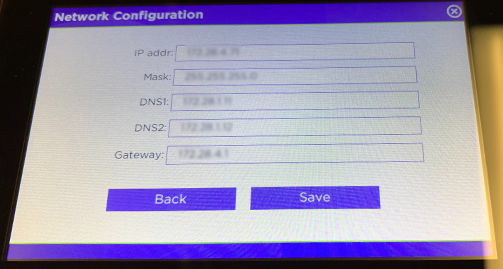
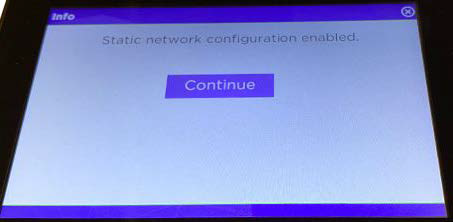
Network Setup
| 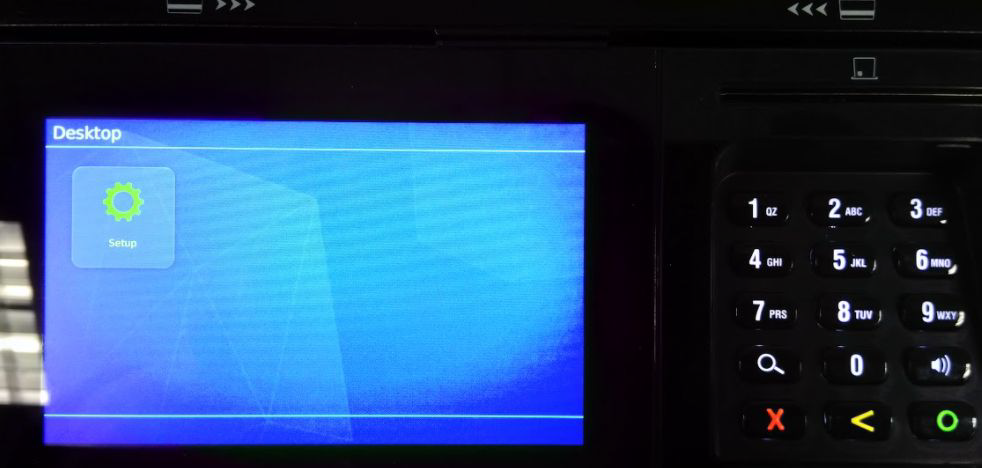 |
| 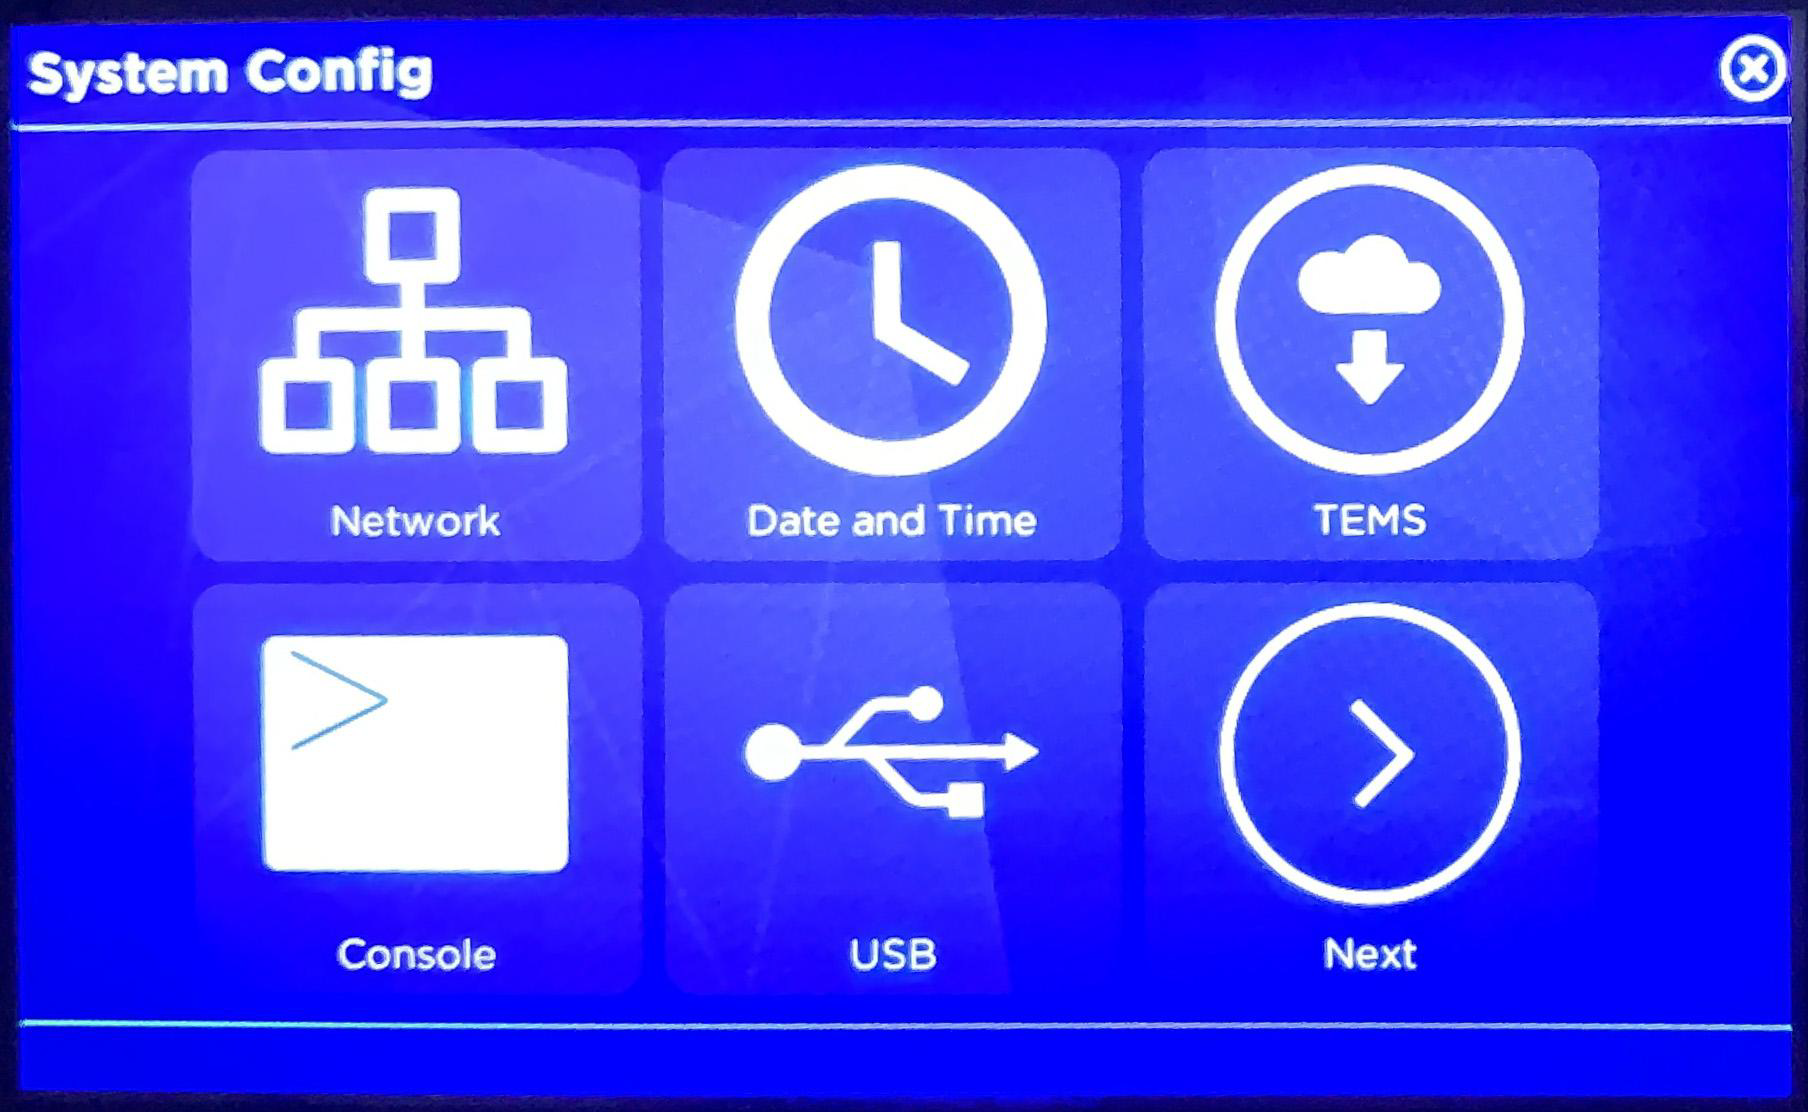 |
| 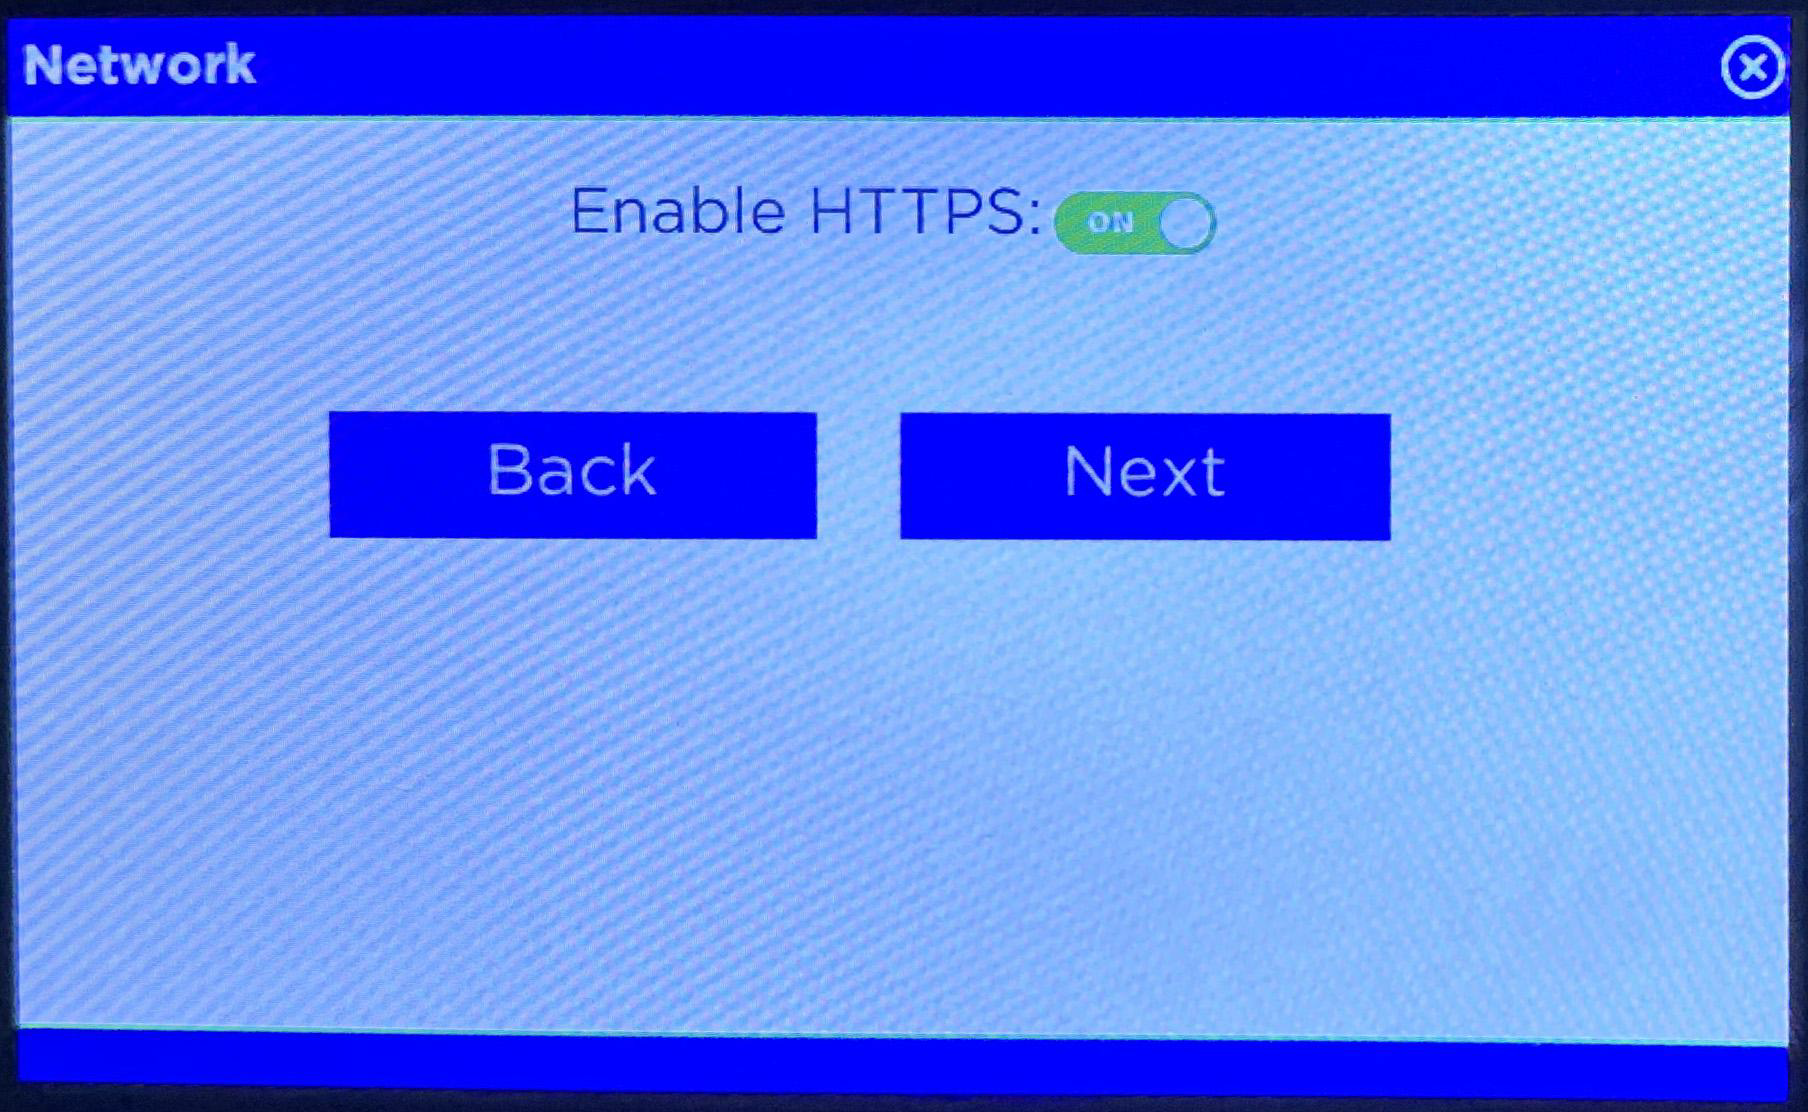 |
|  |
|  |
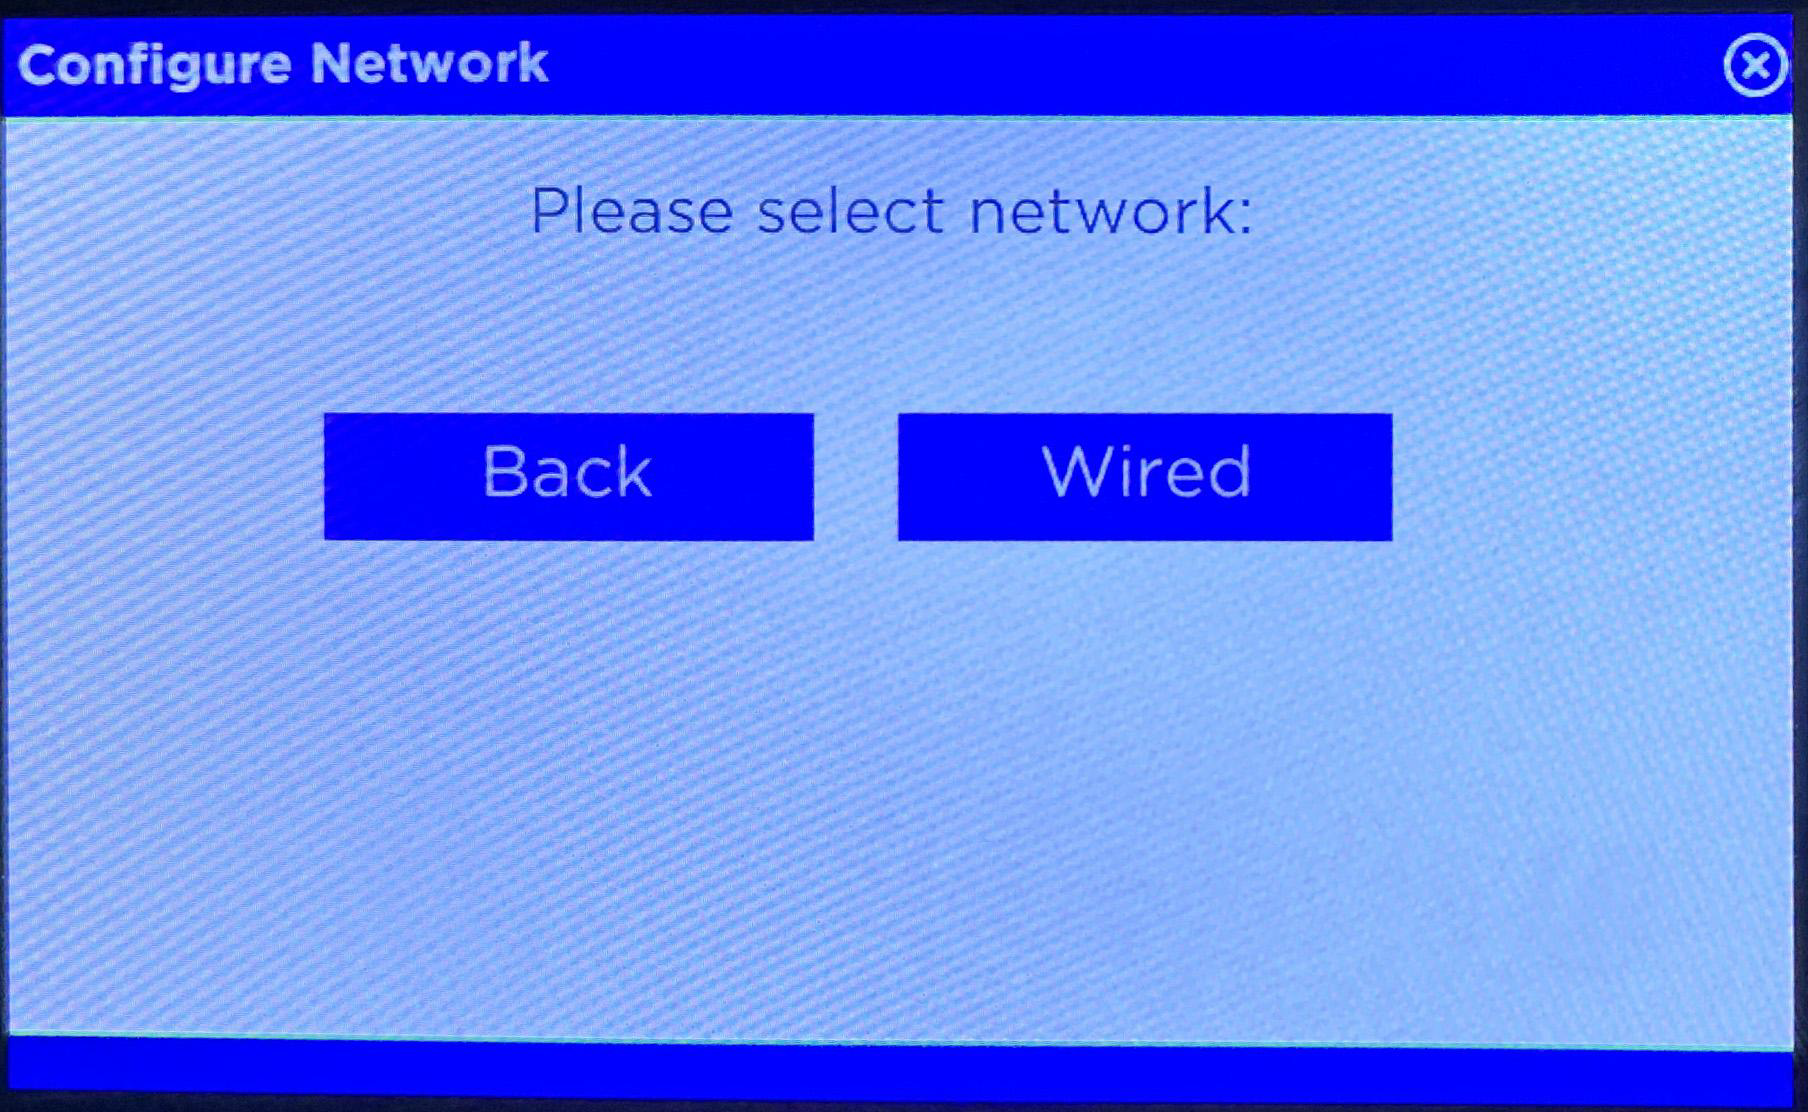
|  |
|  |
|  |
Updating the Signature Pad
- On the point of sale that will be using the Luxe Signature Pad, open and sign in to PioneerRx
- Navigate to Sale > Register > Actions > Open Equinox Luxe Updater. PioneerRx will close and the updater tool will launch
- Enter the IP address of the device that was notated during initial setup into the Host field and select Connect.
- An example of an IP address is 192.168.1.50
- Once the signature pad is connected it will show the current versions installed and if any updates are needed.
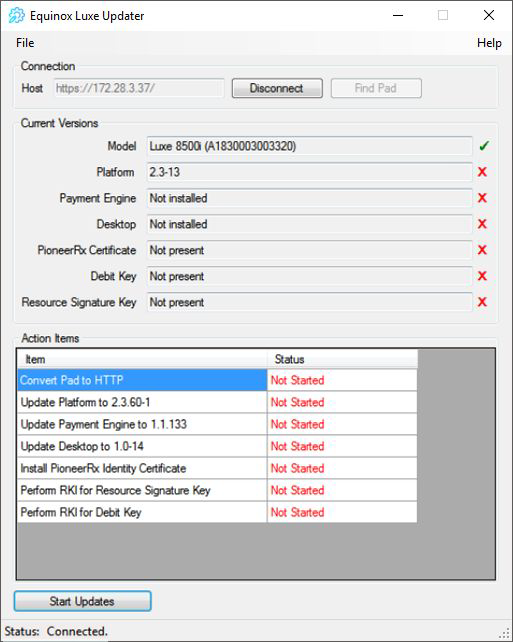
If updates are required for the signature pad, select Start Updates. The device will indicate that an update is in process. This process can take 5-10 minutes. Once all updates are complete, the screen will show green checks indicating that it is complete and updated. Once all necessary updates are completed, close out of the Equinox Luxe Updater and open PioneerRx.
PioneerRx Register Configuration
The Point of Sale needs to be configured to talk to the Luxe Signature pad.
- Log in to PioneerRx, navigate to Sale > Register > Select the Desired Register.
- Update the following settings:
- Sig Pad Type: Equinox Luxe
- Sig Pad URL: Enter http:// followed by the device IP address found earlier.
o Example: http://192.168.1.50/
- Navigate to Point of Sale to sync the register to your Luxe Signature Pad.
When the pharmacy's name and/or logo appears on the signature pad, the pad is ready for use. If the connection does not occur, review the Troubleshooting section in this article.
Adding Custom Pharmacy Logo
- Log in to PioneerRx and navigate to Location > My Location > POS Options > Signature Pad
- Upload the image. For best results, use an image that is 800 x 480 pixels.
- Save changes
- Close and reopen PioneerRx
Once PioneerRx has established communication with the signature pad, the new image will be displayed on the device screen.
Troubleshooting
- Signature Pad says Waiting For Communication
Close PioneerRx all the way and open it again. If it does not reconnect, verify that the signature pad is on the network. - Verifying the Signature Pad's IP Address Set in the Register Settings
Refer to the Network Setup and PioneerRx Register Configuration sections of this article. Verify that the signature pad is set with a static IP address and that the register is configured for that IP address. If the IP Address is different in the register settings, the signature pad is likely not set up with a static IP address. If the Signature Pad is not receiving an IP address, refer to the Physical Installation section of this guide, or contact the pharmacy's IT professional.
If the IP address is valid and still correct, in rare instances removing the trailing / from the end of the IP address in the PioneerRx Register Configuration can sometimes fix this problem. If this change is made, restart PioneerRx.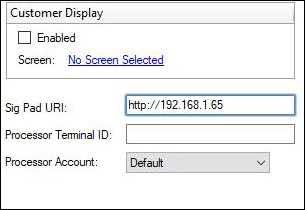
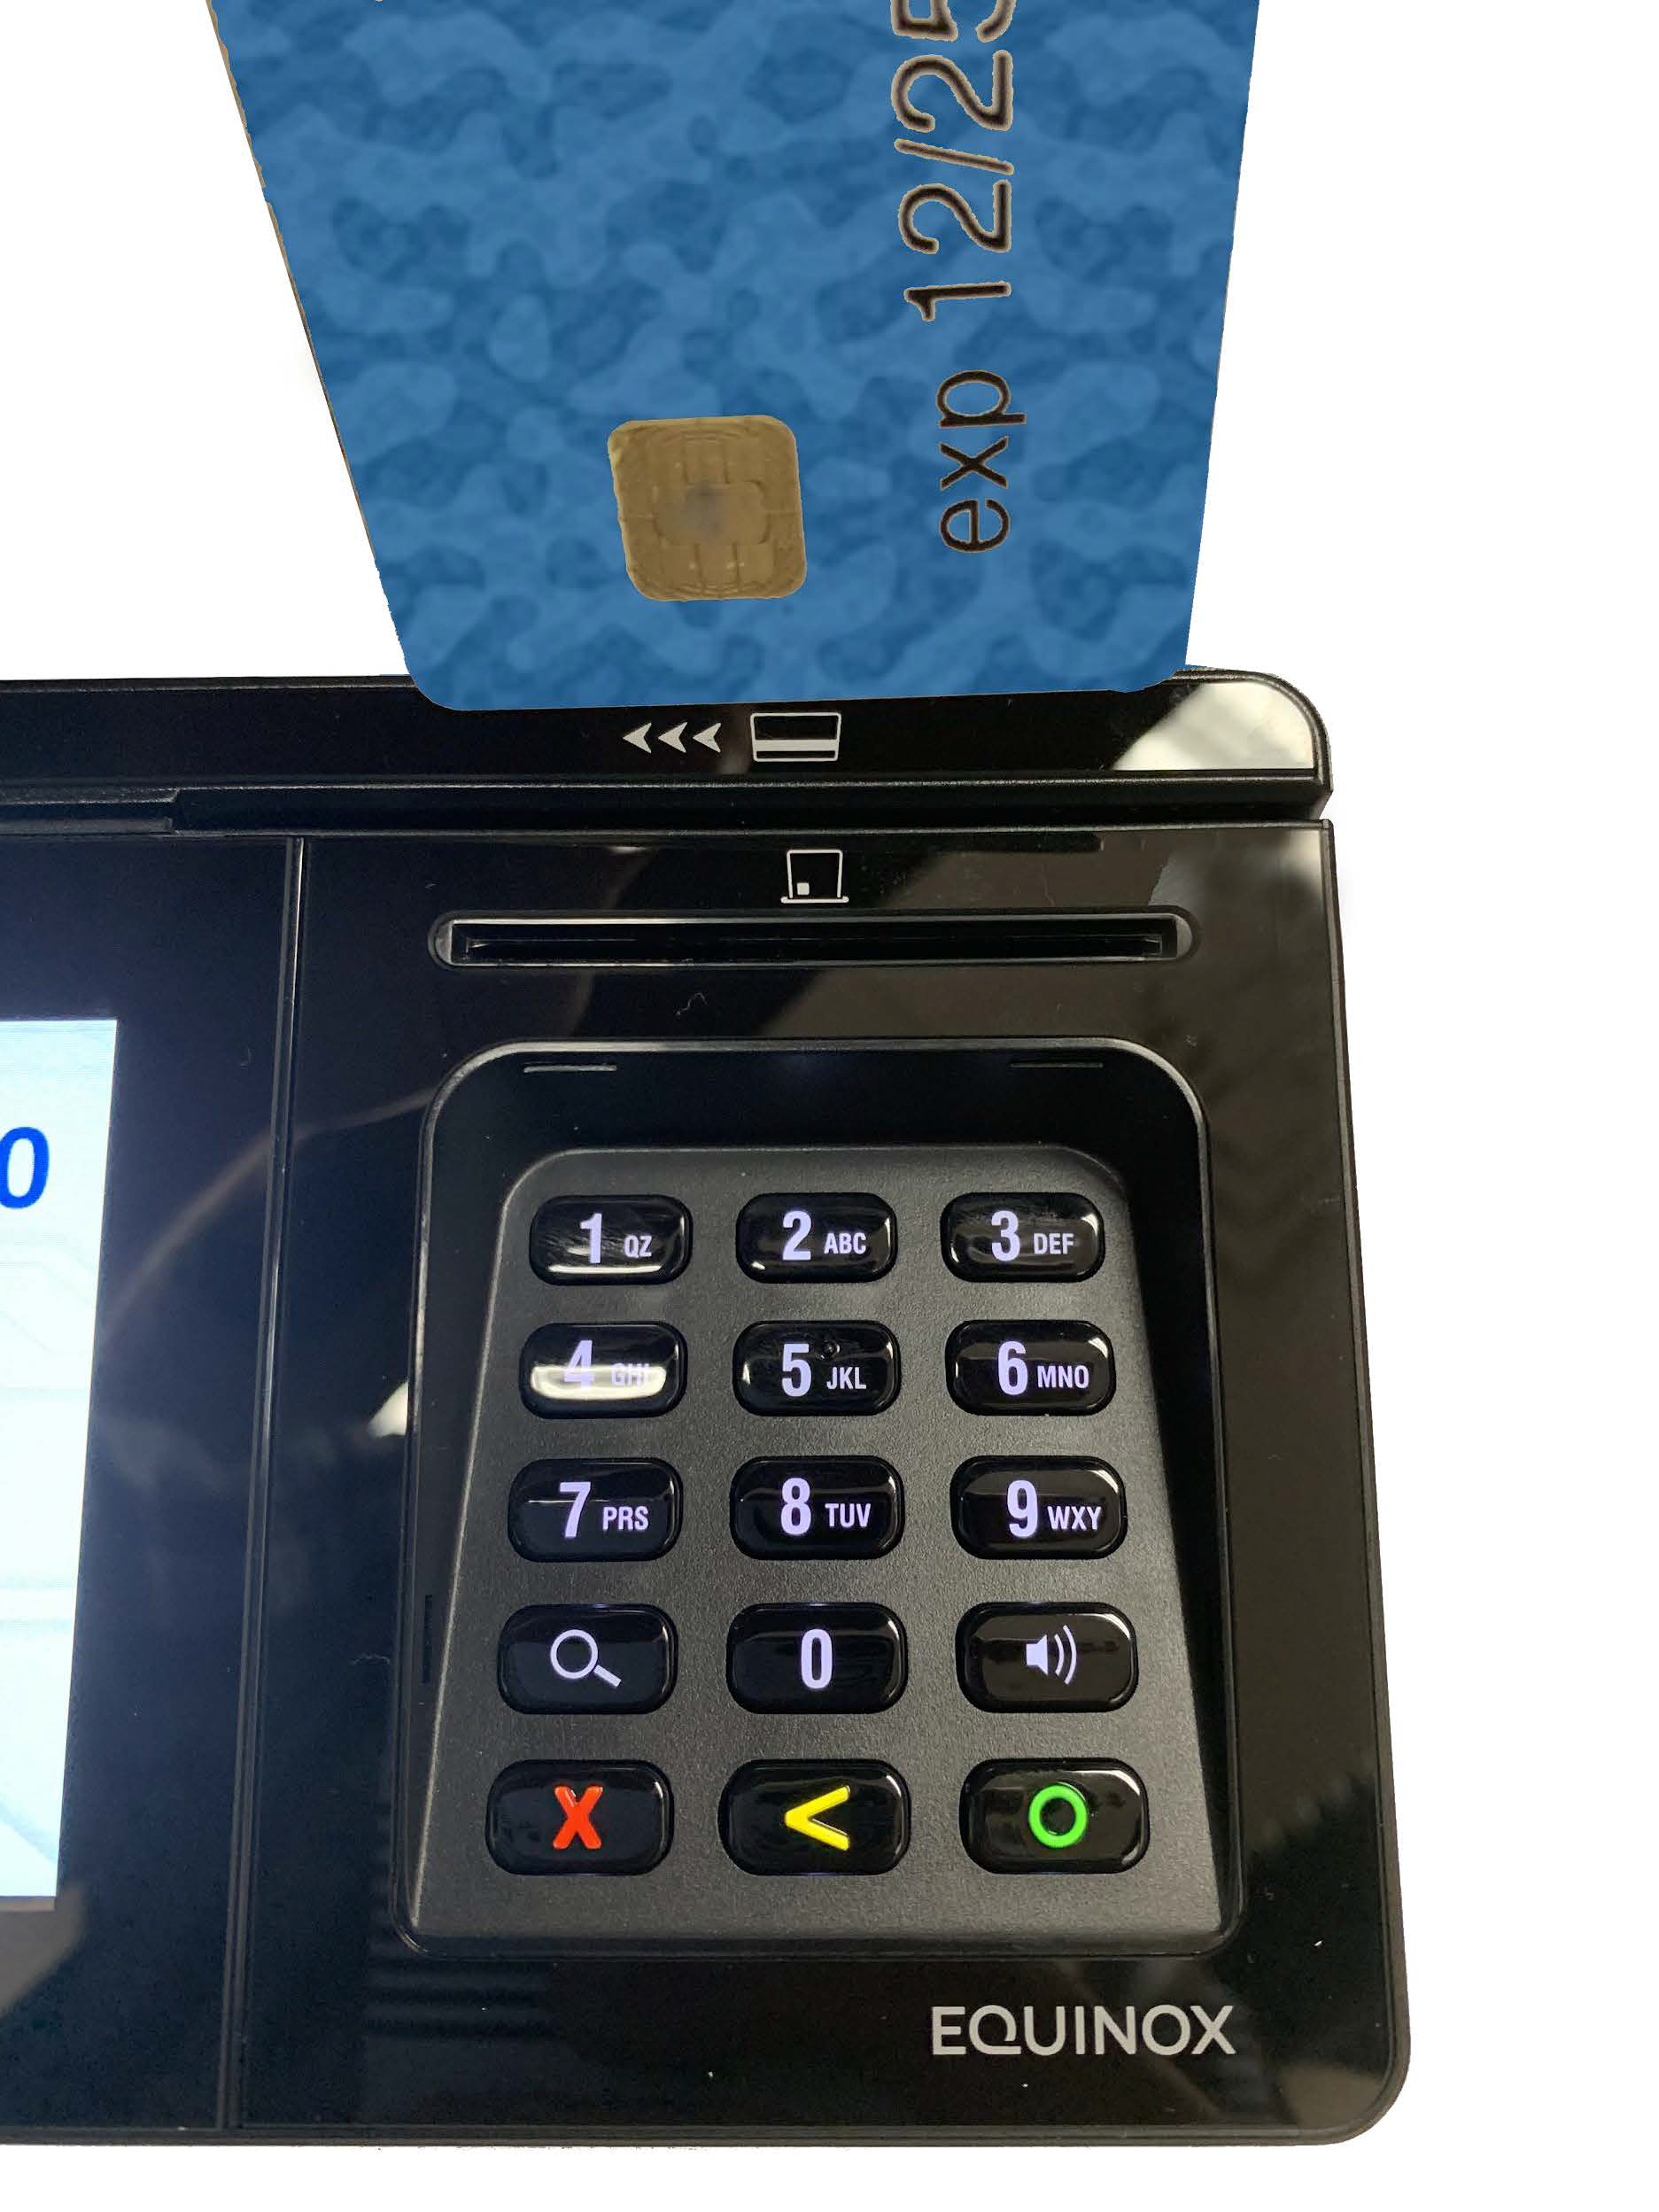
Using the Device
- Place the card into the slot with the card facing the customer.
- The magnetic strip on the back of the card can also be swiped in the slot above.
- Luxe Family solutions give customers more ways to pay while speeding up the point of sale with built-in contactless payment technology. Customers with Apple Pay, Google Pay, or Samsung Pay can quickly pay with a wave of their smartphone or smartwatch and be on their way.
- The all-glass touch display gives customers a solid, smooth feel across the entire screen and supports finger-based signature capture, eliminating the need for styluses that often break.