Table of Contents
How to create a HelpDocs article

How to create a HelpDocs article
HelpDocs article creation process overview:
- Someone fills out the HelpDocs request form:
Https://app.smartsheet.com/b/form/e1bc392a06054a9ba8ed3ceb3a116954

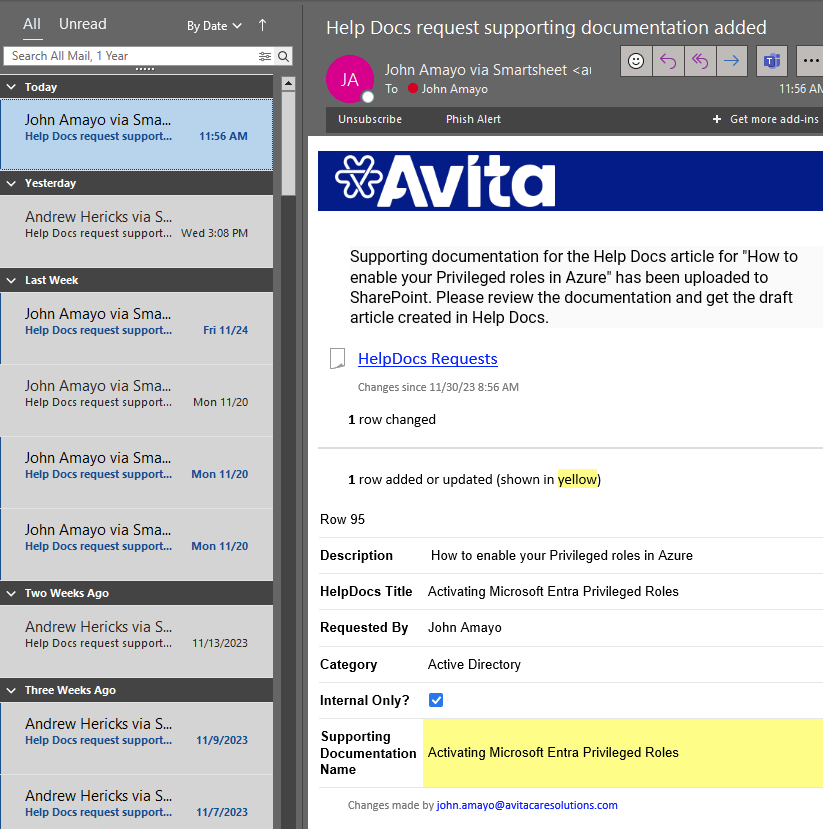
- An automated email will be sent to create the article from either Andy Hericks via Smartsheet
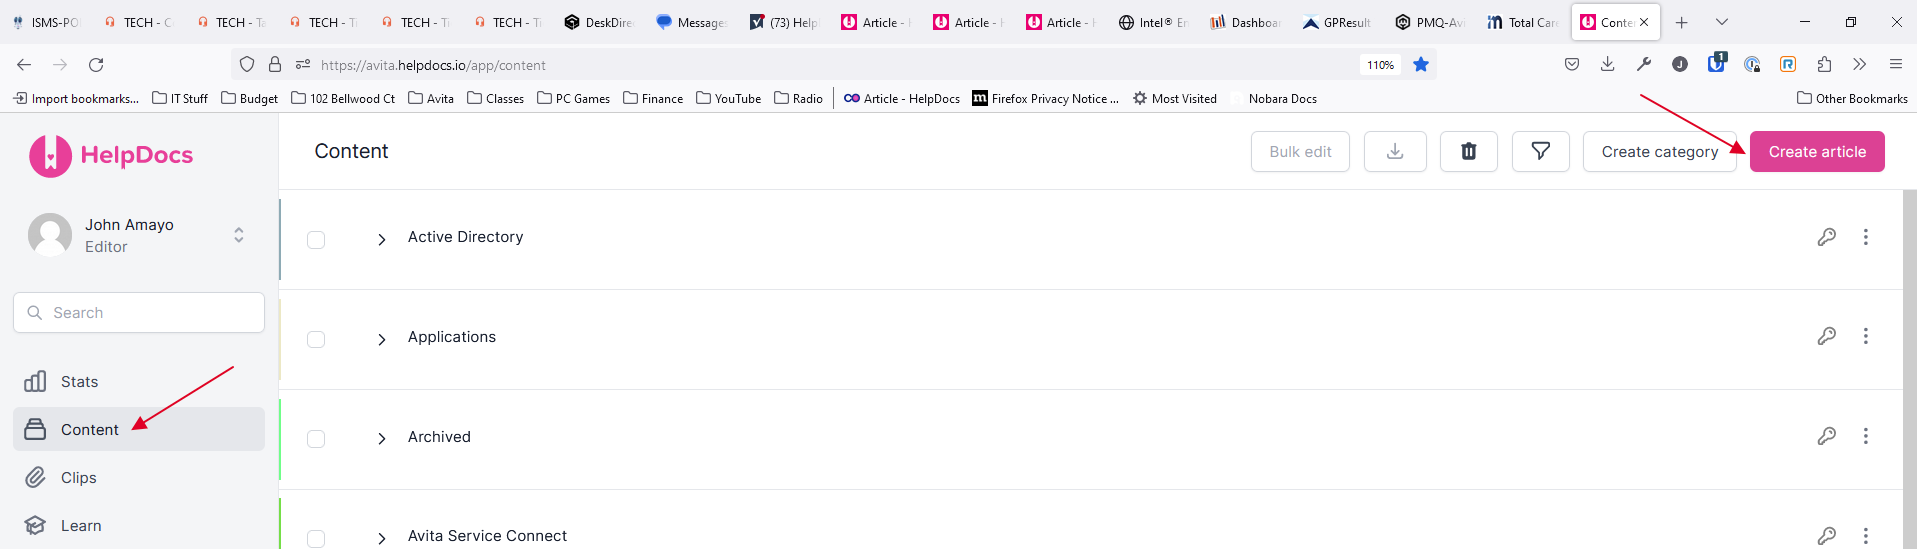
- To create the HelpDocs article sign in to: https://avita.helpdocs.io/app/content
Creating an Article
Click on Content > Create Article:
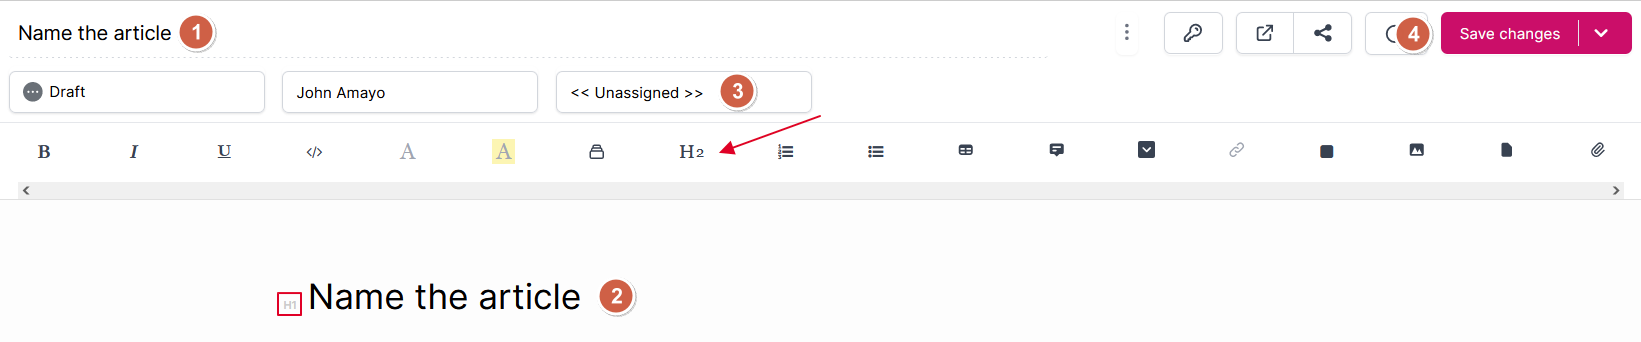
- Type the name of the article.
- Then copy that and use it as the title in the document. Make the title an H1 BOLD
Click on H1 in the menu at the top. Click it again to make it an H2. Click it again to make it an H3.
Examples of Header sizes:H1 - used for Titles
H2 used for sub-titles
H3 used for smaller sub-titles
- Choose where to save the article. (Items not listed under Internal IT or Internal Facilities are public facing.) Then select the correct group for the article.
- Click on Save Changes:
- Enter the content of the article either by copying from the documentation provided or typing the content. Use Snagit for screenshots.
Using the Menu at the top for Formatting text (most commonly used options):

BOLD: Select your text and click the B to mark as Bold:
Italic - Select your text and click on the I to mark it as Italic:
Underline - Select your text and click on the U to mark it as underlined:
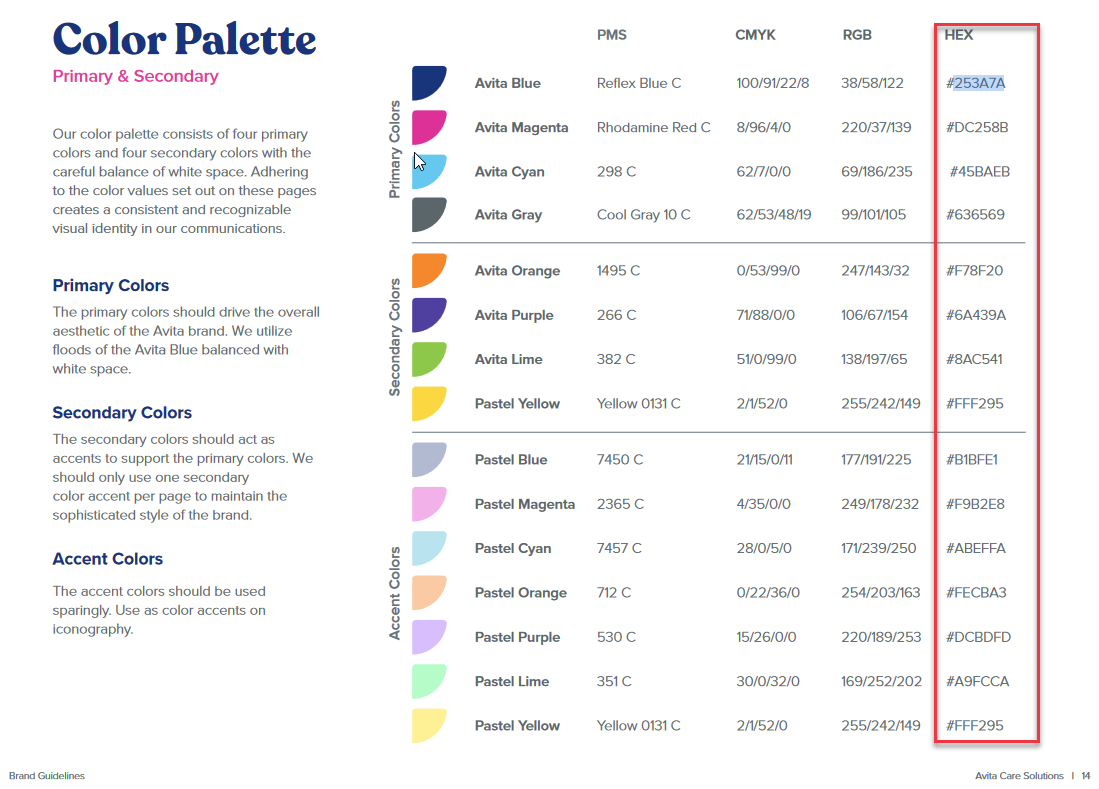
Using Avita Brand Guidelines for Text Color
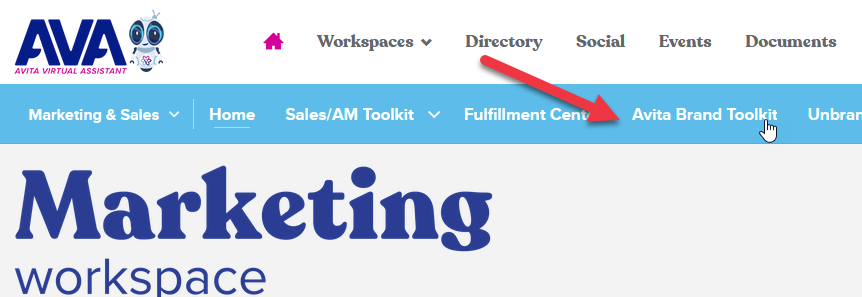
The Avita approved colors can be found in GoAva > Marketing and Sales > Avita Brand Toolkit:
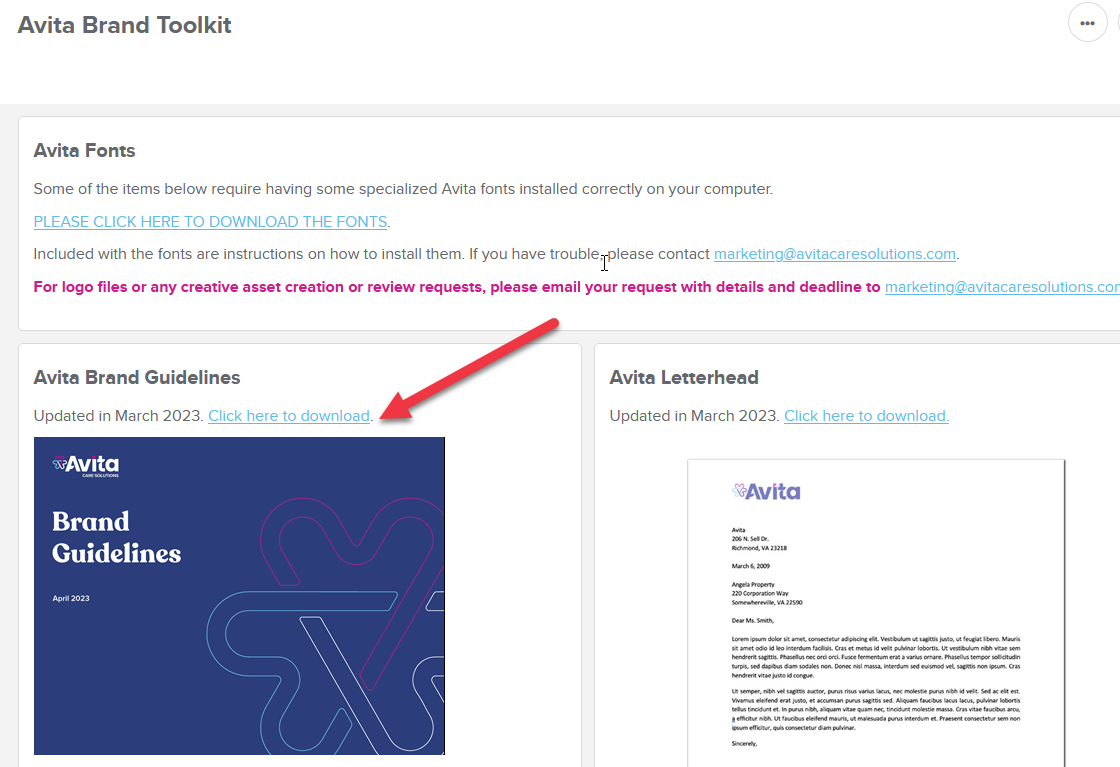
Then open the PDF under Avita Brand Guidelines by clicking the link Click Here To Download:
Find the Color Palette on page 14:
You will want to use the HEX codes.
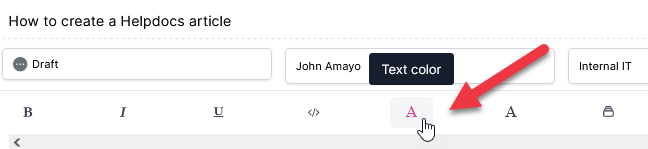
Select your Text and click the Text Color icon in the menu above:
And then enter your Hex code:
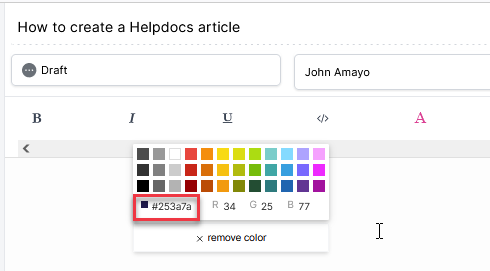
For example, Avita Blue uses Hex #253A7A
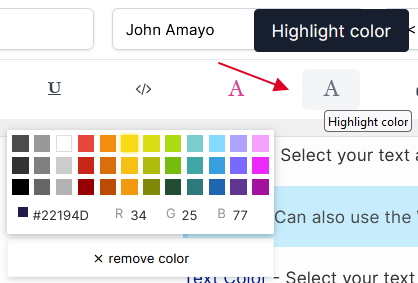
Highlight Color - Select your text and click the Highlight color button.
Header - Use the H tags for creating H1, H2 & H3 sized headers:
Ordered lists - Click this button to create numbered lists:
Example:
- Bullet point number 1
- Bullet point number 2
- Bullet point number 3
Unordered lists - Click this button to create un-ordered bullets
Example:
- Bullet
- Bullet
- Bullet
Callout - Type your text and then click the Callout button to create
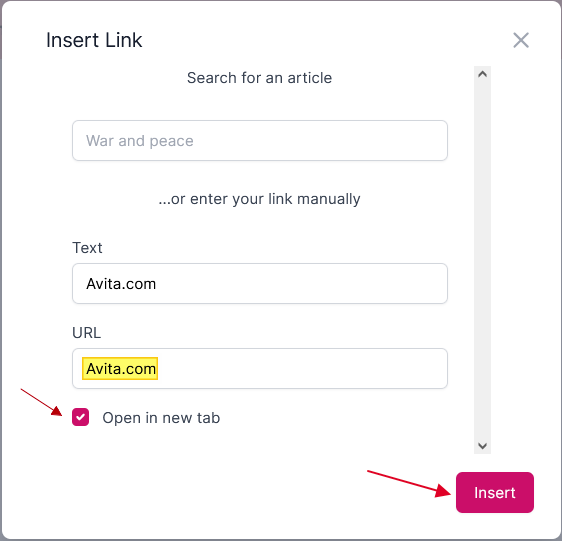
Hyperlinks - Type your text. Select it and click the link icon:
Then enter the URL in the URL field:

Example: Creating a link to Avita.com
Saving your draft
Finalizing your draft:
- Spell and grammar check
- Confirm the article title is correct
- Save the article in the correct category. If it is Internal or Public-facing.
- Save your work!
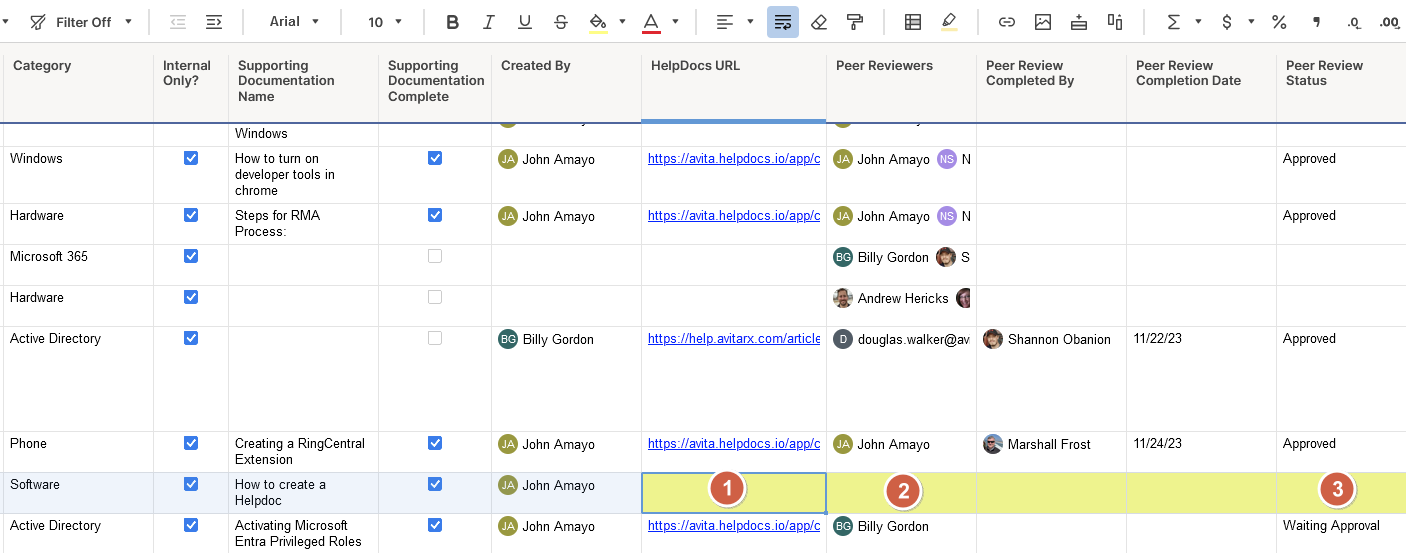
Update Smartsheet and send for Peer Review
- Enter the URL of the draft article
- Enter the person or persons that will need to Peer Review the article
- Change status to Waiting Approval and click Save (upper right of Smartsheet - not pictured)
Changing the status to
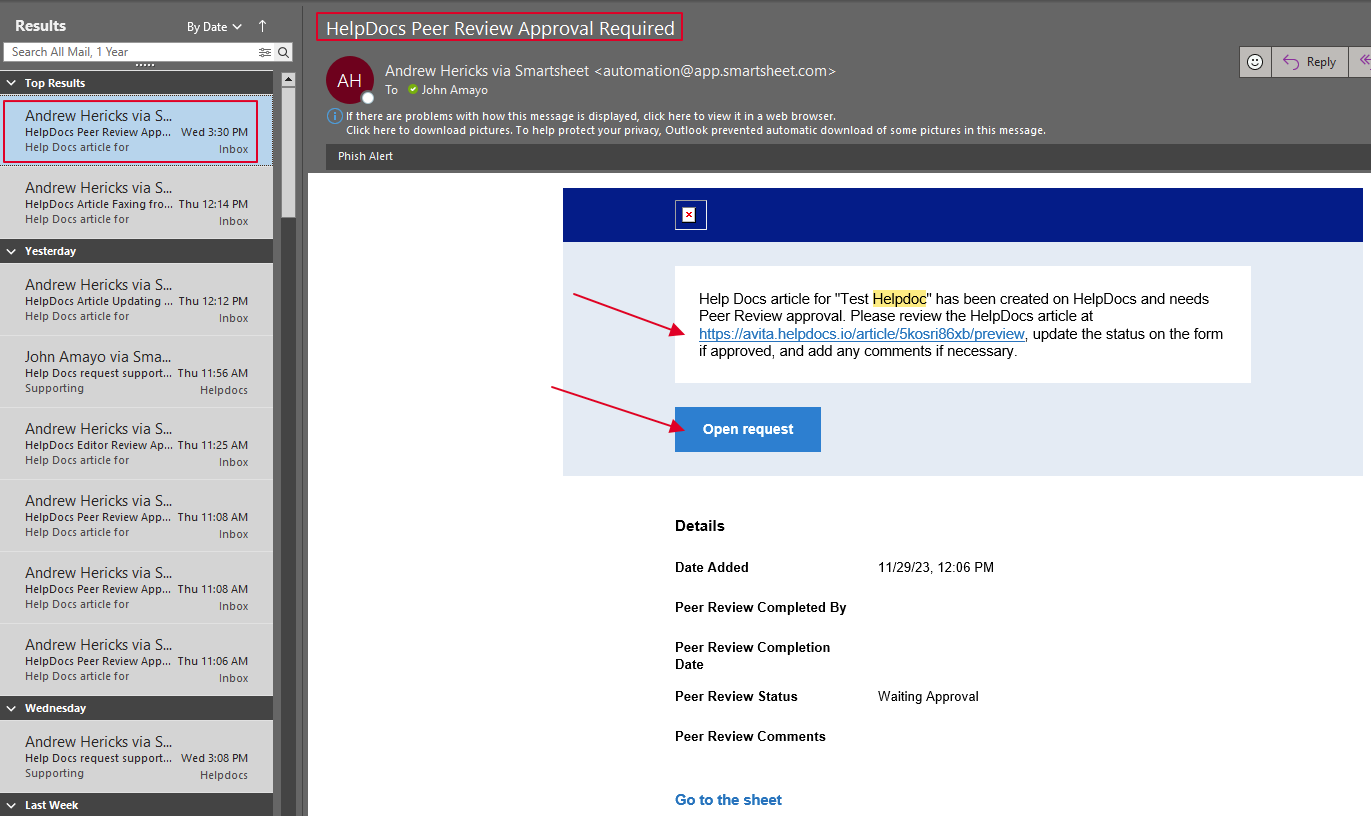
Peer Review
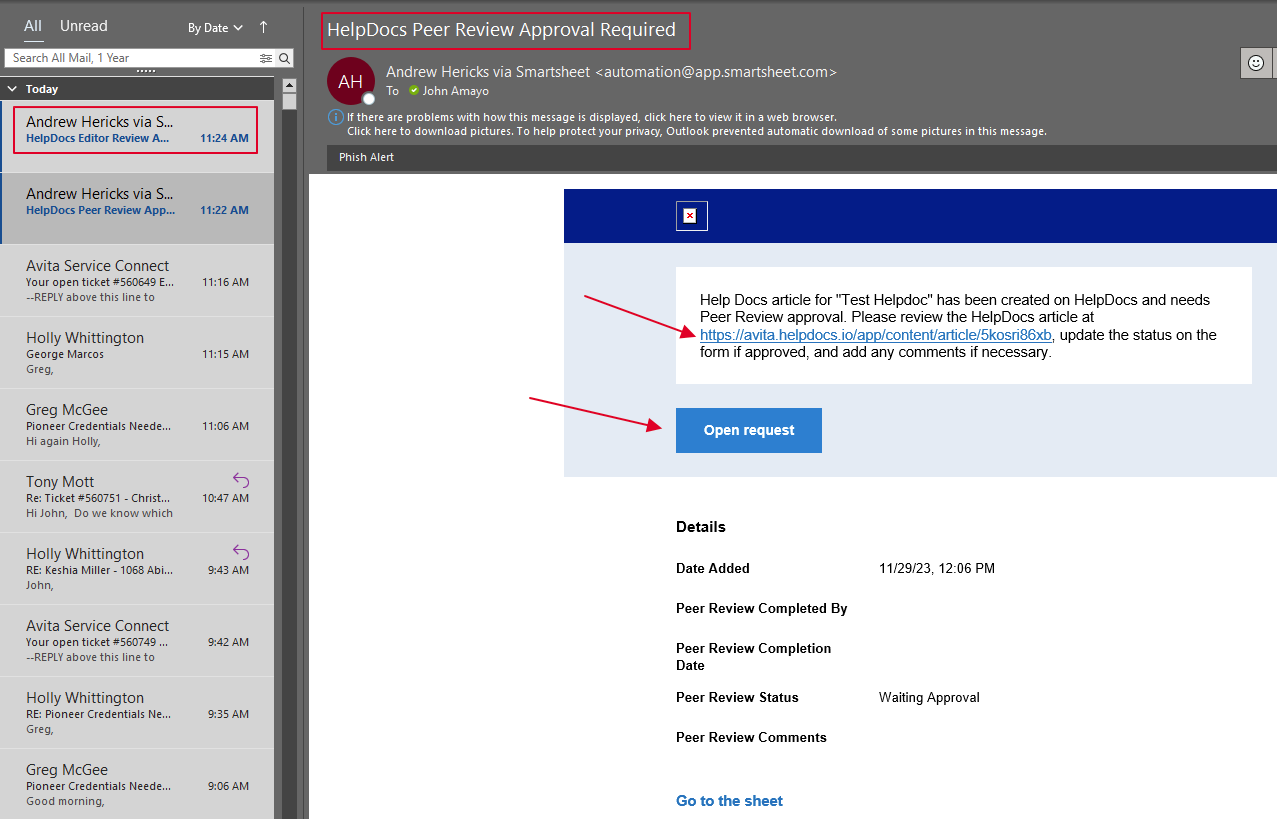
Peer reviewers will receive an email alerting them of the article to be reviewed which will contain a link to the form they need to fill out after reviewing the draft.
- The email will come from Andrew Hericks at Smartsheet
- The link to the draft will be included in the email
- To fill out the form click on the Open Request button
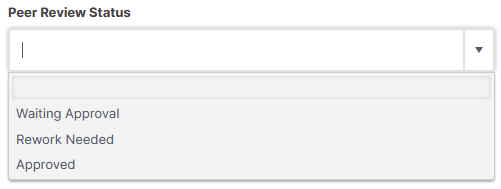
Peer Review Approval Form:
Fill out the fields and click Submit Update.

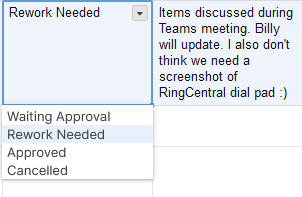
There are 3 options for Peer Review Status:
- Waiting approval
- Rework Needed - use this for the article creator to make necessary changes and resubmit for Peer Review
- Approved - If no updates/changes are needed Approved status will send the draft for Editor Review
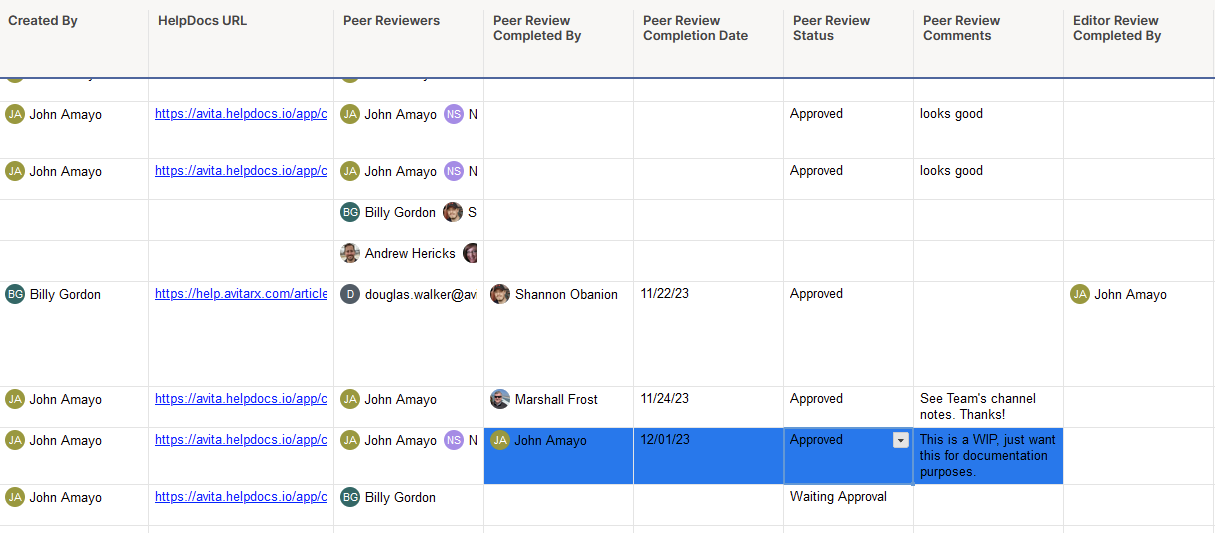
This is what Smartsheet will look like when the Peer reviewer approves the article:
Editor Review
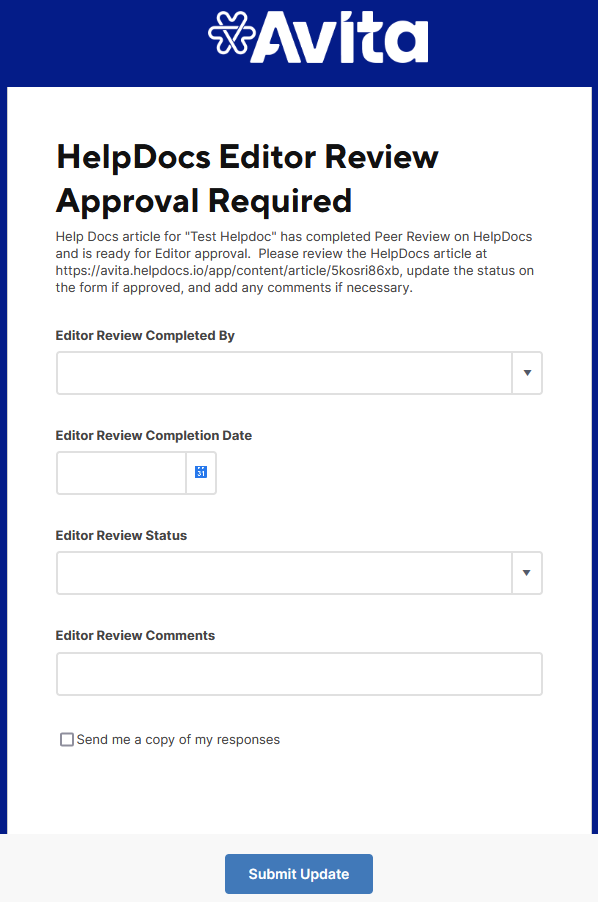
An Editor will receive the following email:
- The Editor will need to review the article using the included link
- Check for Grammar and Typos
- Review the text to make sure it makes sense
- Remove any extraneous text or content
- Use the Avita Brand Style guide to make the document use Avita colors
- When ready to send to the Publisher, click the Open Request button and fill out the Editor request form:
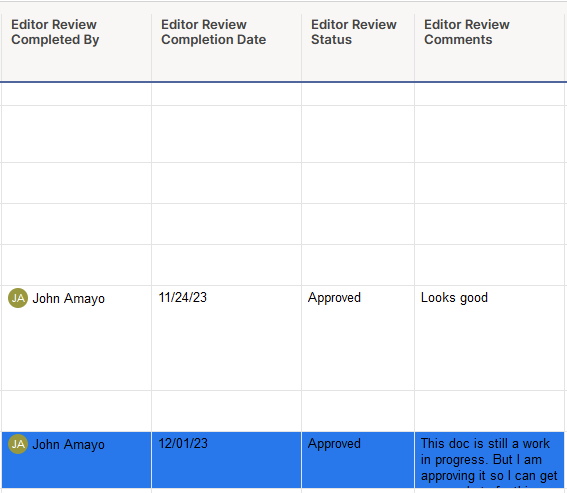
Smartsheet will capture the Editor's comments:
Publisher Review
At this point, the Publishers will receive an email request asking them to review and publish the article.
They can also change the status to Waiting Approval, Rework needed, Approved or Cancelled.